Every summer we have a list of things that we love to do for the maximum Nashville summer experience. One of those things is floating down the Harpeth River. Something we have realized this year is that people do now know about this really fun (and free) option! Both times we've been this year we haven't seen anyone else in floats, only people in canoes or kayaks. And every time we hear that they didn't know floating was an option. Well guys, we are here today to tell you how to do the float, where to go, what to bring, and how to figure out if it's a good time to go.
First off, you are going to need a tube. (Side note, before I moved to Nashville, I had always called this activity "tubing".) And you don't want a rinky dink tube that's going to pop if it touches rock. You are going to want a pretty hefty tube. We have gone through a couple different tubes over the years, but the ones we have now are on their third year, and they were $5 at Walmart.

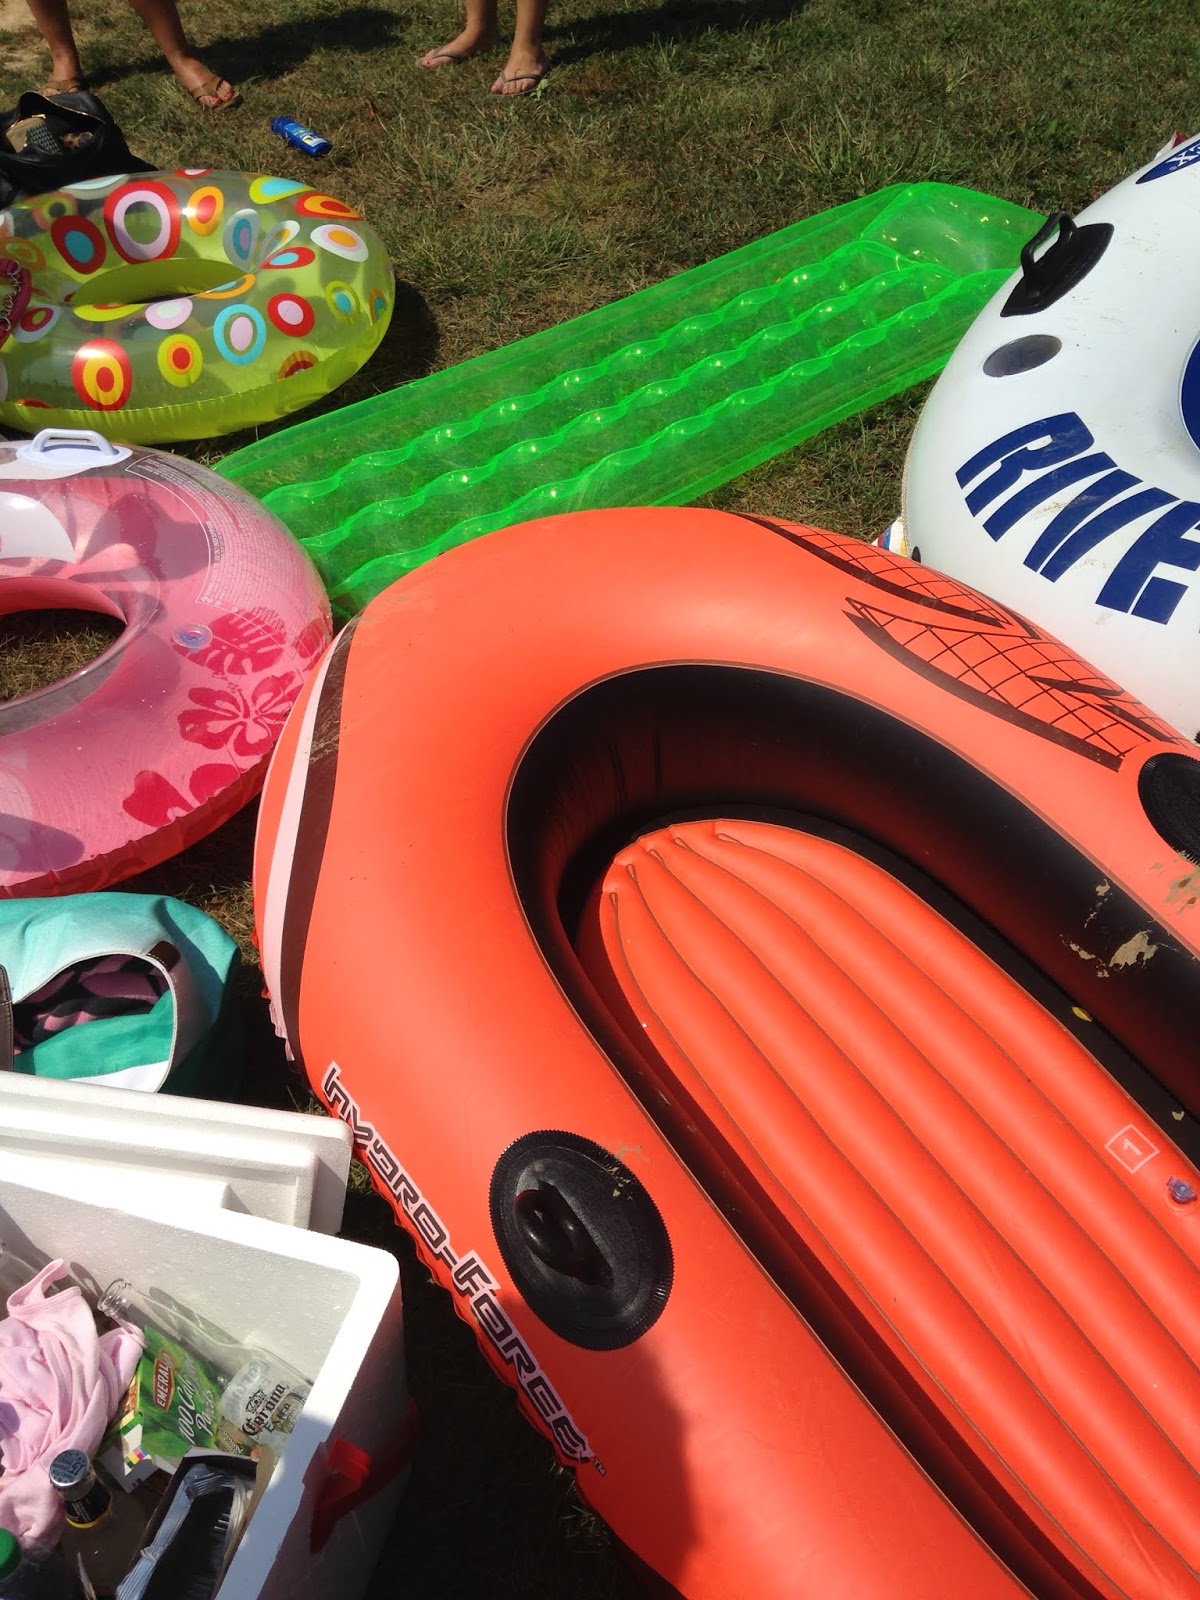
Now, grabbing a tube at Walmart is a great option, if they have the right thing. And I'll add that the tubes were on sale for $5, that wasn't the original price. But if they don't have what you need/want, there are plenty of great options on Amazon. As you can see in the photo above, people use all kinds of floats, but the main rule of thumb is that it needs to be a thicker tube- it may even say it's for the river. Other options that you can choose from are 1- tubes that have a bottom (or don't), 2- tubes that can connect to other tubes (a.k.a. they have little latches attached to your float by strings that click into other people's latches if they have them) and 3- a head rest or no head rest.
These are all personal preference, but our tubes are open at the bottom and have latches to connect to other tubes and no head rests. Don't get caught up on what kind of tube you get. Just get one that isn't going to pop and you will be happy on the water!
And then you'll want to get a waterproof bag to keep things like cell phones, snacks, and keys in. We always keep our phones in waterproof cases and then keep those around our necks or in the waterproof bag. I would not recommend just putting them freely in a waterproof bag unless your phone is waterproof and you don't plan on opening the bag during the float. You definitely don't want to drop your phone in the river! Or just leave your phone in the car! Just play it safe.
And one more thing! Water shoes are recommended. The bottom of the river is rocky, and it just makes it easier if you have something on your feet. We use tevas, but any water shoe will do.
Now let's talk about how you are going to get there and what you do when you do. First of all, you have to figure out how long you want to float. There are 3 main different floats I'm going to tell you about. The one we always do starts in this parking lot in the photo above. This is the
Highway 70 Canoe Access entrance. You will need to have two cars because you won't start and end at the same entrance. This is why you go with multiple friends! JK, you go with friends because it's fun, but it also helps with the transportation part of the trip.
So for this trip you will take both cars to this parking lot (
Highway 70 Canoe Access) and unload all the stuff you will be taking with you on your float trip. This usually includes your float, a water bottle, and a waterproof bag. We always fill our tubes with air in the parking lot and deflate them when they go back in the car. They take up a lot of space if you do it before you arrive. So an air pump that plugs into your car is a great thing to have!
Once everyone is ready to go float, the two drivers will need to take both cars to the
Gossett Tract parking lot. Leave one of the cars in the parking lot and then both drivers take the other car back to the original parking lot.
Then head down to get into the water. You'll walk down this ramp to the right of the bridge and there will be stairs down into the water.
Hop in your float and let the water float you down the river! You will be floating away from the bridge.
Now how do you know if it's a good time to go floating? You'll have to check the water levels on
this website. Scroll down to the "gage height". Anything between 1.5 and 3 is a good time to go. If it's under 1.5 the river will basically not be flowing and you'll be in for a very long trip. You may even have to walk part of it because it's too low. We went a few weeks ago at 1.5 and it was great! The whole trip was about 1.5 hours long, and we didn't have to walk. I did get stuck on some rocks in one section, but I was able to push off that area very easily. We went on a float trip this weekend and it was at 2 and the we were moving way faster, but somehow the trip ended up being about 1 hour 40 minutes long.

How do you know when to get out of the water? You just look for the sign that says "Kid Trip Exit". There's a little rapid right before this section and it shoots you right to the edge, so it's not hard to get out at all. The rocks gradually go into the water and create a sort of staircase, so it's pretty easy to get out! You walk up the stairs to the left and you're in the parking lot where you left the second car!
We usually leave all of our towels in this car so we can all start drying off while the two drivers take this car and go grab the car from the other parking lot. Then your float experience is over.
There are a couple more options for floating longer.... You could start your float at the same place where you just ended and then get out at The Narrows of the Harpeth. We've never done this float, but I believe it's about the same distance as the first float. You could add them together or just do one or the other. There are many options!
And you can also start at the Narrows parking lot to do a significantly longer float. If you only have one car, this is a great option, although you have to really commit to floating as it could take anywhere from 4-8 hours to complete the loop. The benefit is that when you get out, there's a little hike through the woods that takes you right back to the same parking lot you started in. So two cars are not needed.
If you decide to add the first two floats together or do the Narrows loop float, you will want to bring provisions. A floating cooler is a great option to keep the drinks cold on a hot day! Which I'm assuming it will be, because that's why we are all floating anyway right? Because it's so hot out!
One last thing to note is that the park does actually close and you can't be in the water past 7 PM. So make sure you check the water and plan your float accordingly. They usually don't let people start floating the big Narrows loop past 1 PM.
I hope this post answered some questions for you and that you now know how to do a float on the Harpeth River! It's seriously one of the things we most look forward to in the summer, so we hope you all come to enjoy it as well!


Hey! Do you know whether life jackets are required if you are tubing? Wondering how strict the rangers are and if we’d get citations...
ReplyDeleteWe did this trip last weekend (6/13/220) and it was fantastic! No life jackets were required for tubers. This article is great and gives so much helpful information! The only thing I would add is that about half way through there is a rocky beachy area where you are able to pull over and get out of your tube if you wanted to bring lunch to eat, or just get out of the water for a moment and reapply sunscreen or whatnot. Also, the ending parking lot does not get great cell service, so if you bring only 1 car and plan to Uber to the starting point like we did, I would recommend an alternative. It's only about 3/4 of a mile from the start to the finish, and luckily there were LOTS of other people who were dropping off cars and heading back to the drop in spot, so we were able to hop in the back of a pick up truck and get a ride to the start.
ReplyDeleteThank you so much for this detailed write up. We will sure to try this year!
ReplyDeleteFantastic info thanks for sharing! We had a blast due in no small part to your info.
ReplyDeleteI've done this with family for a few years now, and some family members have been floating the Harpeth for over a decade! Pro tip: bring a watermelon along. Tied into a mesh bag, it's easy to pull it along or hold it in your lap for the first half of the trip (watermelons float because they're less dense than plain water). Halfway along, when you find a likely spot with plenty of rocks, take a break from floating to dash the watermelon open on the rocks, and then everyone dig in with bare hands to eat the melon! It's a fun delicious mess with watermelon juice running down your arms and face, but it all washes away once you get back on the floats. This will be one of the best memories of your summer - guaranteed. <3
ReplyDeleteThis trip only took us 45 minutes and the sign at the takeout is different. It’s the first takeout. If you miss it you’ll end up at the narrows about another 45min, can’t miss the stairs. Park a the narrows for a 90+ min float.
ReplyDeleteEdit: the trip length is really dependent on river height, especially recent rain and water flow. The same trip a week later took 2hrs from 70 Canoe exit to Gosset and 4.5hrs total to narrows takeout at the stairs. The height was about 3.2ft and 1.8ft respectively.
ReplyDeleteI have some questions regarding easier ways to entry and exit points since I’m not familiar with the area
ReplyDeleteHas anyone done it yet this season? Hows the water right now and the time it has taken people.
ReplyDeleteI did it yesterday and the water was way too low. We were miserable the whole way through. They only let you go on the shortest path but it still took us 5 hours to make it.
ReplyDeleteAre there a lot of snakes in the water?
ReplyDelete