If you travel to Tulum and are staying in town, you'll want to know where all the beach clubs are so you can still experience the beachside vibe. You can always go to the public beach, but it doesn't offer the chill Tulum vibe mixed with impeccable boho decor. So we compiled a list of beach clubs you can access just by buying a few drinks or a delicious meal.
Other posts you might like:
-
8 Things You Must Do In Tulum
-
Where To Eat In Tulum
-
Where To Stay In Tulum
Before we get started, here are a few tips for visiting Tulum beach clubs:
1. Bring cash- pesos preferably. This is just a general good rule of thumb for Tulum in general.
2. You will need to spend a minimum amount on food and drinks- usually 300-500 pesos per person- so keep this in mind.
3. Some beach clubs/hotels offer towels and some don't. Find out before you go if you will need to bring your own.
4. Keep in mind that the best time to visit is on a weekday. They are busier on the weekends, and sometimes ask you to spend more per person or don't even allow you in.
5. Find out about seaweed wherever you are planning on going for the day. It can be worse in some areas than others. You may want to chose a place with a pool or visit a cenote on a heavy seaweed day.
6. Arrive early to get a good spot. People don't mess around with getting the prime real estate on the beaches.
Now onto the locations!
1.
Coral by Ana y Jose / We actually stumbled upon Coral by chance. We had planned on visiting a favorite spot from our last trip, Chamicos which is in Solimon Bay. But the seaweed there was BAD. I mean baaaaaad. It smelled and you couldn't get in the water. We knew we wouldn't enjoy ourselves if we couldn't get in the water, so we left and came upon Coral. As with the other beach clubs they wanted you to spend a certain amount of money on food and drinks. There was seaweed here but not nearly as bad as some of the other places we had visited that day. They provide towels and they do have umbrellas for shade. This was probably the least stylish place we visited, but the food and service was good.
2.
Ziggy's / This place comes highly recommended and is probably the most established beach club in the area. They have their system down. You need to bring your own towel here. We had good service and the food and drinks were pretty good. We had a Pina colada that was on the rocks instead of frozen, which I didn't love. I think that might be because they don't use straws like many other places in Tulum. So- that's a tip if you need to drink out of straw you may want to pack some reusable straws with you.
3.
Chamico's / As you read before, Chamico's, located in Soliman Bay, was one of our favorite places on our trip in 2017, but it was covered in seaweed this year. We were really bummed about that because last year it was amazing. So before you make the drive (it's about 20 minutes from Tulum), try to find out what their seaweed situation is. What is great about Chamico's is that it's not very crowded and the food is cheap and delicious. It's definitely more of a local place- we first heard of it from one of our servers last year. They also have hammocks everywhere, which is always a plus. This is definitely a no frills place, so you'll need to bring a towel. They also don't have layout chairs or anything like that either. I feel like I'm not selling you on this place, but trust me it's wonderful if there isn't a seaweed issue. The water and the vibe is calm.
4.
Coco Tulum / We stayed at Coco last year, so naturally we used their beach club most of our trip. We almost went back this trip but they don't take credit cards and a lot of the ATMs were down, so we had to go somewhere else. As much as we loved Coco, I was glad to have a reason to try another beach club. There are so many! But as a good rule of thumb in Tulum, always have cash on you. You will also need to bring your own towels. And get ready to take lots of pictures in the bar because it's very instagrammable. They also have shaded areas so you don't have to be directly in the sun if you don't want to be.
5.
La Zebra / We went to La Zebra last year and really loved it. Their food and cocktails really stood out and they had great service. They also had great layout beds with canopies. I really wanted to go back this year but as I mentioned above, we really wanted to try new things since there are so many great places. We went on a weekday last year and it wasn't crowded at all. You will need to bring your own towels if you aren't a guest at the hotel.
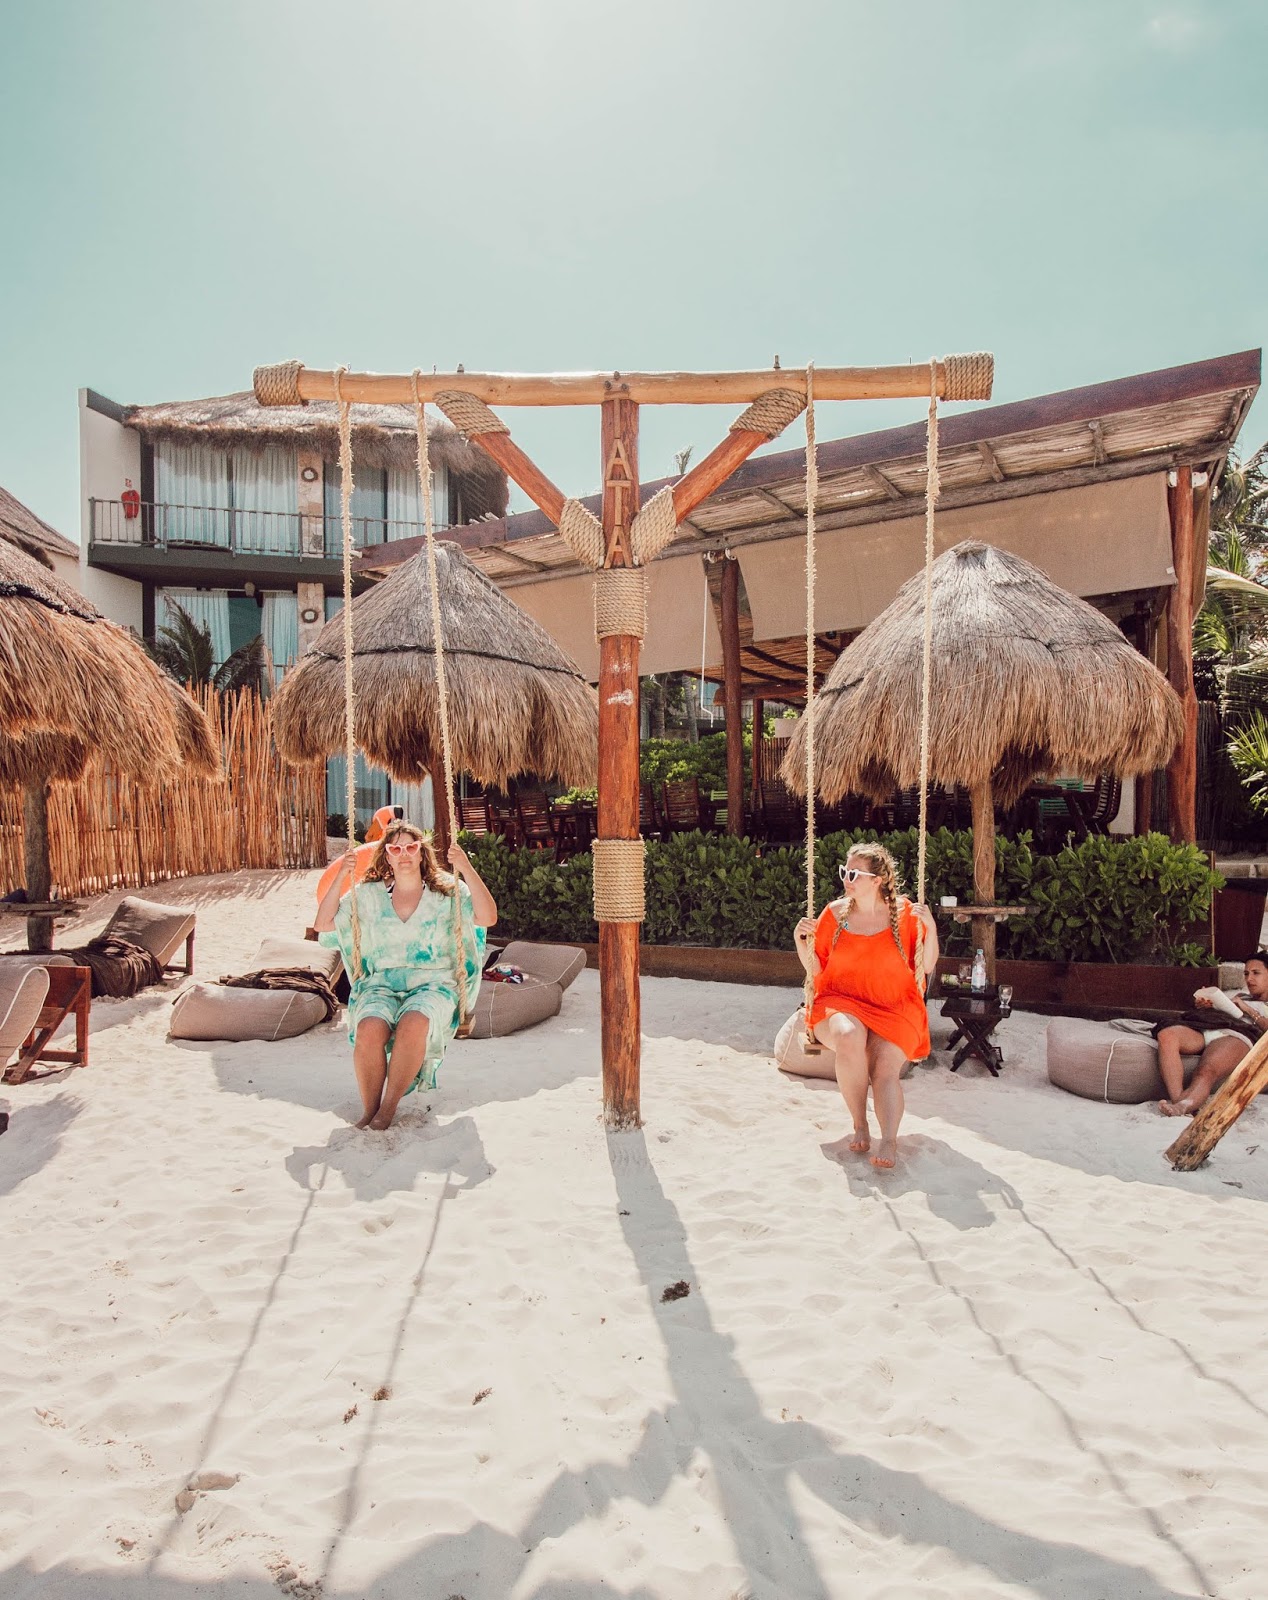
6.
Tata Tulum / Tata is a very intimate spot which I really appreciated. They just finished their pool this week so we JUST missed that! They provide towels and have layout chairs with palpas/umbrellas. They make their guacamole table side and it was the best we had on our entire trip! They also make great drinks, and they have fun floats for you use which were a nice touch.
7.
Nomade / I cannot express to you how much you must visit Nomade simply for the decor alone. Their layout beds have a canopy and I basically need Savannah to build one for our backyard. I left there totally inspired. For breakfast they do a buffet but it's way more jazzy than a normal buffet. We also had some snacks and cocktails but I think the breakfast is what stood out the most. Did I mention the decor is to die for? Oh and they do provide towels.
8.
Habitas / Habitas is a different experience than any of the places we went. It is more secluded (it's literally at the end of the beach) so it felt like we were transported into another world. We had a hard time picking out what our favorite beach club was. It was a toss up between Nomade and Habitas. Nomade's decor was a bit more fabulous than Habitas BUT the food at Habitas was the best we had anywhere on our entire trip. Like better than Hartwood. Habitas is certainly not lacking in the decor area but it just more minimal boho than maximal boho. Also they have a pool which is great if you want to do the beach thing but the ocean happens to have a lot of seaweed. And their pool looks over the beach so it's perfect. We never even used the pool because the ocean was so clear and beautiful the day we were there. The service here was excellent. They do provide towels and there are shaded lay out options.


A note about seaweed in Tulum since we've talked a lot about it in this post- Seaweed is a fact of life here and apparently it's becoming an increasing problem. However, this was my 3rd trip and seaweed hasn't ruined any of them. If you experience seaweed, it'll probably only be for a couple days. It definitely comes and goes but I wouldn't let the seaweed keep you from going to Tulum! It's too good to miss.
Other beach clubs we inquired about, but never went to:
9.
Papaya Playa Project- this place looks amazing from pictures but you have to pay around 2000 pesos for 2 people and only get a bottle of champagne with that. They only let you in in increments of two, so for 3 people we were going to have to pay for 4 people, so that wasn't really what we were looking for. If you have seen PPP pictures and really want this vibe but don't want to pay as much- go to Nomade!
10.
Alma Tulum- We inquired about the beach club here before we went to Tulum this time. You pay 350 pesos per person at the front desk and this goes toward your tab. They also have a pool.
11.
Aura Tulum- On the phone we were told that you must spend 400 pesos per person to use the beach club.
If there is a hotel or beach club that you are really interested in going to, you can either call ahead for information or just go there and head to the front desk. They will answer all your questions and let you know if outside guests are allowed along with the cost. Most of the hotels are friendly and welcome anyone who is willing to use their services!
We hope this information will help you on your next trip to Tulum. If you liked this post, please pin an image to share the magic of Tulum!
xo, Savannah + Casey