10 Cozy Cabins For A Weekend Getaway From Nashville

We spent the past few days in a cute little cabin. The purpose was to chill. That's it. We needed a change of scenery and a space to not worry about literally anything. It was glorious. When we left, I couldn't help but think that not only should people go stay in the cabin we stayed in, but also that we all need more trips/time like this.

We found our perfect little cabin on Airbnb. If you don't know already, we are huge fans. We've stayed in Airbnbs all over the world! You can always find something cute, in your price range, and probably exactly where you want to go.

If you haven't tried or signed up for Airbnb, use our code by clicking here to get $55 OFF your first stay.
For this trip, we weren't looking at one particular area. We just knew we wanted to go outside of Nashville, possibly be able to hike nearby, and we wanted that cozy cabin feeling. Isn't that you want in the dead of winter? Coziness? Well we found TONS of great spots. And we figured since we did the research, we might as well share them with you! So when you need a cozy place to embrace those winter blues, these 10 spots will surely do the trick.

1. Honeymoon Cabin
2. Listen To Nature At Secluded Cabin
3. Sulfur Ridge- Tennessee's First Luxury Treehouse
4. Dreamy Tiny House Cottage
5. The Nest
6. Serenity House
7. Cozy Retreat + Wood Fire Pizza Oven
8. The Barn At Flat Ridge Farm
9. Treehouse Mountain Retreat
10. Creekside Cabin At Shady Grove Farm

If you book a stay at Creekside Cabin like we did, you will have plenty of nature-y things to do! We went on a hike at Frozen Head State Park. It was literally FROZEN. When we headed out on our hike it was in the low 20s. We were a bit cold, but it was still beautiful. We hiked to the falls via the Panther Branch Trailhead and then Emory Gap Trail. The falls were still flowing but there were massive icicles and ice creations everywhere along the water. It was awesome to see the falls in this state.

We also went to the Lily Bluff Overlook which was beautiful even though it's the dead of winter. We were the ONLY people there. The color of the water is almost unreal!

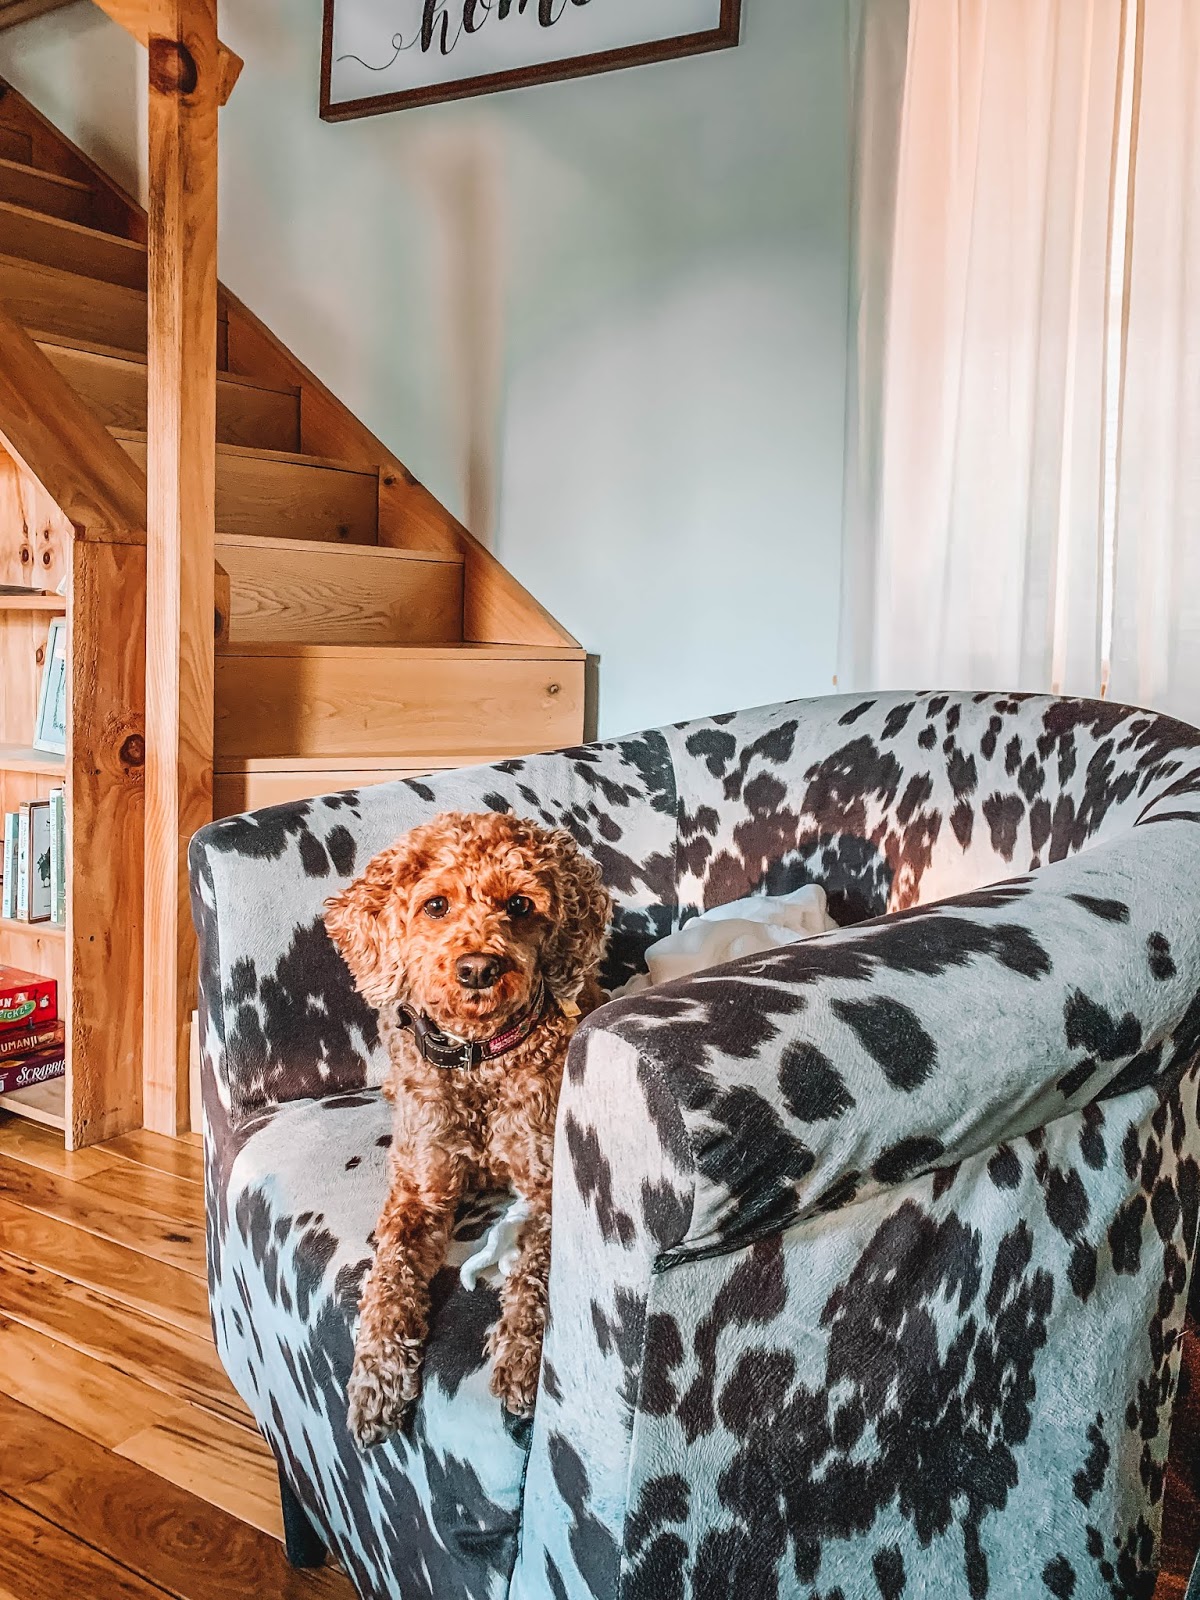
Another benefit of Airbnb is that you can find houses that allow your dogs to come with you! That is always a plus for us when we are traveling in driving distance. Just put on the "pets allowed filter" when searching.

And for the rest of our trip, we just hung out and read, watched a couple movies, cuddled with the dogs, and ate food that we cooked. It was calm and just what we needed. If you are looking for a trip like this, I hope this post helps! We have included listings at all prices in many different areas. Don't forget to sign up through our link to get $55 off your first stay with Airbnb! Happy travels!

DIY Simple Bathroom Towel Caddy & Shelf

We have a problem. Well, a few problems. 1- Our bathroom is TEE tiny. 2- Everything we use on a daily basis sits on our tiny sink and it all falls into the sink. And it looks messy. And 3- Washcloths don't have a place and they end up on the floor. So I finally decided to do something about all these problems. Custom shelves!

If you missed our tiny bathroom renovation, check it out here first! It starts with our ceiling falling out- so it's a dramatic before and after!

For this project I am using 1x6 fence panels. You can use wood with a smaller width if you need to.
Wood Cuts To Make:
- 4 pieces of 10"x1"x6"
- 4 pieces of 26"x1"x6"
- 3 pieces of 14.5"x1"x3"
- 1 piece of 26"x1"x6"
- 1 piece of 26"x1"x3"

You will also need:
- 1 1/2 inch screws
- drill
- Hammer
- Finishing Nails
- Sander and/or Sand Paper
- Paint

To start, start the screws in each of the four corners on the long pieces. This makes it easier to put the shelf together by yourself.

 Then, line up the long piece with the end of a short piece and screw the nails in to secure.

 Repeat on all four corners and both long pieces until you have a rectangular shape.

Place one of the 1"x3" pieces inside the shelf and move it to the very top. Secure with screws from the outside pieces and the top piece. This will be the piece you use to hang the shelves.

Take one of the long pieces and place it on the front bottom of one of the shelves. This will create a deep caddy to hold things like dirty hand towels and wash cloth.

On the other shelf, place one of the 1"x3" pieces below the other, but flip it so it is "standing" up. This will create a little shelf for smaller things like contact cases, glasses, retainers, etc... Again, secure with screws from the outside.

Sand all edges and sides before painting.


The paint will make everything look amazing!

I even went as far as caulking the creases to make it look even nicer.

To hang, drill two holes through through the inside piece where there are studs on your wall. If you can't find the studs, or they aren't in a place where the shelf overlaps, you can use dry wall screws. I attached one side of the shelf to the wall, placed a level on top and made sure the entire thing was level, and then screwed in the other screw.

To see more of the process on video, head over to our Instagram and check out our highlight labeled "CADDY".


We are so pleased with the results! Our makeup eraser towels and wash cloths have a home. Our Clarisonic and electric toothbrushes are ready to be used everyday, but there is also a space for them to charge. Our glasses and Smilelove retainers are right by the sink where they need to be, but not ON the sink. Hallelujah!! If you make a shelf like this, share it with us over on on Instagram!