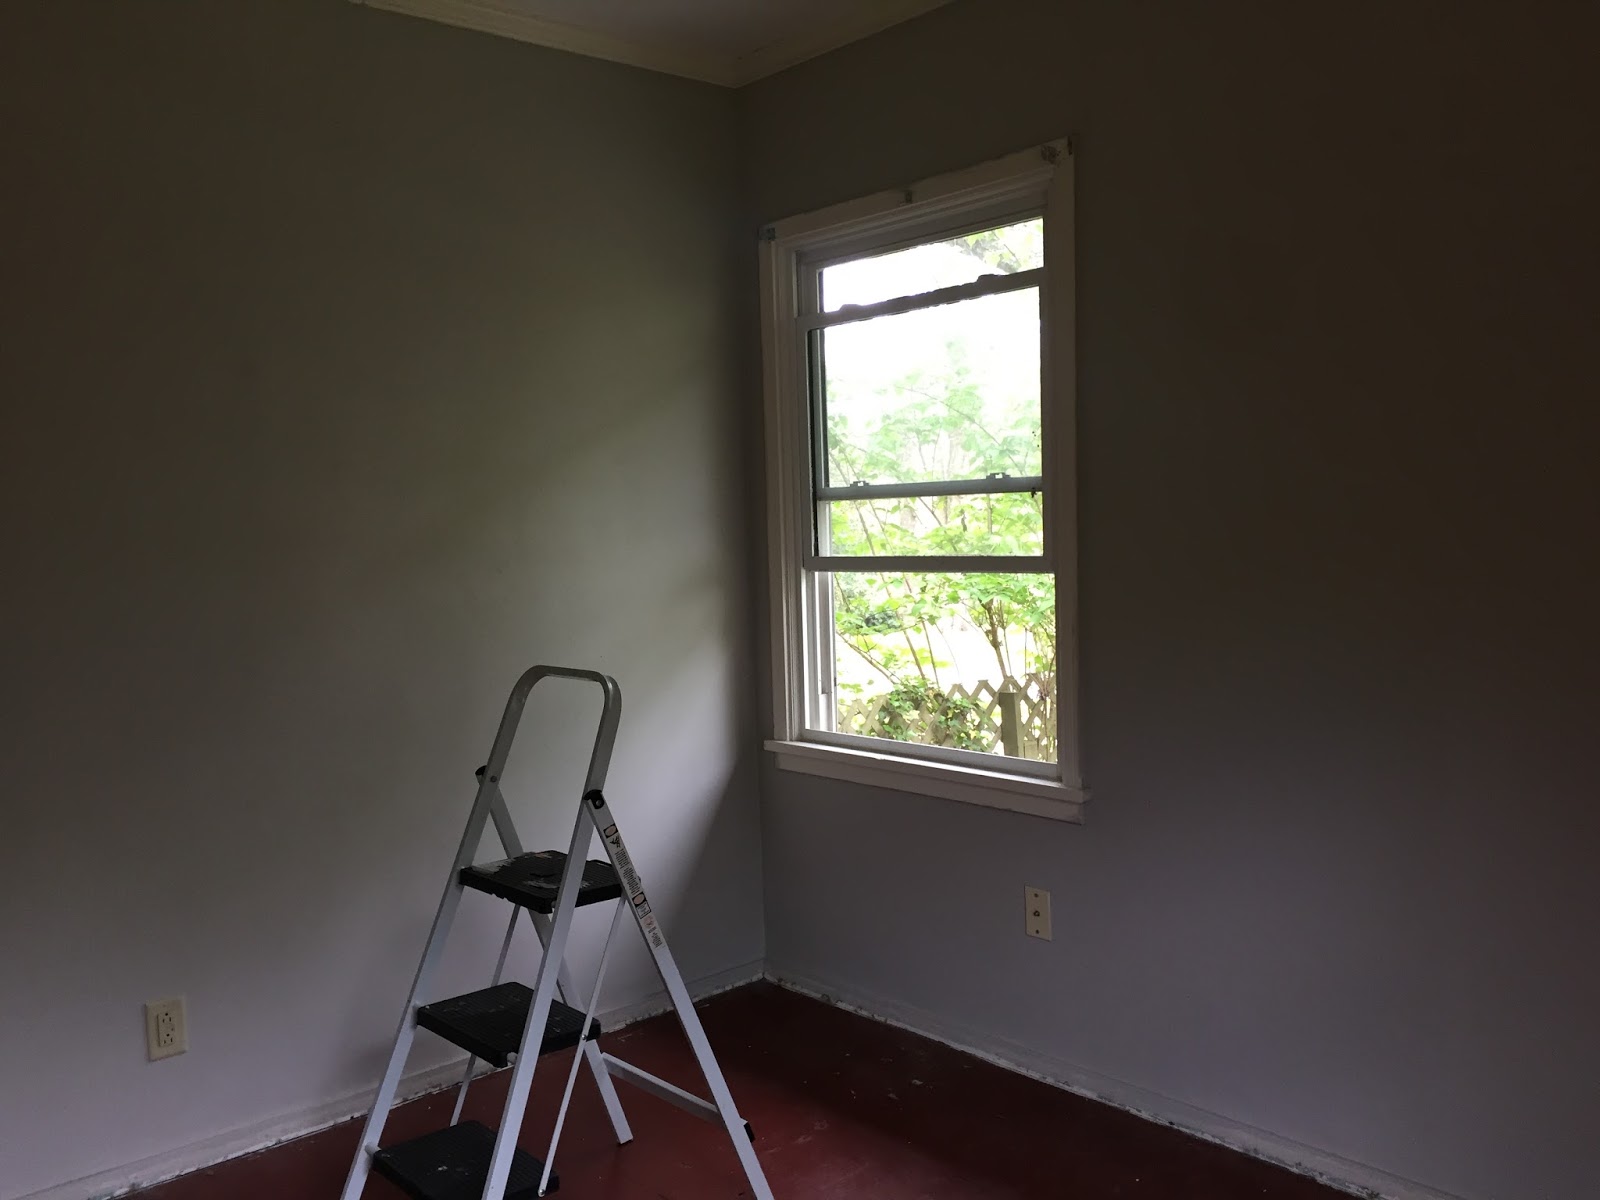
before and after // boho baby nursery Makeover


It has taken us forever to get this post together. We did this room half a year ago! This room belongs to Casey's niece in Casey's brothers house. We knew when we took on this project that this wouldn't be any ol' baby's room. (Casey's brother is lead singer of a heavy metal band. For real.) We knew that pink walls weren't going to cut it. We wanted it to be just girly enough, but still be something that her brother would like. There were some doubts in the beginning about the black walls (basically everyone thought we were crazy for having black girls nursery... Casey's mom especially) but in the end everyone really liked the results.
The first decision we made was the wallpaper. We had some ideas in mind, but you kind of have to be flexible with your ideas, because wallpaper options are limited. It is SO hard to find exactly what you are looking for. There is a lot of wallpaper in the world and a LOT of it is bad. So very bad. We were looking for a needle in a haystack that didn't cost a small fortune (all the fabulous wallpaper does of course). Since we knew we weren't going to be going the traditional girl nursery route, we stayed away from girly wallpaper. I will say that there are a lot of great girly wallpapers out there, just not exactly what we wanted. This jungle leaf wallpaper was the inspiration for the rest of the room The leaf print is silver metallic and so fun. We decided to paint the walls the same color as our dining room- cracked pepper by Behr.

*Side note- this black is great. If you are thinking about painting black and are really scared about it being too dark, use this one! It's not SO black, but you definitely think it's black. It's just softer.
Casey's stepdad, Richard, installed laminate flooring in this room. This was a major improvement from the painted red flooring before. Ick. We were also lucky enough that he also applied the wallpaper because it takes him 2 seconds. I'm confident it was take us 89 days at least...
We knew we wanted to have books displayed on a bookshelf like this, so we ended up DIYing it for close to nothing, compared to $12 for one (shorter) shelf. We filled the shelves with books about women and life lessons. This part was really fun and now I want to own a bunch of children's books.
This moon was created just by putting some sticky hooks on the wall in the shape of the moon and twisting the wire back and forth between each. The same method was used on the triangle in my own room
Crib- Ikea / Fitted Sheet- via Castilleja / Blanket- Castilleja / Shawl- Vintage / Changing table dresser- Babies R Us / Rug- Urban Outfitters / Moon lights- Amazon / Flamingo lights- Castilleja / Curtains- Urban Outfitters / Wallpaper- Eijffinger / Wall decor- Urban Outfitters / Butterfly print- Old Made Good / Bookshelves- DIY 

We have a few other rooms to share with you and we are working on another right now! Oh and our downstairs bathroom just finished being remodeled so we will be taking some photos of that in the near future. Thanks for reading!

xo, Savannah

diy: painted lounge chairs

So we have been working on our backyard for what seems like forever now. We figure one thing out and then realize we don't like something we had done before. And then we redo it. I think the problem is that our vision started our kind of foggy. The backyard was just this huge slab of asphalt, so it was really hard to imagine what was going to happen back there. We've kind of just been working as we go.
We searched every inch of the universe for lounge chairs that we liked and that didn't cost 2.8 million dollars. We never found any. We settled on these chairs which were $80/each from Old Time Pottery. We weren't crazy about them. so we had this crazy idea to paint them. Well, painting these chairs made a huge difference in the pool area. We really weren't feeling the vibe that was happening back there and we realized the plant organization and the chairs were the culprits. We decided to see what would happen if you spray painted the chairs. After using about 3 cans for one side (and it still looking pretty gross) we explored other options. We bought some really cute cushions that arrived in the wrong size and then we decided to explore the painting again. Not sure why we didn't try it at first, but we ended up just roller painting the seats with outdoor paint.

You will need:
- Outdoor Paint
1. Paint the seat white with a roller and let dry completely. (We don't have a pic of this step.) We used regular outdoor paint in regular white. Paint a second coat and let it dry completely. Make sure you paint the backs of the chairs too because it'll look pretty crazy when the back is a different color.

2. Tape up the seat/ everything that is white. We used contractor paper and frog tape to cover everything we didn't want to be gold. You will have to do some touch ups on the seat with a paint brush, so get too worried if something is sprayed gold that shouldn't be.
3. Spray all the metal gold, everywhere. We used a Rustoleum Metallic Gold.
4. Remove the tape and paper and use a brush for any touch ups.
We realized after doing all of the chairs that the best order to do this in would probably be to spray paint the metal parts gold and then to paint the seat white. You could get away with not taping at all that way. We just weren't sure in the beginning if we could cover up the gold with the white, but as it turns out, you super can. We ended up adding one more white coat at the end just to really even it out. We probably could've gotten away with two, but just to be safe, we did three! 

We have so many more backyard areas to show you, and if you follow us on Instagram, you may have seen some peeks already. We will be sharing a post about our stock tank pool along with a regular before and after of the whole space soon!

xo, Savannah


DIY Amy's Mexican Casserole Bowl

Casey really loves the Amy's Mexican Casserole Bowl and when I finally had a bite, I really understood why. They are delicious! But, if you want to serve more than one person, the frozen meal would get a little pricey. This dish takes so little time and can be multiplied to feed as many people as you want. It only requires the one pot, and those are our favorite kind of meals.
I made a little video of the process, so check it out! The recipe will also be listed below.

Mexican Casserole Bowl

Ingredients
- 1 tbs. olive oil
- 1 medium onion, diced
- 1 red bell pepper, diced
- 3 small potates, cut into matchsticks
- 1 can black beans, rinsed and drained
- 1 can corn, drained
- 3 corn tortillas, cut into strips
- 2 cloves garlic, minced
- 2 cups enchilada sauce

Directions
1. Heat olive oil over medium-high heat.
2. Add onions and peppers and sautee for 5 minutes.
3. Add potatoes and cook for about 5 minutes.
4. Add garlic and cook for a minute.
5. Add black beans, corn, tortillas and enchilada sauce. (I added a touch of chicken broth here because it seemed a little thick. You can use water, or nothing.) Cover and simmer for about 10 minutes.
6. Serve hot with a dollop of greek yogurt, if desired.


Hope y'all love this as much as we do!

xo, Savannah