DIY: FISHTAIL FRIENDSHIP (BRACELET)

Photobucket
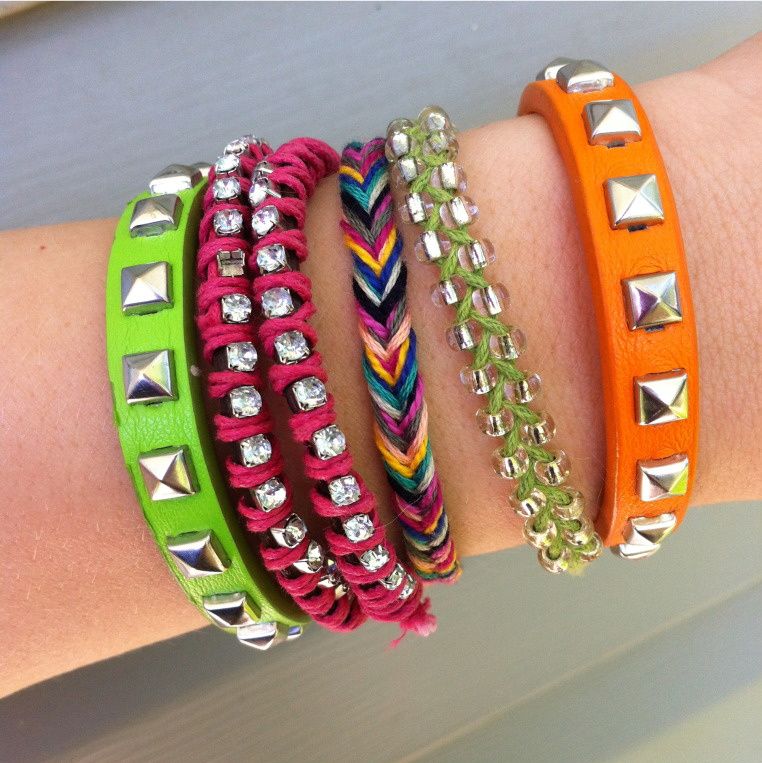
If you know how to do a fishtail braid to your hair, then you pretty much know how to make this bracelet. But for those of you who don't know about the fishtail and those of you who are curious about the logistics of my specific bracelet, well, read on!
Photobucket
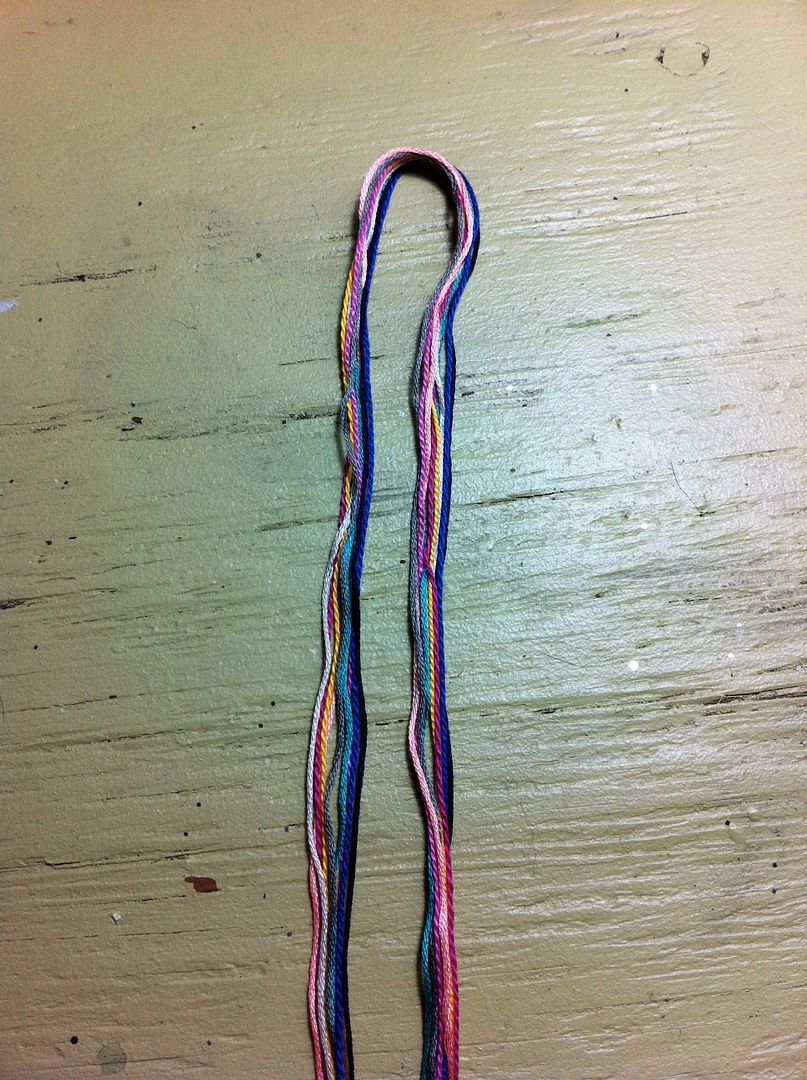
I used 9 strands of thread in 9 different colors. You could do this with only 2 different colors or whatever color variety you want. My strands were about 3 feet long each. Gather them together and fold them in half.
Photobucket
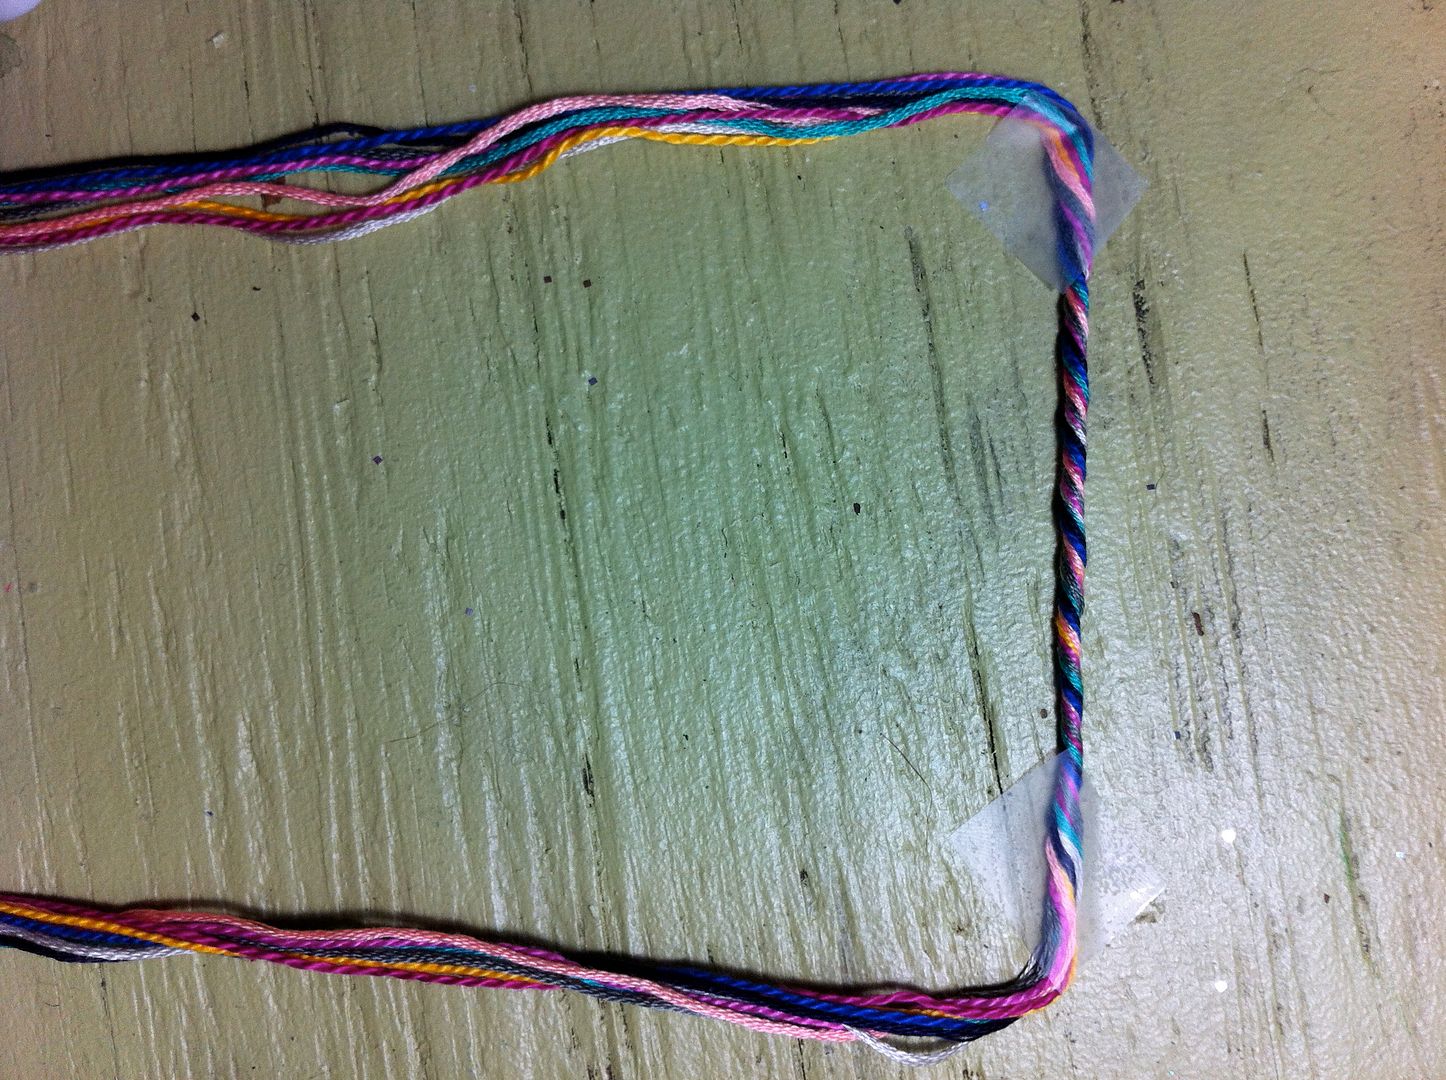
I twisted this top part so it doesn't get all tangled later. I'm only using tape for the picture.
Photobucket
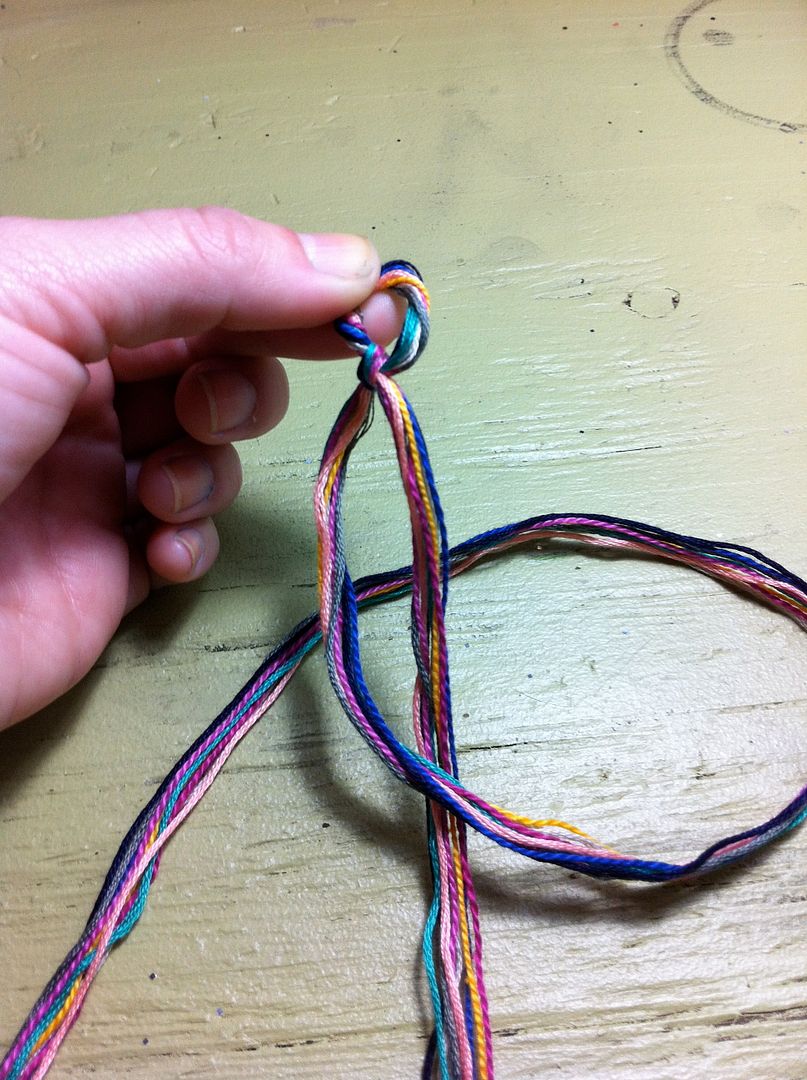
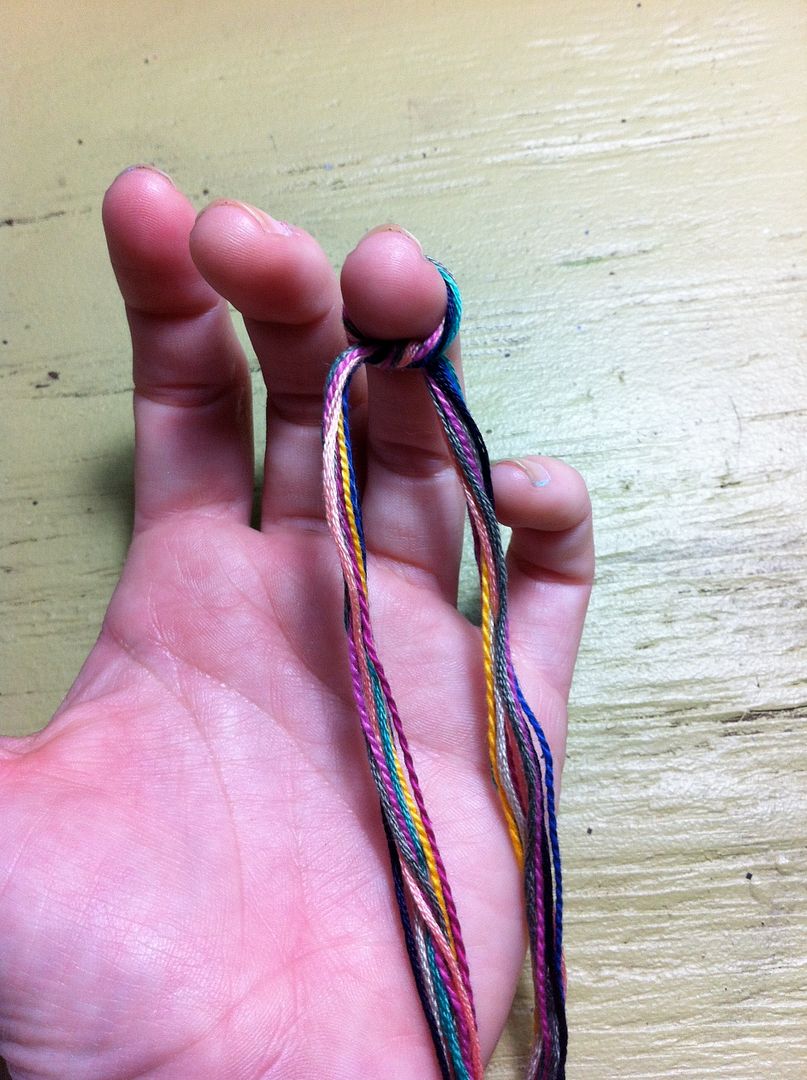
Where you twisted the top part, tie it around your finger.
Photobucket
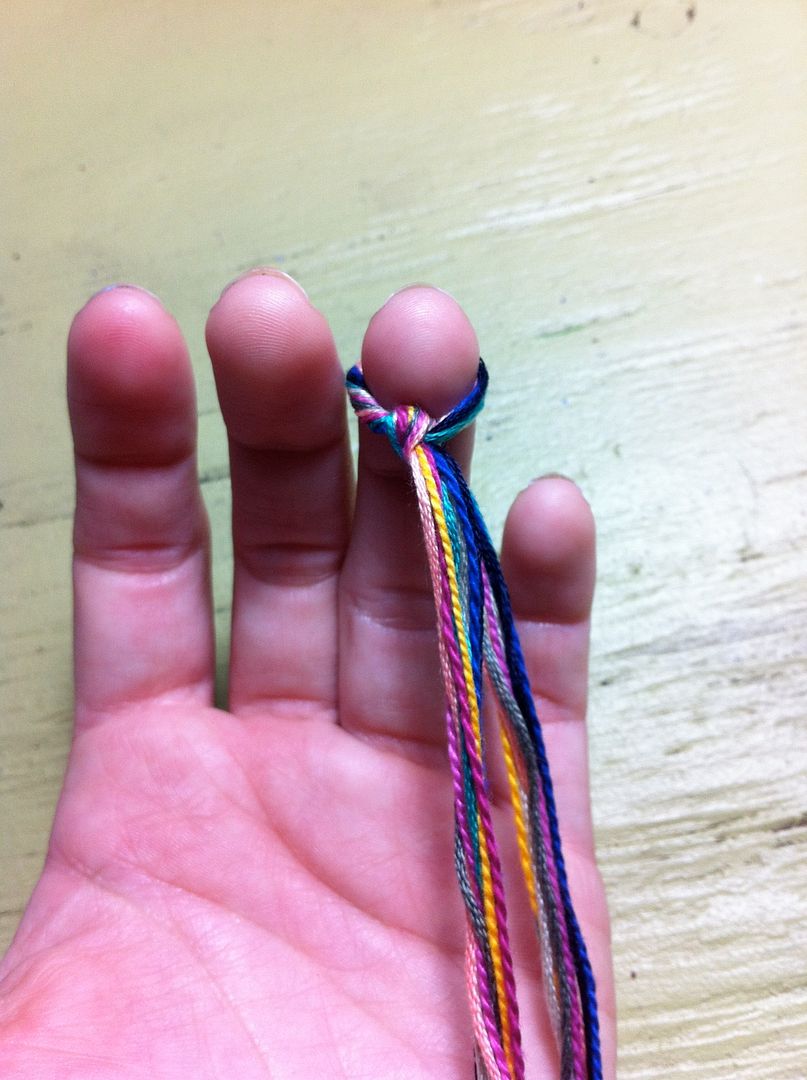
Then tie a knot.

Photobucket
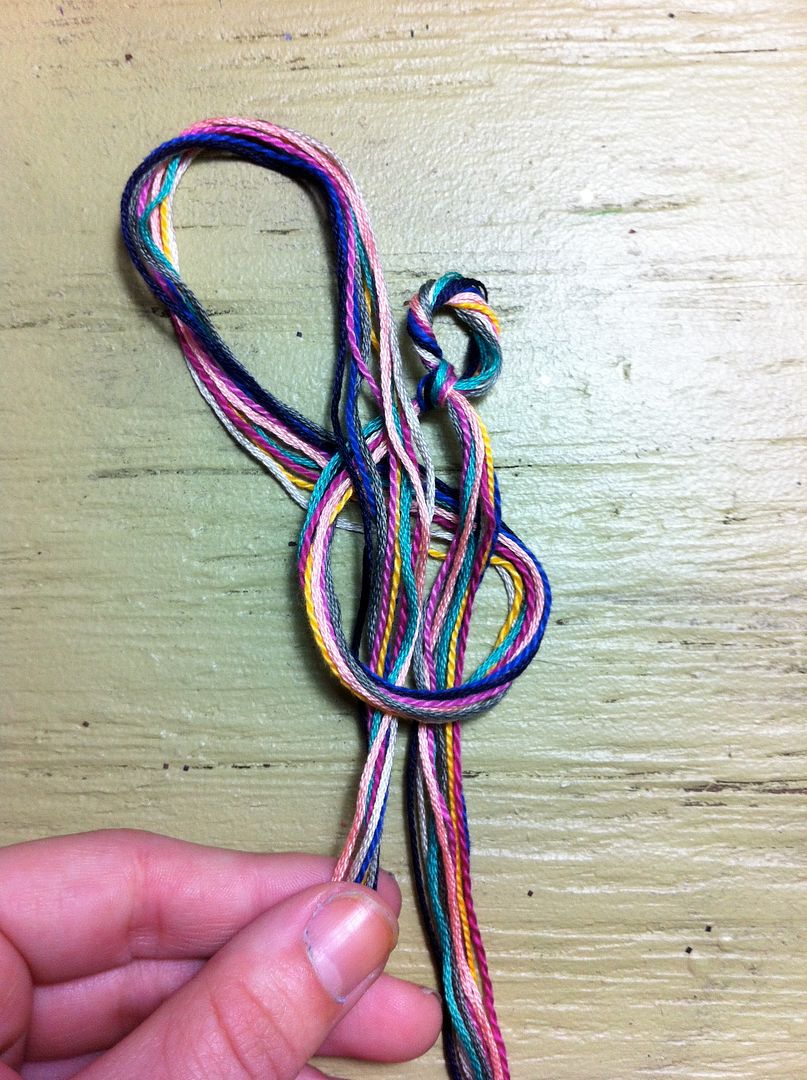
I'm now taking one of the strands and tying it around the other, almost like a tie. Wrap the left strand over the right strand and wrap it behind the right strand.
Photobucket
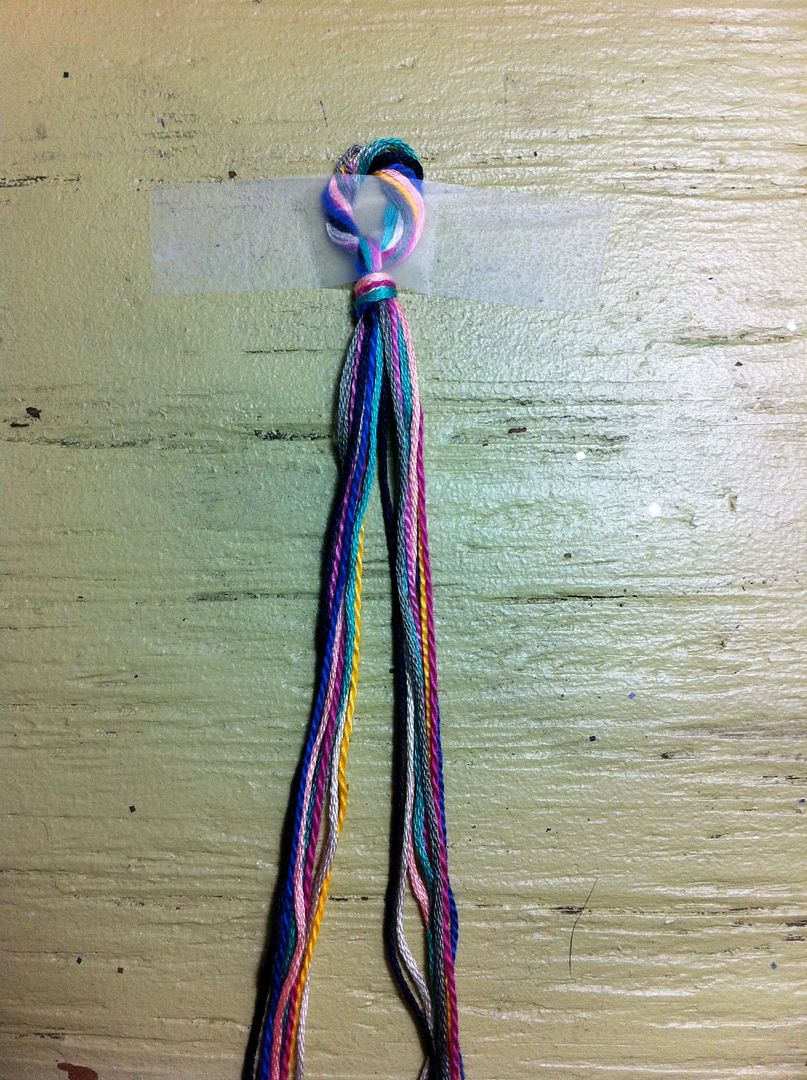
Then pull the end through the loop you've created and pull into a knot.
Photobucket
Tape the top down to keep the bracelet stable.
Photobucket
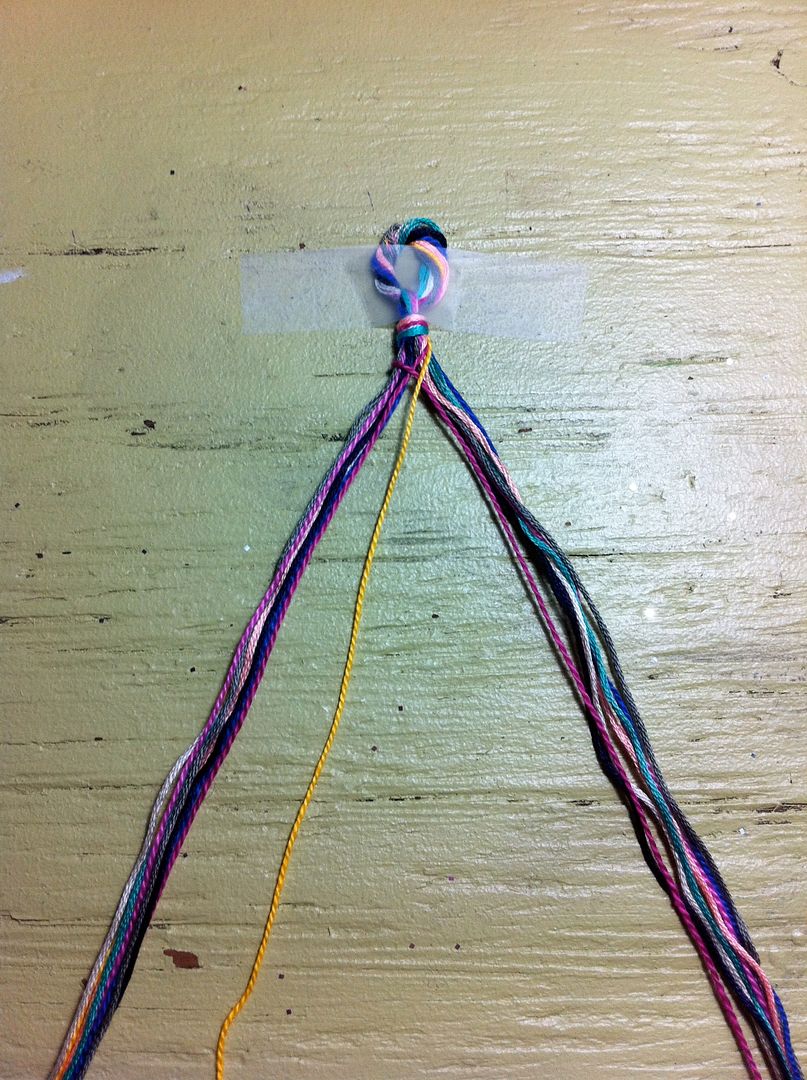
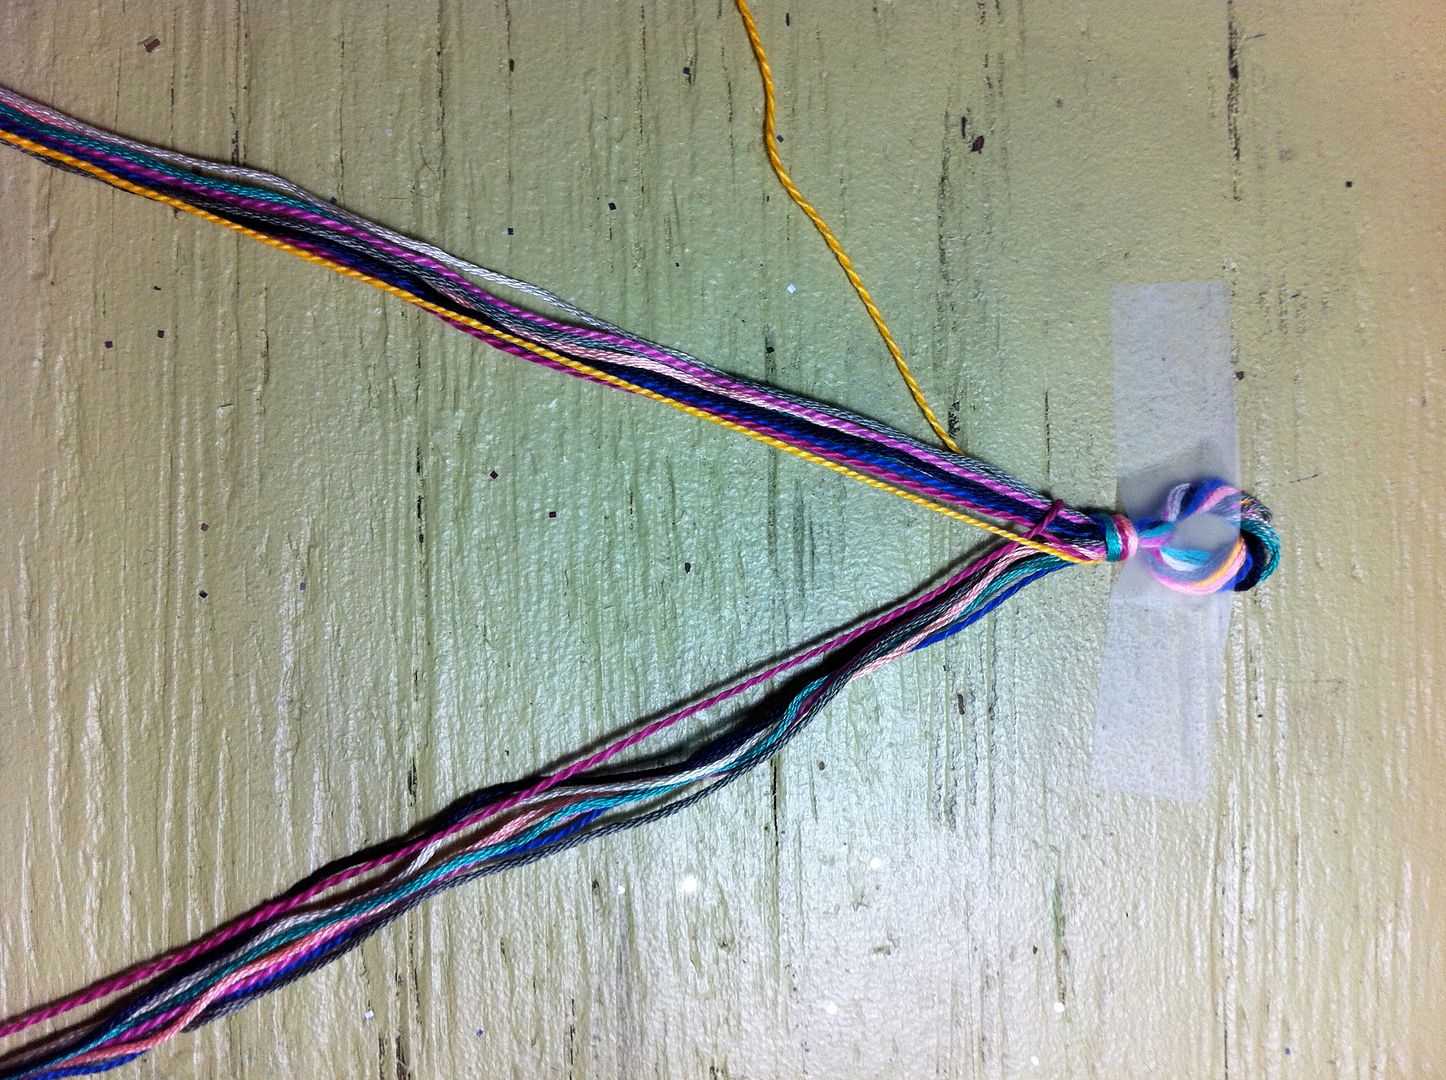
Star by grabbing one color from the right side and pulling it to the middle.
Photobucket
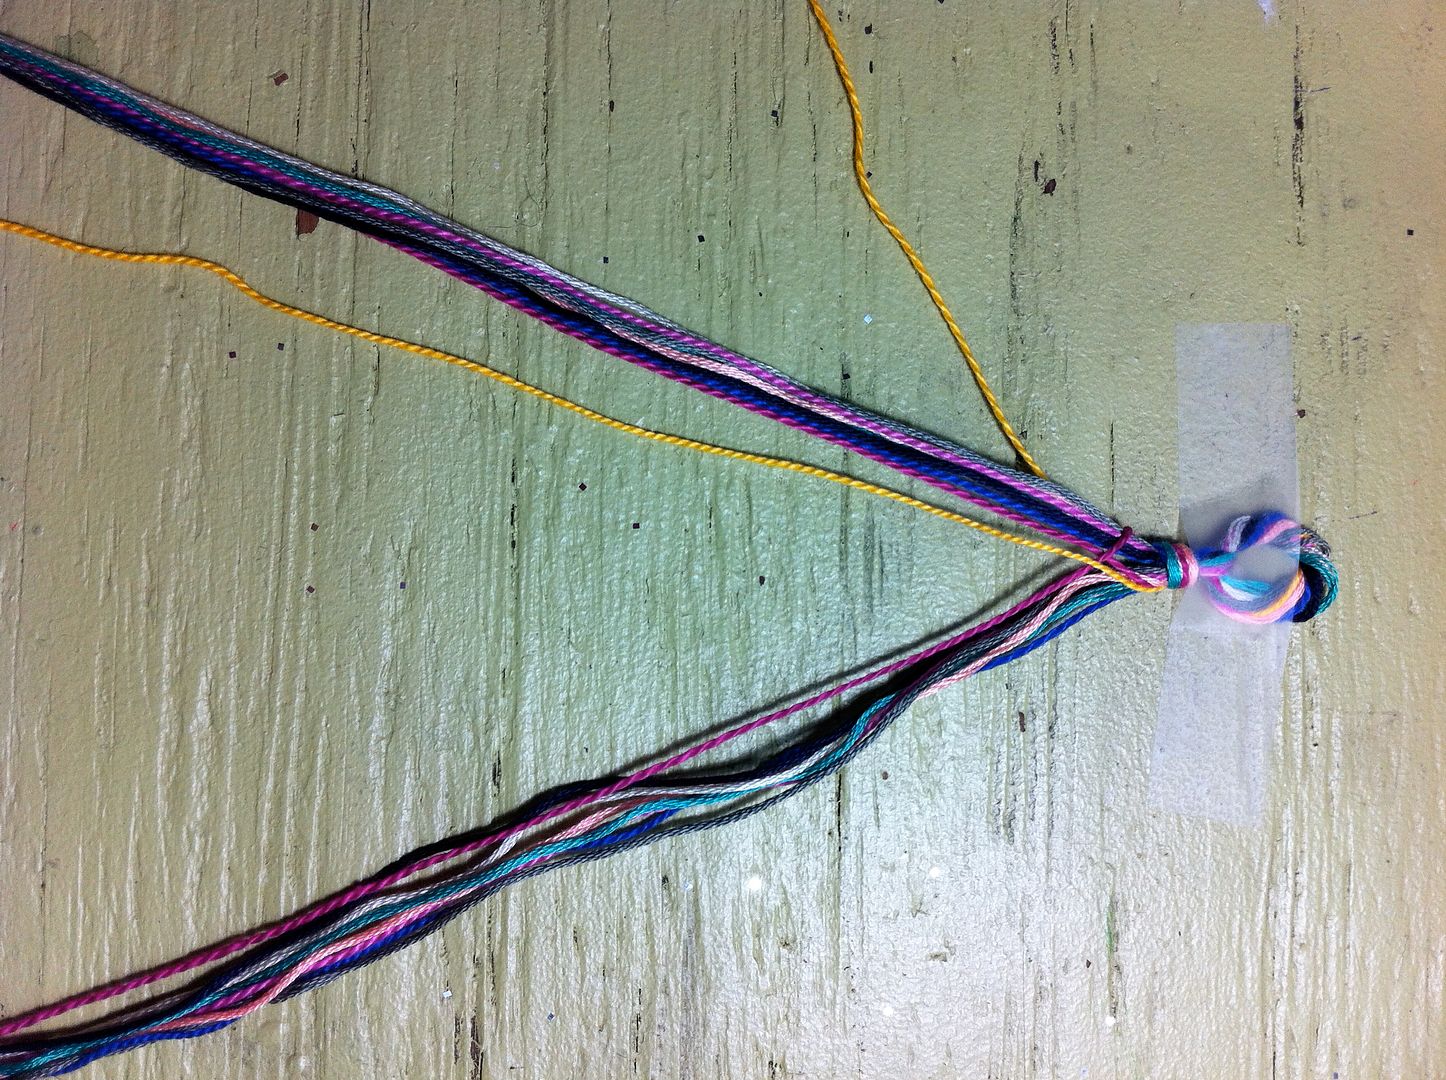
Pull the same color from the left side.
Photobucket
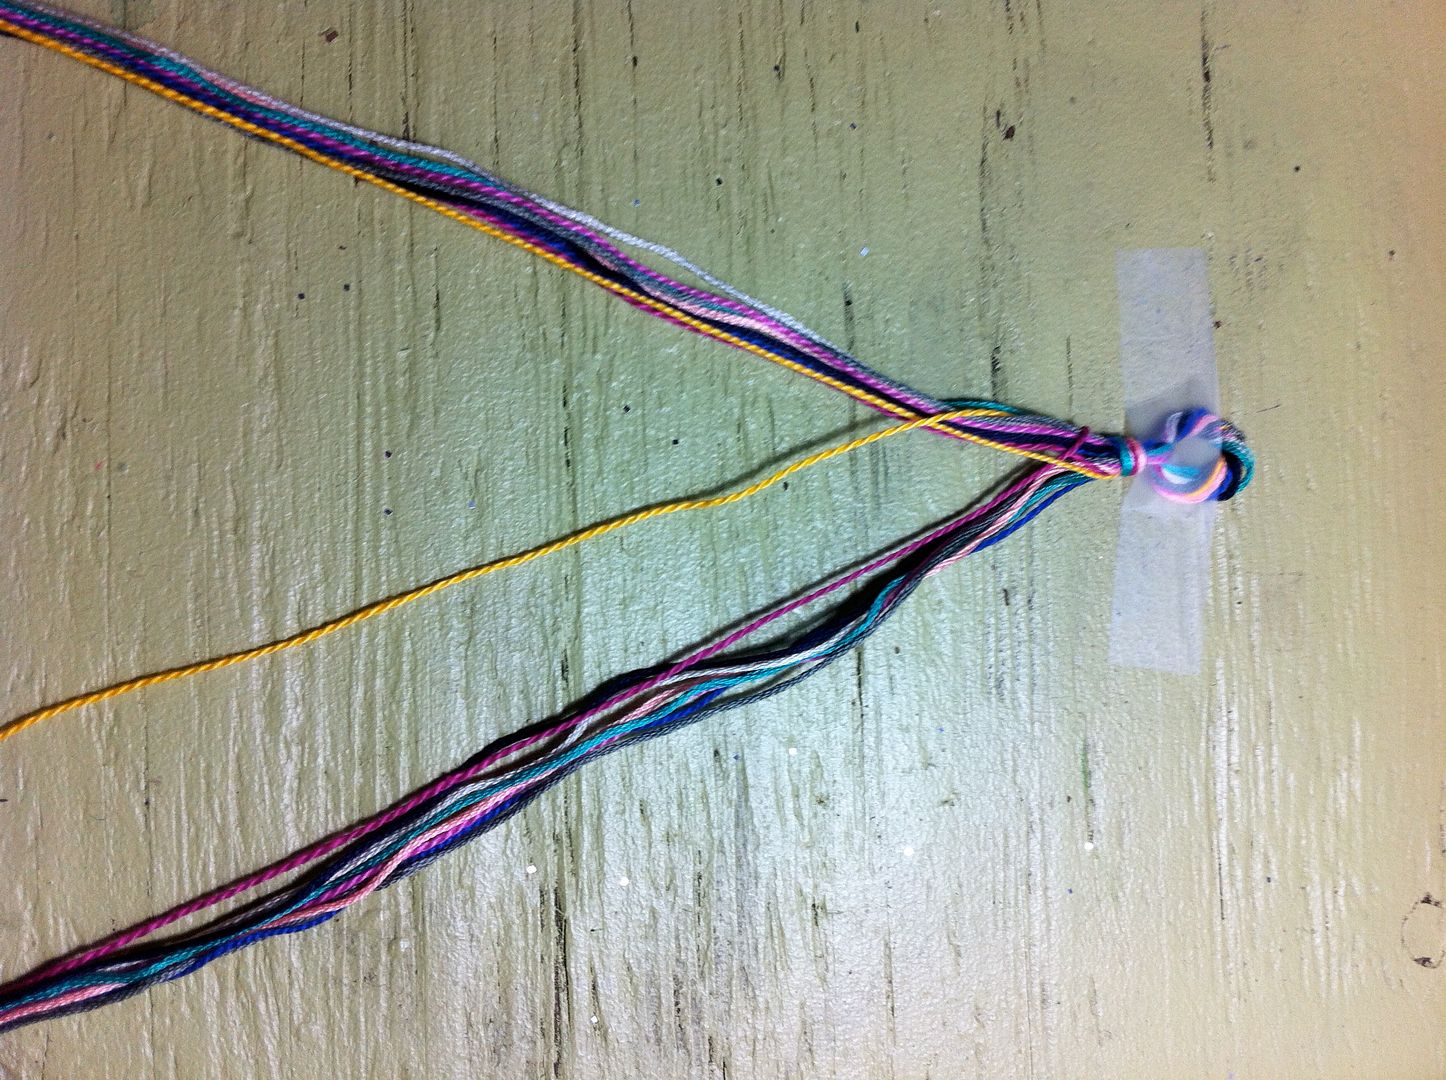
Add the piece from the right side to the left group of colors.
Photobucket
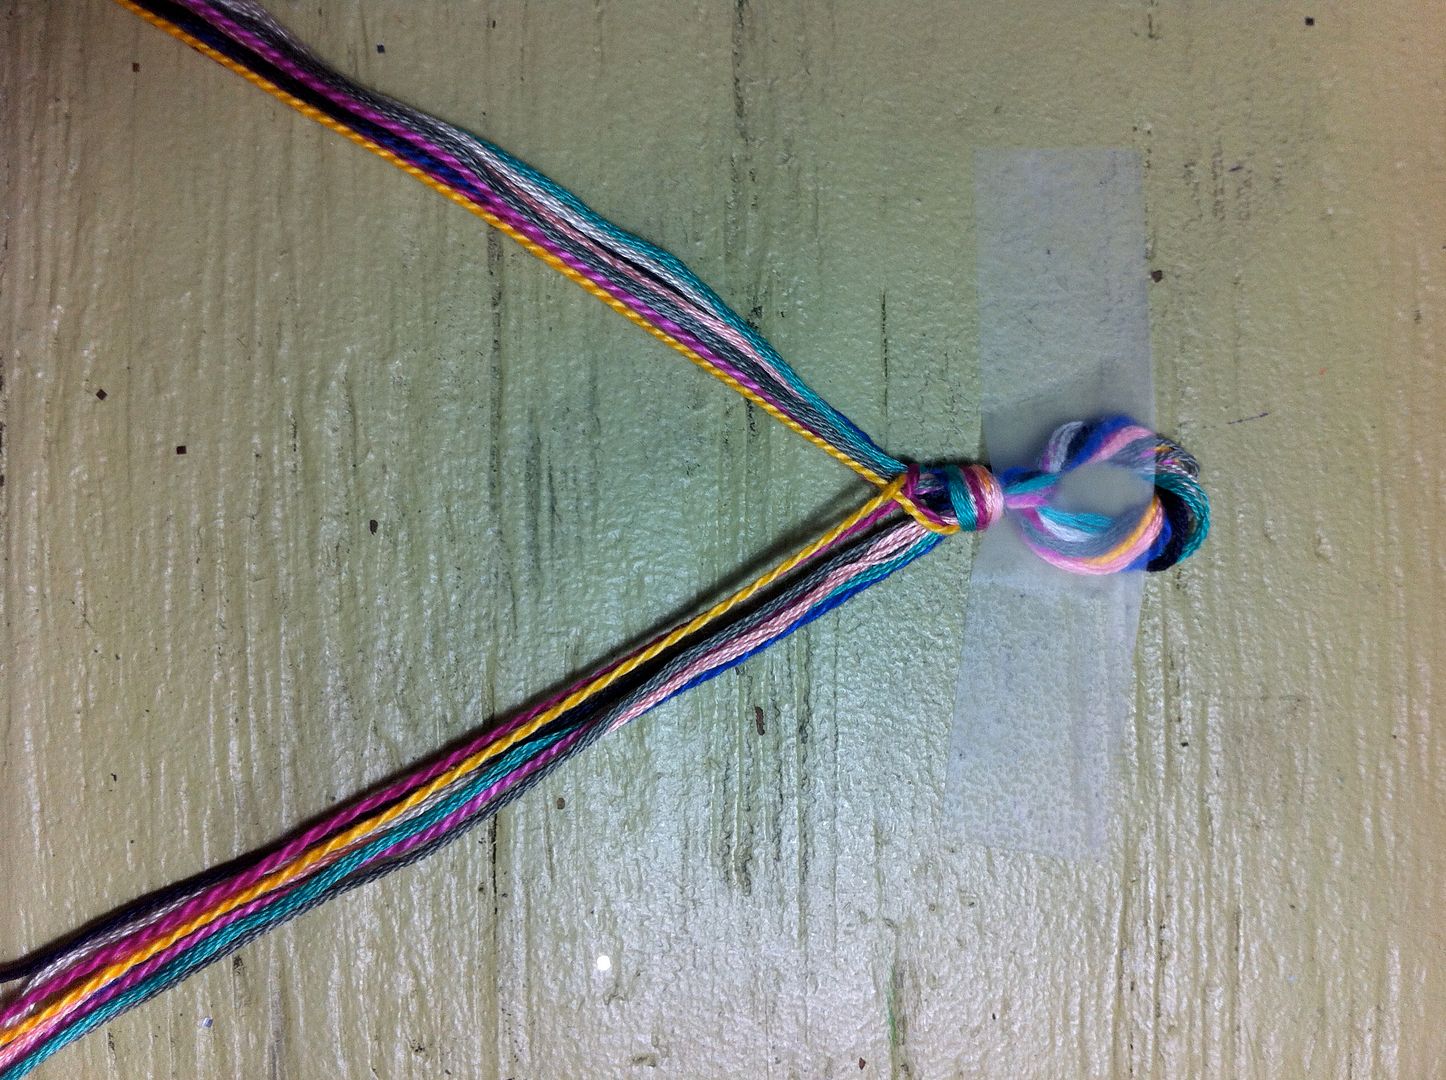
Now take the color from the left side and pull it to the middle (over all the other strands.)
Photobucket
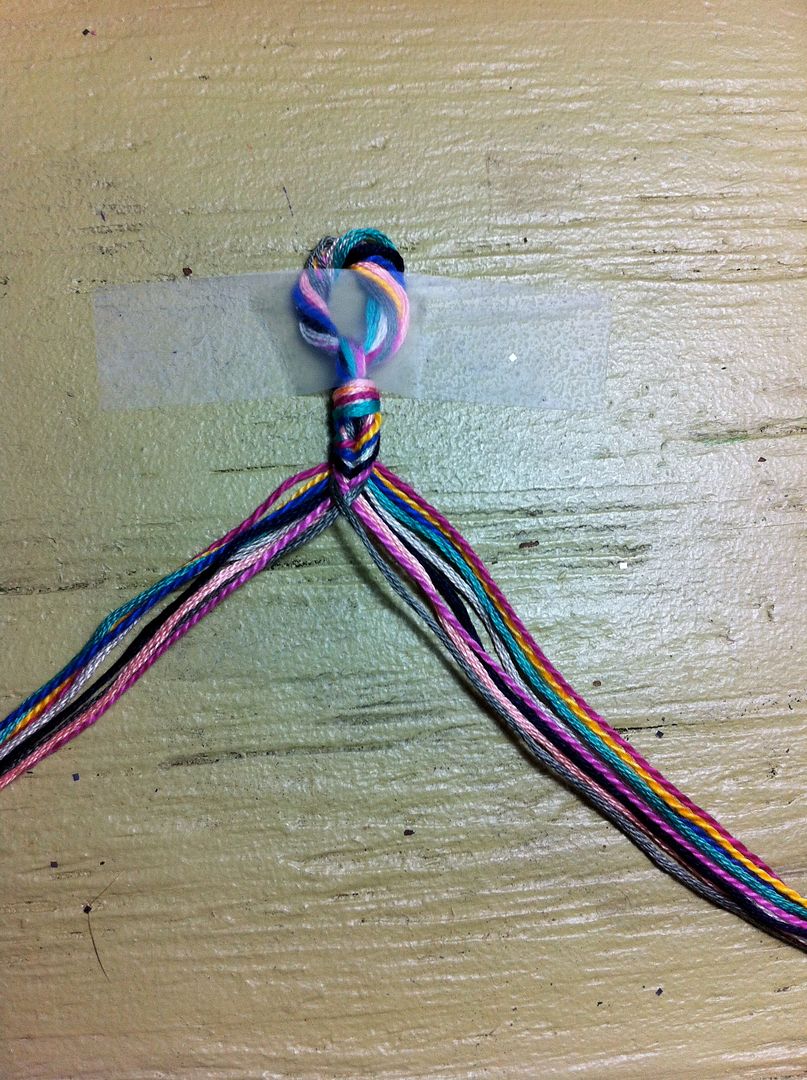
Then add it to the right side and pull the two groups towards the top to tighten the "design."
Photobucket
Repeat those steps again until you've done each color. The design will look a little messy at first but after you get through all 9 colors, it will start to straighten up.
Photobucket
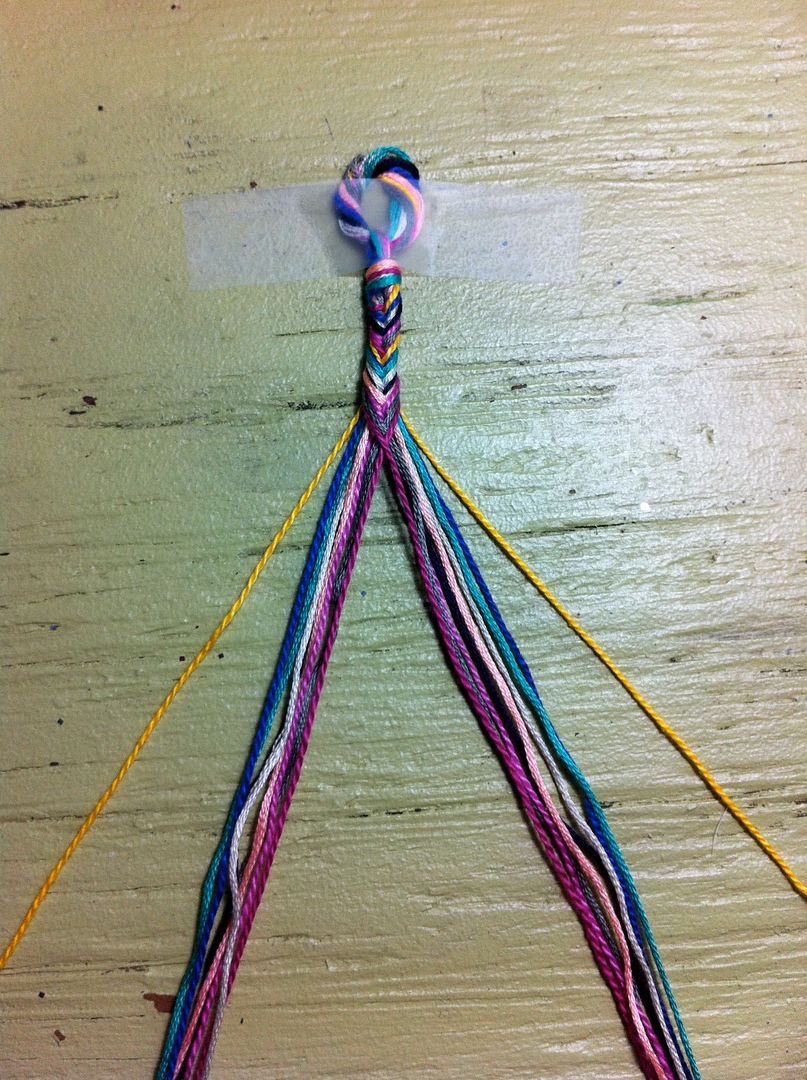
This is what mine looked like after braiding two sets. Once your bracelet has the pattern going, you can either keep the color pattern going or just make it random. If you do make your color pattern random, make sure you take a piece from the outside.
Photobucket
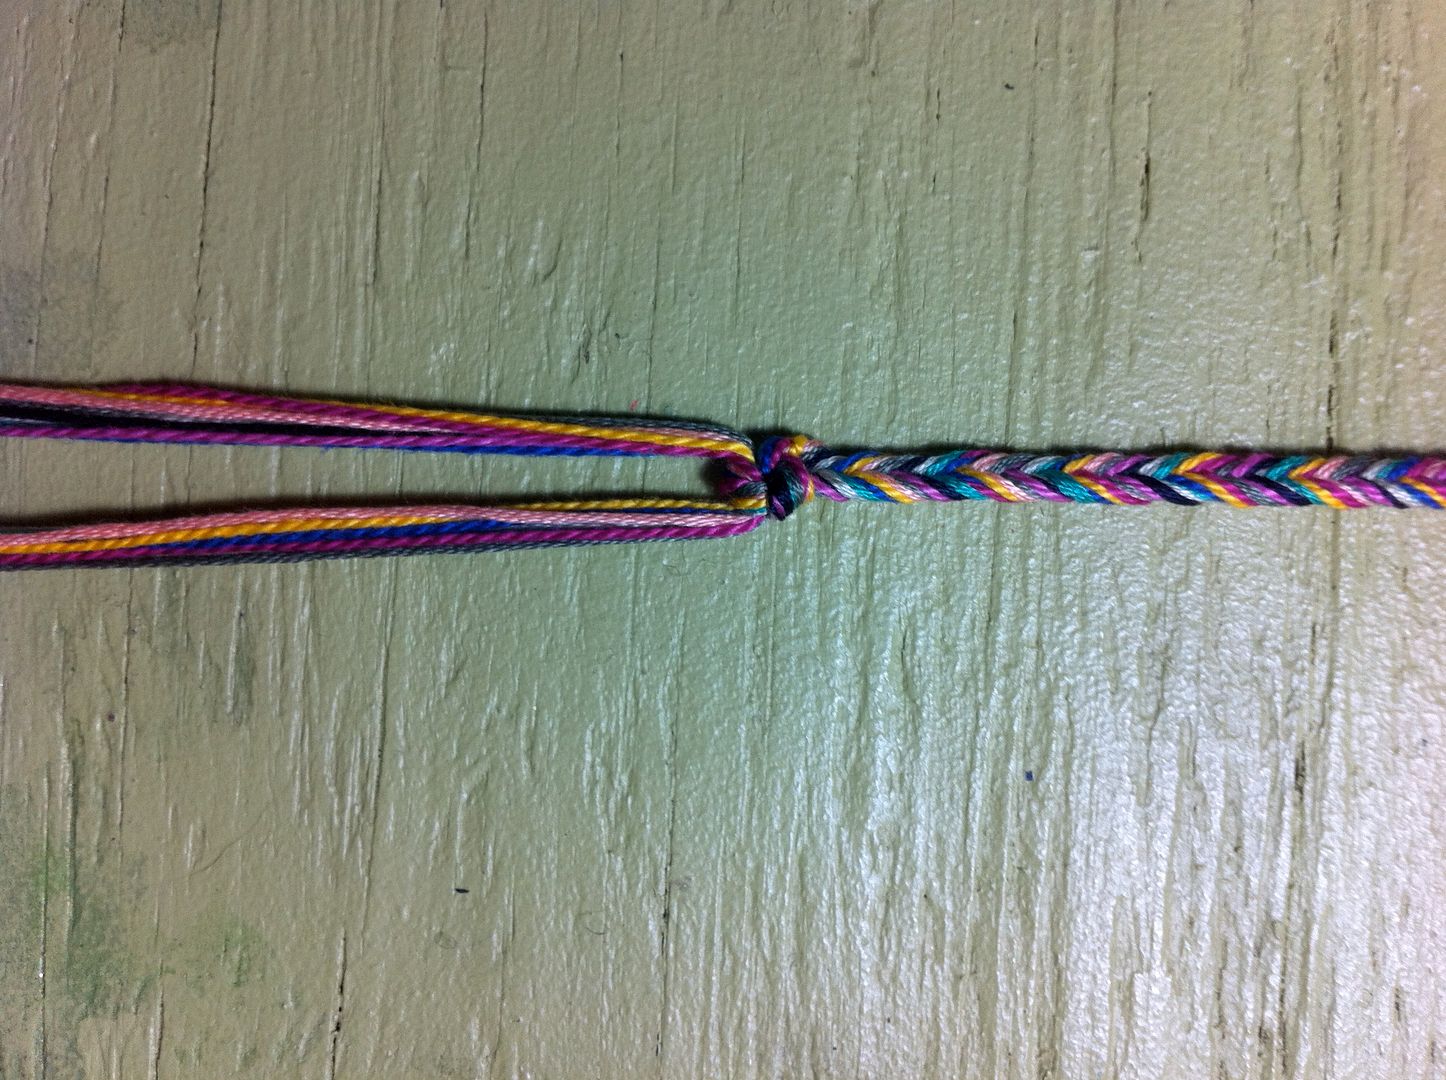
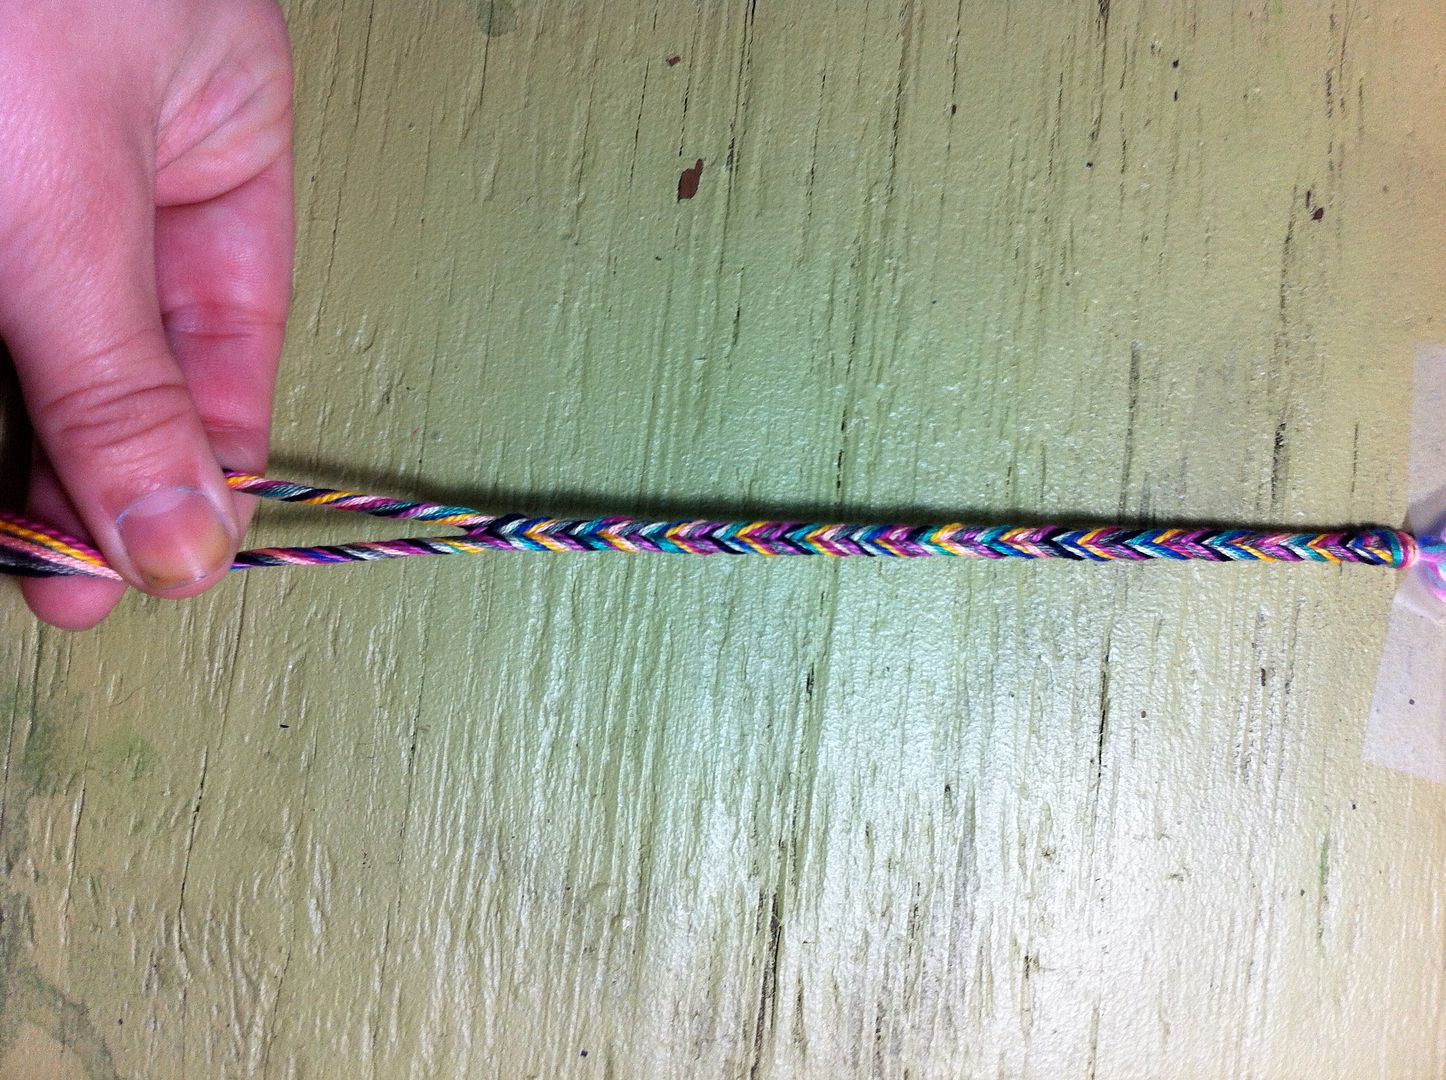
When you've braided as much as you need, twist the two groups inward (towards each other.)
Photobucket
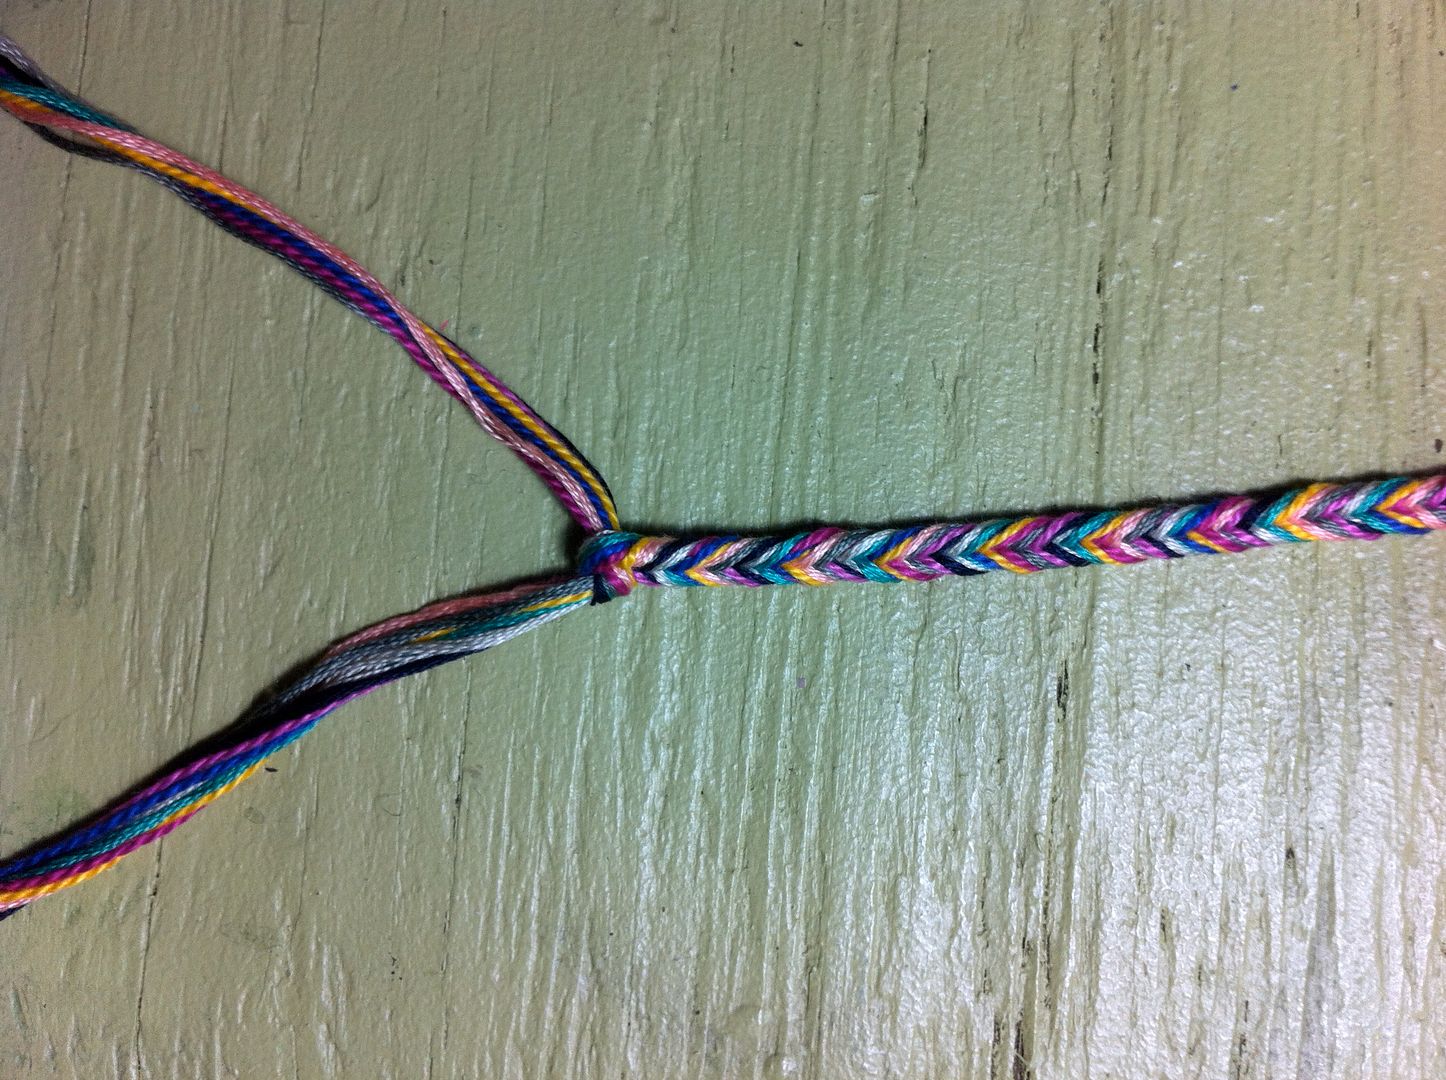
Then tie a knot.

Photobucket
And another knot...

Photobucket
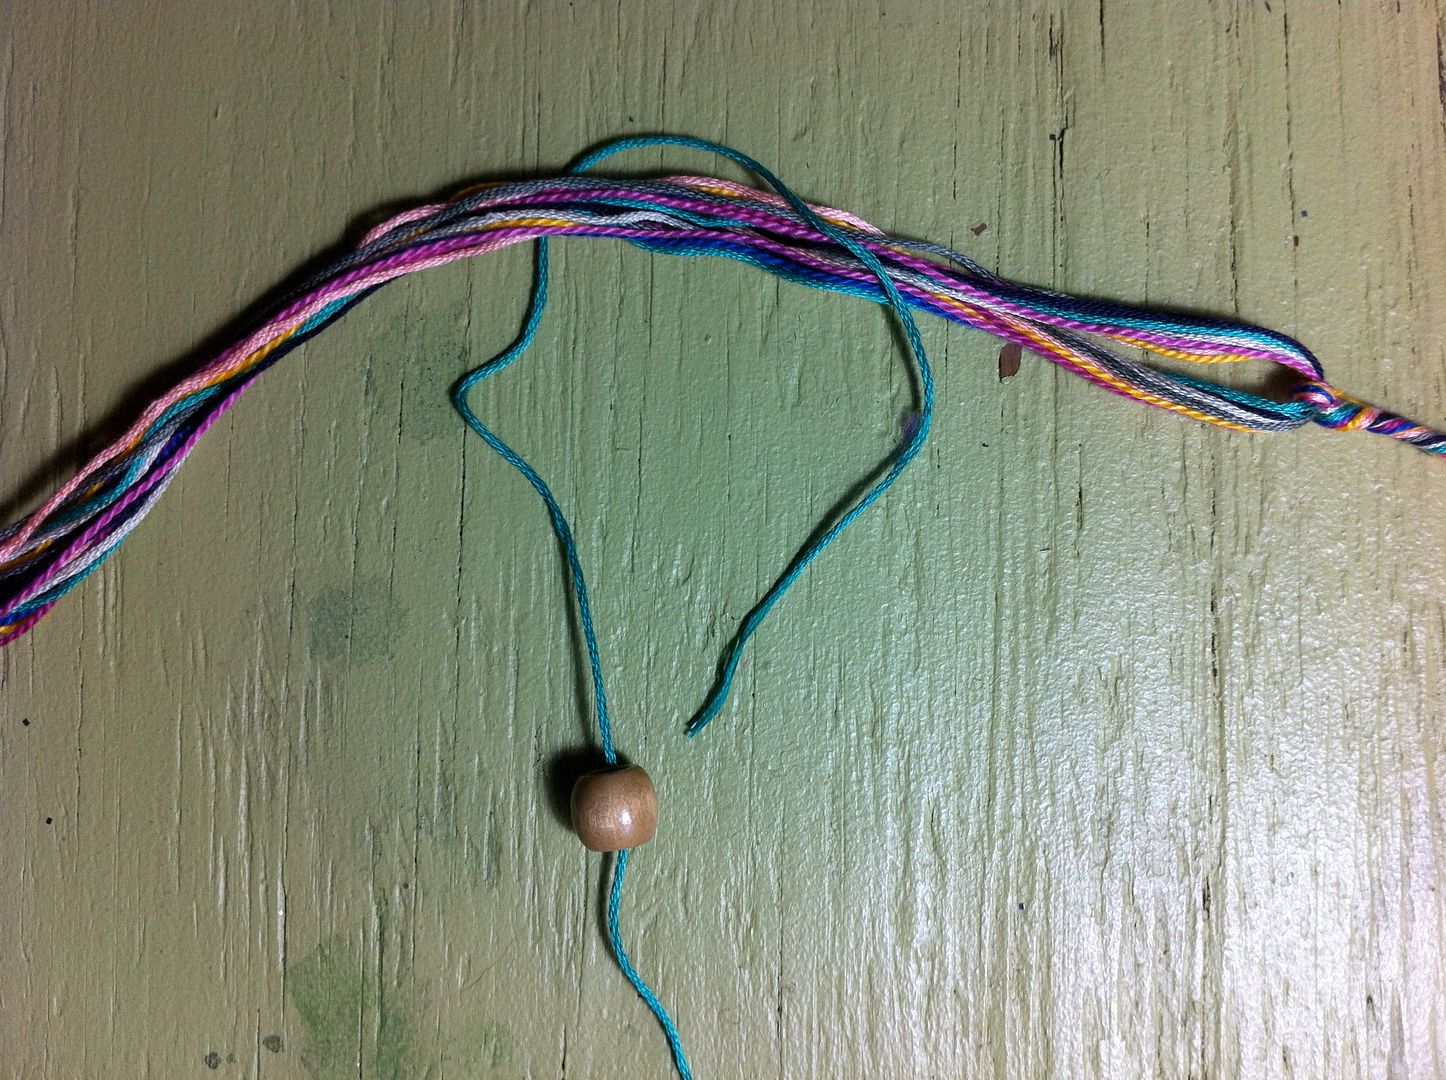
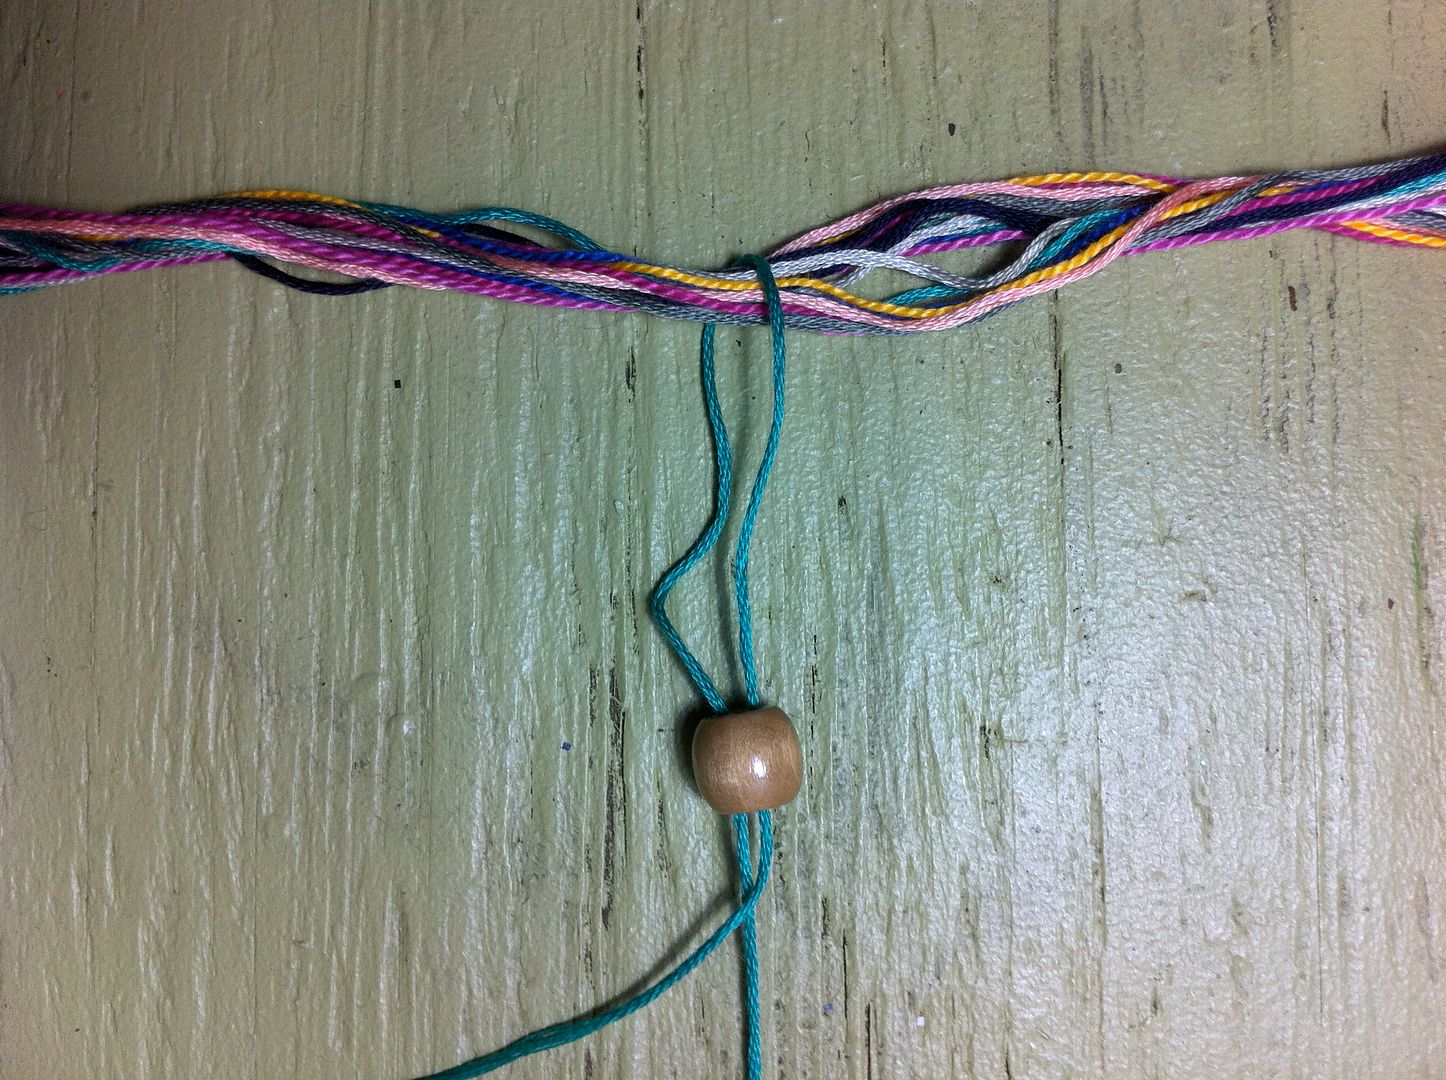
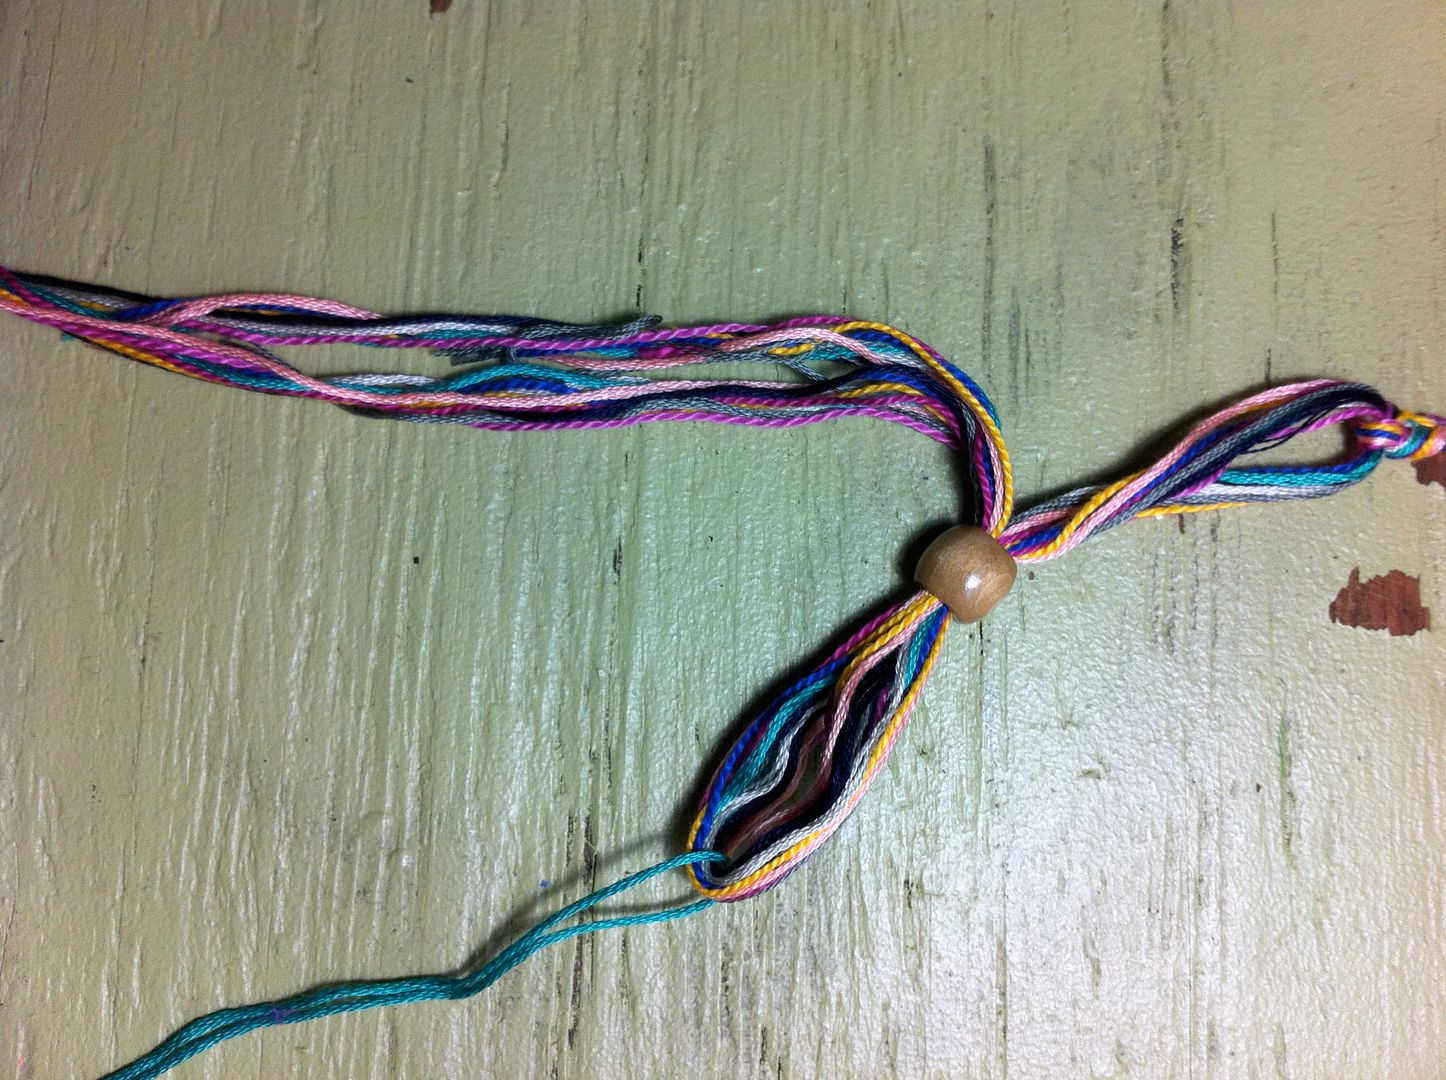
Now you will thread your bead onto all of the strands. I'm going to show you an easy way to do that. Take another shorter piece or string and thread it through your bead and then wrap the string around the group of strands.
Photobucket
Then thread the smaller strand back through the bead.
Photobucket
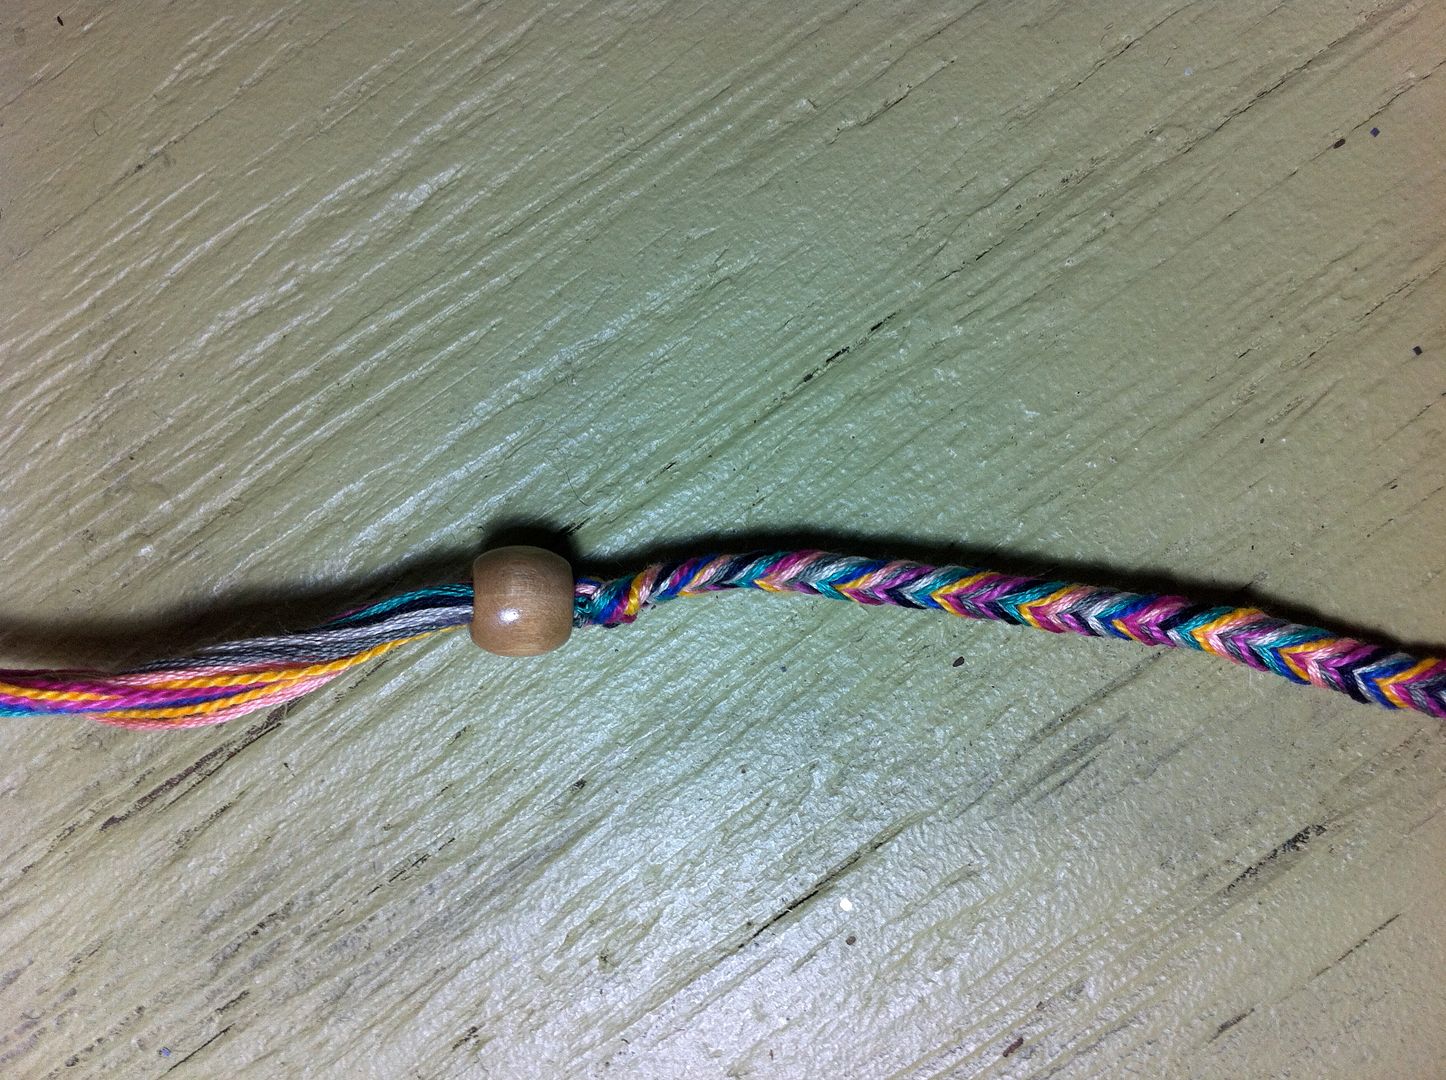
Grab both ends of the strand and pull through bead and the group of strands will come through with it.
Photobucket
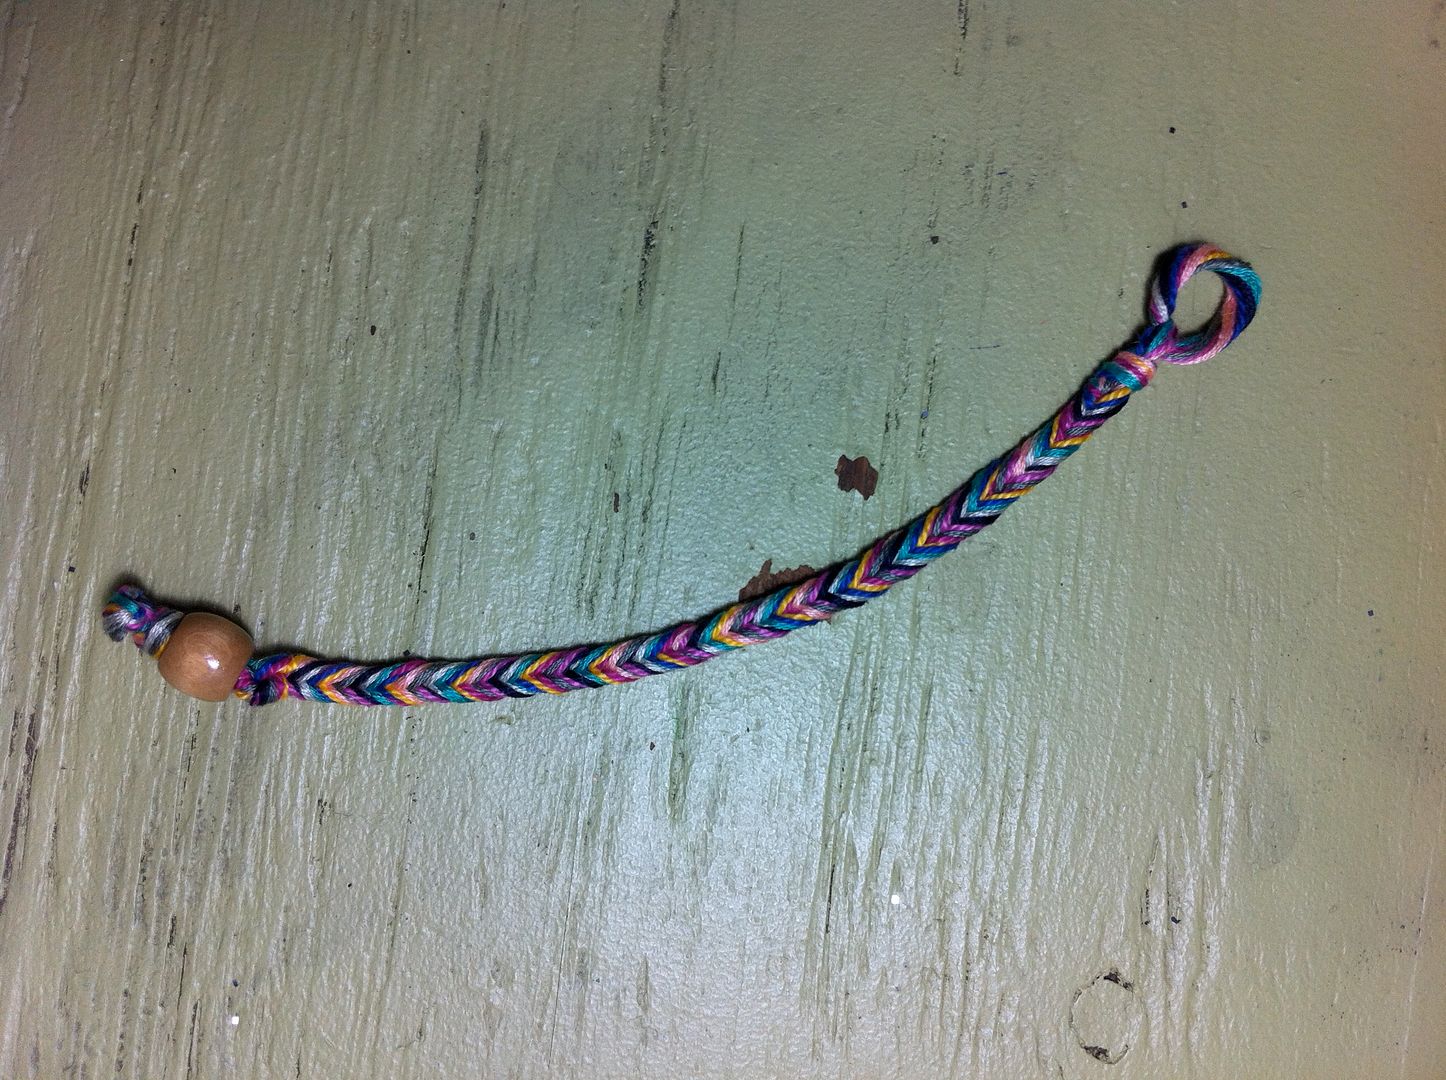
Then slide your bead up to the knots.
Photobucket
And tie two knots underneath the bead and cut off the extra string.
Photobucket
There you have it! This bracelet does take some time to finish but not as much time as other friendship bracelets I've tried. We'll be making more of these bracelets soon in all sorts of colors so stay "tuned"!

xo, Savannah

**This post contains affiliate links.

the TUTORIAL: TWO BRAIDS AND A BUN

I've been wanting to try this whole braid-your-own-hair headband look but I wanted to make the braid look like a real headband. I created this super messy styled bun and decided to do 2 small braids. One of my favorite headbands is one of those double braided leather-ish ones so I figured this would look something like wearing that in my hair. Enjoy!

Photobucket
Tease all of the hair on top of your head.

Photobucket
Push all of your hair back and smooth out the top.

Photobucket
Pull your hair back into a tight and high ponytail and leave out a small amount of hair right in front of the ears (on both sides.)

Photobucket 
 Loosen the hair at the top of your head with the end of a comb.

Photobucket
Tease all of the hair in your ponytail.

Photobucket 
 Swirl the hair into and bun and bobby pin into place.

Photobucket
Braid the hair that you left out before and secure with a clear elastic.

Photobucket 
 Pull one braid across your head and pin into place behind your ear. If there is any hair left hanging, tuck it into your hair that is pulled back. Repeat on other side.

Photobucket
Done! At this point you can pull the braids away from each other like I did or keep them together.

Photobucket 
 View of my hair from the back. IT'S. BIG.

Photobucket 
Up close.. I had this ridiculous piece of hair that kept coming out and I pinned it up but clearly I could've hidden the bobby pin better.

Photobucket 
And eeeeeven closer. You could do this same hair style with bigger braids too! Thanks for reading!

P.S. Sometimes I get bored in photoshop and things like this happen.
Photobucket 
Cartoon-ish me!

the DIY: DREAM CATCHER

Photobucket 

I've had this hoop forever it seems like. I bought it to make a dream catcher and I've finally done it. I tried to make mine as simple as possible. You don't really need much to re-create this one. Casey had all these granny squares hanging around the house so I figured I would make use of one of them. You can see directions on how to make one here. You will also need a hoop, ribbon in assorted colors, extra yarn, feathers, beads and some scissors.

Photobucket 
As you can see, the granny square is much smaller than the hoop. You want it to be like that because we will be stretching it out.

Photobucket 
String the yarn through each corner and tie around the edge of the hoop. This may be easier with a large needle.

Photobucket 
Cut off the extra yarn off so it won't be in your way.
Photobucket 
Next you will just weave yarn in and out of sections of the granny square and around the hoop. The great thing is, this doesn't have to be perfect.

Photobucket
Next you will pull the yarn as tight as it will go and it will stretch out the square. Then tie a knot with the two ends and cut the extra yarn off.

Photobucket
Now you can cut the original yarn pieces off that you had put through the corners.

Photobucket
Next tie ribbon to the end of the hoop in whatever colors you want. You can see the colors I used above.

Photobucket
String two beads onto a ribbon.

Photobucket
Tie a knot in the ribbon where you want the feather to start and slide the top of the feather through the knot before you tighten it.

Photobucket
Tighten the knot.

Photobucket
Slide the beads over the top of the feather and the knot. Repeat this on as many ribbons as you would like.

Photobucket
To change it up a little I did the beads a little different on one of the strands. Slide the bead on...

Photobucket
Then put the strand through the bead in the same direction you did before...

Photobucket
And then put the strand through again, in the same direction, but on the other side. I actually ended up adding another feather and bead the way I did the first feather.

Photobucket
You'll need a way to hang the dream catcher so all you need to do is get a string or ribbon or whatever strand of something you like.

Photobucket
Tie the ends of the strand in a knot.

Photobucket
Put the piece under the hoop where you want the center to be.

Photobucket
Pull one side through the other...

Photobucket
And tighten.

Photobucket
I put a bead over the strand to cover the knot.

Photobucket

Photobucket
And this is my dream catcher all finished! It was super simple and didn't take much time at all. If you already have a granny square lying around like I did, you can have this project done in no time!