Some of our most popular posts on this blog are about friendship bracelets! We've made some complicated ones and we've made some really easy ones. But today we are going to talk about something a little different- how to make a grown up looking friendship bracelet.
You may also like:
- The Fastest Friendship Bracelet Ever
- A Crazy Complicated Friendship Bracelet
- DIY Heart Friendship Bracelets
I think we all understand that sometimes a friendship bracelet can look juvenile. But with this tutorial you can keep wearing matching bracelets with your besties even as you get older.
Things you will need:
-
Friendship Thread
-
Scissors
-
Tape
-
Jump Rings
-
Metal Crimps
-
Lobster Claw
-
Chain
-
Jewelry Pliers
This KIT has almost everything you need.
The main key to grown-up friendship bracelets is creating the whole thing with only one color. And once we get to the end we are going to finish it like a real removable bracelet so it seems professionally made. People really may think yours is store-bought! Let's get started.
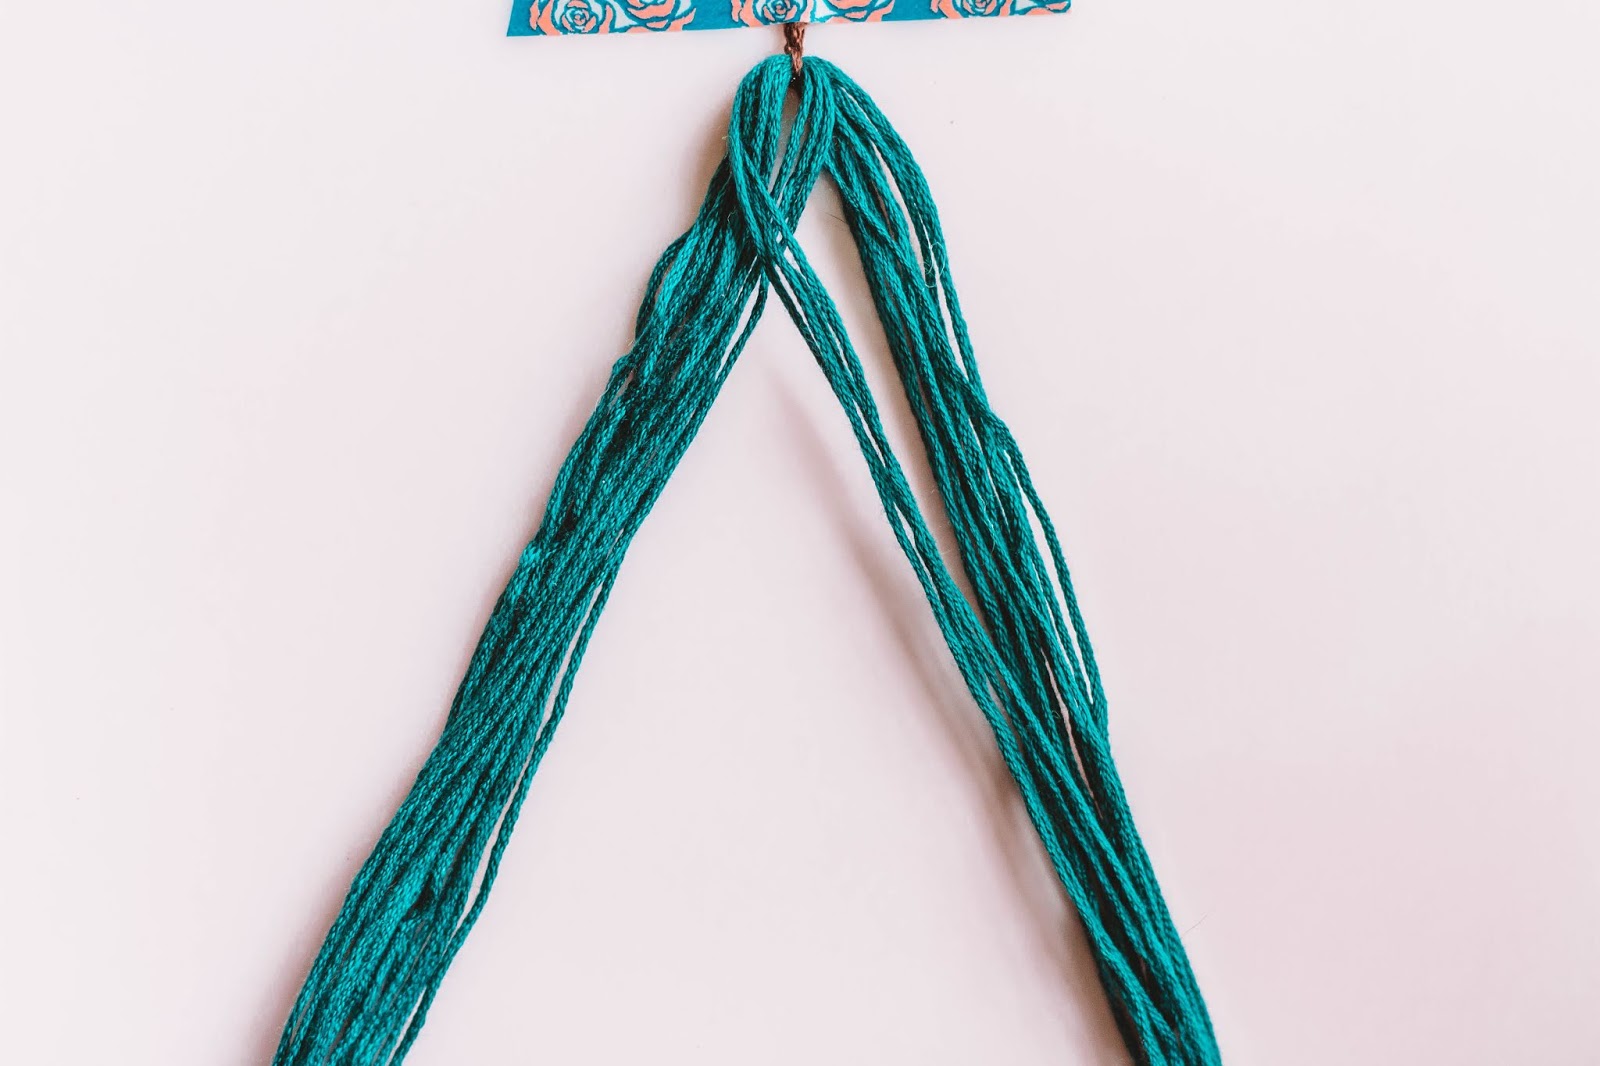
Step 1. Unravel the whole pack of thread in the color you will be using. Fold the thread in half 4 times and either tie a knot at one end or tie a string around the center. Tying a string around the center of the group of strings uses less space and makes it less bulky. Then cut the opposite end of the string to release all the folds.
Step 2. Separate the strings into two equal sections. Take a group of 4 strings on the right and separate them from the rest.
Step 3. Add the group of strings to the left side.
Step 4. Take a group of 4 strings from the outside of the left group (make sure these aren't the same strings you just brought over from the other side).
Step 5. Add those strings to the right side.
Step 6. Repeat steps 2-5 over and over until your bracelet is as long as you want it to be.
Step 7. Use tape to tie up the end rather than tie a knot. We really want to keep the bracelet as flat as it can be for the finishing process.
During this process we will be able to lengthen the bracelet if it isn't long enough to fit around your arm. Make sure you have jewelry chain if that's what you are wanting to do. Read more depth instructions on this
in this post here.
Step 8. Cut the string that is tied around the bracelet right next to the knot. Put a metal crimp over the end of the bracelet.
Step 9. Use the jewelry pliers to clamp the crimp down.
Step 10. Cut off the other end, but make sure to leave a section with tape to hold everything together. Then place the metal crimp over then end and use the pliers to clamp it down.
If your bracelet doesn't need any length added you will need 2 jump rings and 1 lobster claw to finish the bracelet. If you need a little length added you will need to add chain and a jump ring. You can see more about this here.
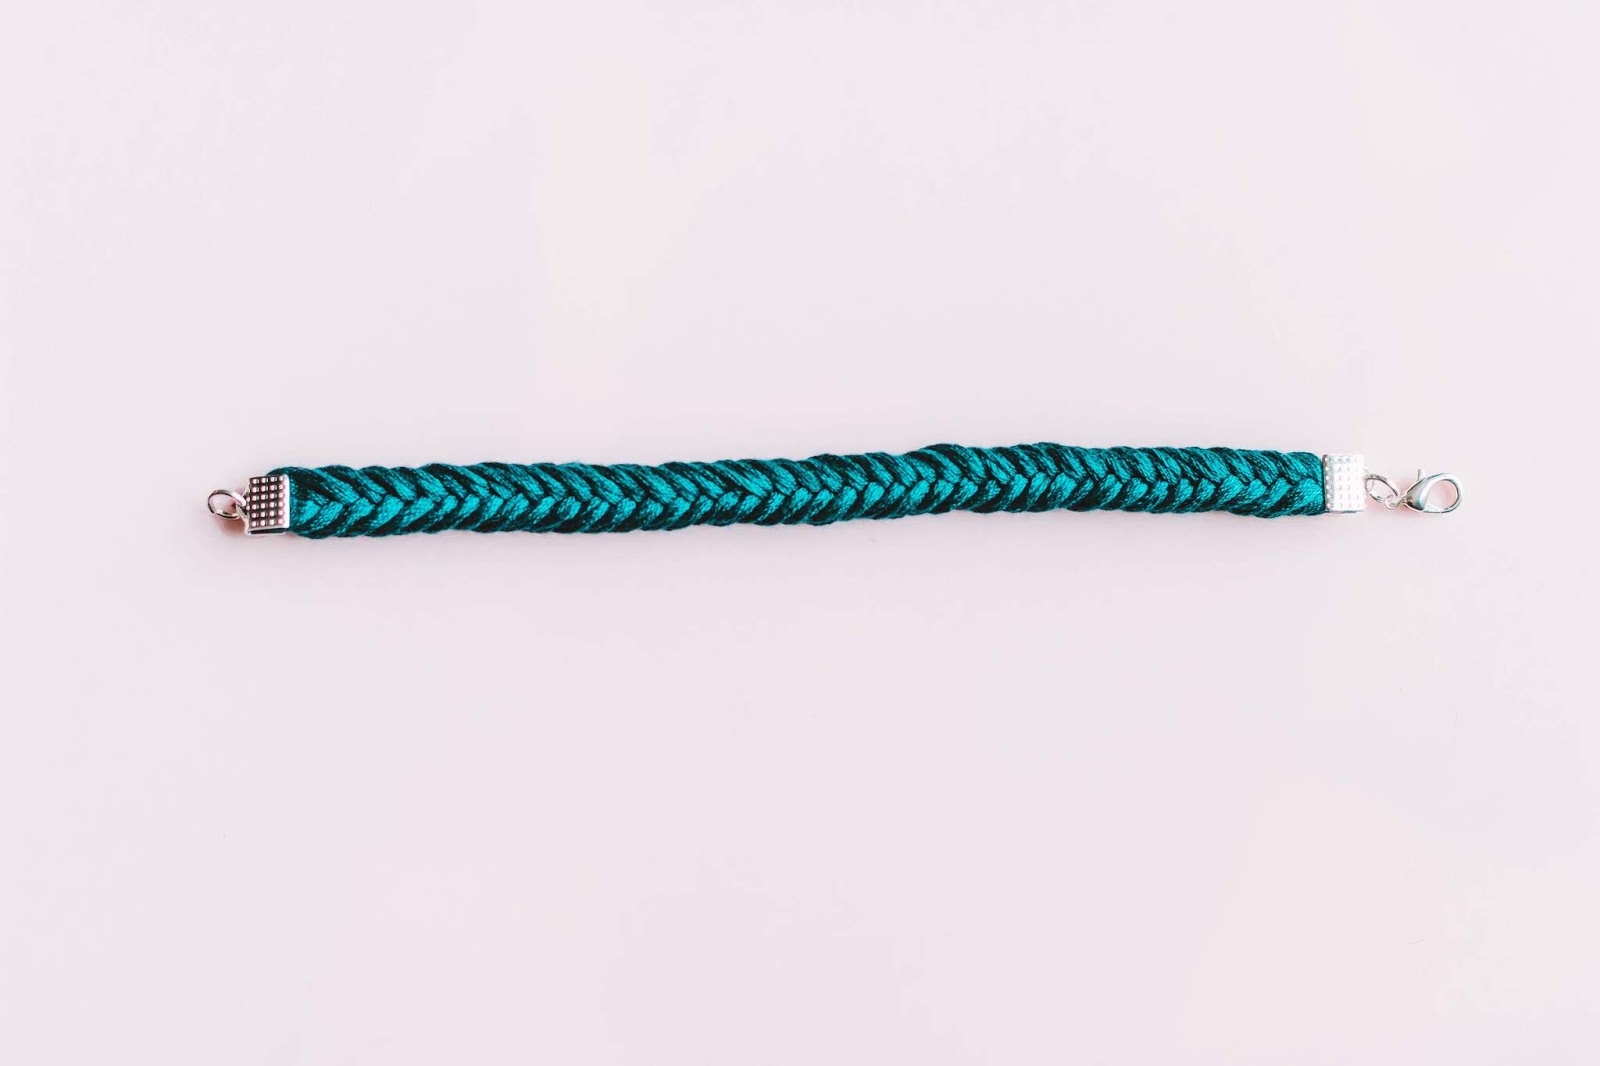
Step 11. Attach the jump ring and lobster claw to one side and a jump ring to the other side.
And there you have it! A removable grown-up friendship bracelet. If you are looking for something a little smaller,
check out this post. And if you are looking for something a little more complicated
check out this post!
If you liked this post and would like to see more like it, join our e-mail list here. And don't forget, we love it when you pin our pics to your Pinterest account!
xo, Savannah
**This post contains affiliate links.**


Working with Agent.biz https://agent.biz/trademark-attorney/ was an absolute pleasure. Their trademark lawyer took care of my trademark registration quickly and professionally. I was impressed by their deep knowledge of trademark law and their clear explanations. Every step was transparent, and I always felt informed. The process was stress-free, and I’m thrilled that my brand is now protected. If you’re looking for reliable trademark experts — Agent.biz is the one to trust!
ReplyDeletespace waves belongs to the arcade action genre with rhythmic movement that keeps every moment intense.
ReplyDeleteElegant and timeless jewelry style. moissanite tennis bracelet
ReplyDeleteThe game bad time simulator is a challenging fan-made game recreating Sans boss fight from Undertale with fast-paced dodging mechanics intense battles.
ReplyDeleteGreat tutorial! The steps are simple and easy to follow, and the final bracelet looks really stylish. I like how you explained each step clearly so beginners can also make it without confusion. By the way, if anyone is also interested in creative editing apps, you can check out wink mod apk for ios which offers some useful features for enhancing videos and photos. Keep sharing more amazing DIY ideas!
ReplyDelete