Well hello there. Today we are going to tell you how to download presets into your Lightroom app on your phone. We also have a free preset to give you! We understand that not everyone has DSLR camera and you just don't have time to deal with taking photos that way. You just want to use your phone, but still have a professional look to your photos. Today we are talking about one thing you can do to make that happen, all on your phone!
Use the Lightroom app and presets to edit your photos. The Lightroom app lets you edit so many different things on your photos that a lot of other apps don't allow you to do. And bonus, you can use presets like our free one- 'HW Rainbow 1'. For a while you weren't able to use presets very easily on the app, but you can now. So if you don't already have the app on your phone, search 'Adobe Lightroom CC' in your app store and download it. Oh and bonus bonus, the app is free to download and use!
Download our free Rainbow 1 preset. Lately, this preset is the one we have been using on almost every photo. It works well on naturally lit photos (i.e. pictures that are lit by the sun not artificial light coming from light bulbs or fluorescent lights). Soon we will have a collection of Rainbow presets that will work on a variety of different types of photos. With this free one, it will work best if you steer away from artificial light and direct sunlight. But if we are being honest, you should steer away from both of these things anyway to get the best photograph.
Now, once you have joined our newsletter group above, you will be taken to a google drive link where you can download the file. Follow the instructions below to make sure you correctly install it into your Lightroom app on the phone. How To Install A Preset Into Lightroom On Your Phone
1. Download the preset file.
2. Unzip the file. If you have an iPhone, you won't be able to do this on your phone. Just unzip the file on your computer and either Airdrop it to your phone or e-mail to yourself. If you e-mail it to yourself, just save the image.
3. In the Lightroom app, click the button to add a photo. Select the .DNG file(s) and import into Lightroom.
4. Open the .DNG file.
5. Slide to the right on the bottom and click 'Presets'.
6. Click the three dots in the top right corner.
7. Click 'Create Preset'.
8. Name the Preset according to what preset it is that you are importing. If you are installing our free preset, you will write 'HW Rainbow 1'.
9. Select what Preset Group you would like this new preset to live in. You can create a new Preset Group if you'd like to keep all your HW presets in one folder, or you can just keep everything in 'User Presets'.
10. Click the check mark to complete the process.
Once your preset is installed, it will be there forever! Just open the photo you want to use in the Lightroom App and apply the HW Rainbow 1 preset to it and voila! There are some adjustments you may have to make in order for the preset to look the best on your picture, and we will talk more about this in another post. For now, make sure you check out the exposure to see if you need to change it according to each photo's needs.
There will be more content coming involving editing photos and even taking photo for Instagram, so be sure to just our e-mail list by clicking this link.
And if you do download our preset, be sure to tag us in your photos by using the hashtag- #heywandererpresets Don't forget to pin the image below for later!
A couple weeks ago Casey was telling me that we should make some Instagram templates, as she had seen a couple floating around the internet and thought it was a good/fun idea. I wasn't so sure about it, but soon realized that people really liked them. So this past weekend we finally made some. The first one is the game of Tic-Tac-Toe. We thought this would be a really fun way to interact with your friends and followers! Basically you play a game of tic-tac-toe by tagging a friend to make the next move. Next they tag a different friend and at the end you've played a game with 5-9 different people!
Anyway, if you are into the Instagram template trend, just save these photos to your fun and add to your own stories to fill them out. Also, stay tuned as we have an Instagram course coming soon!
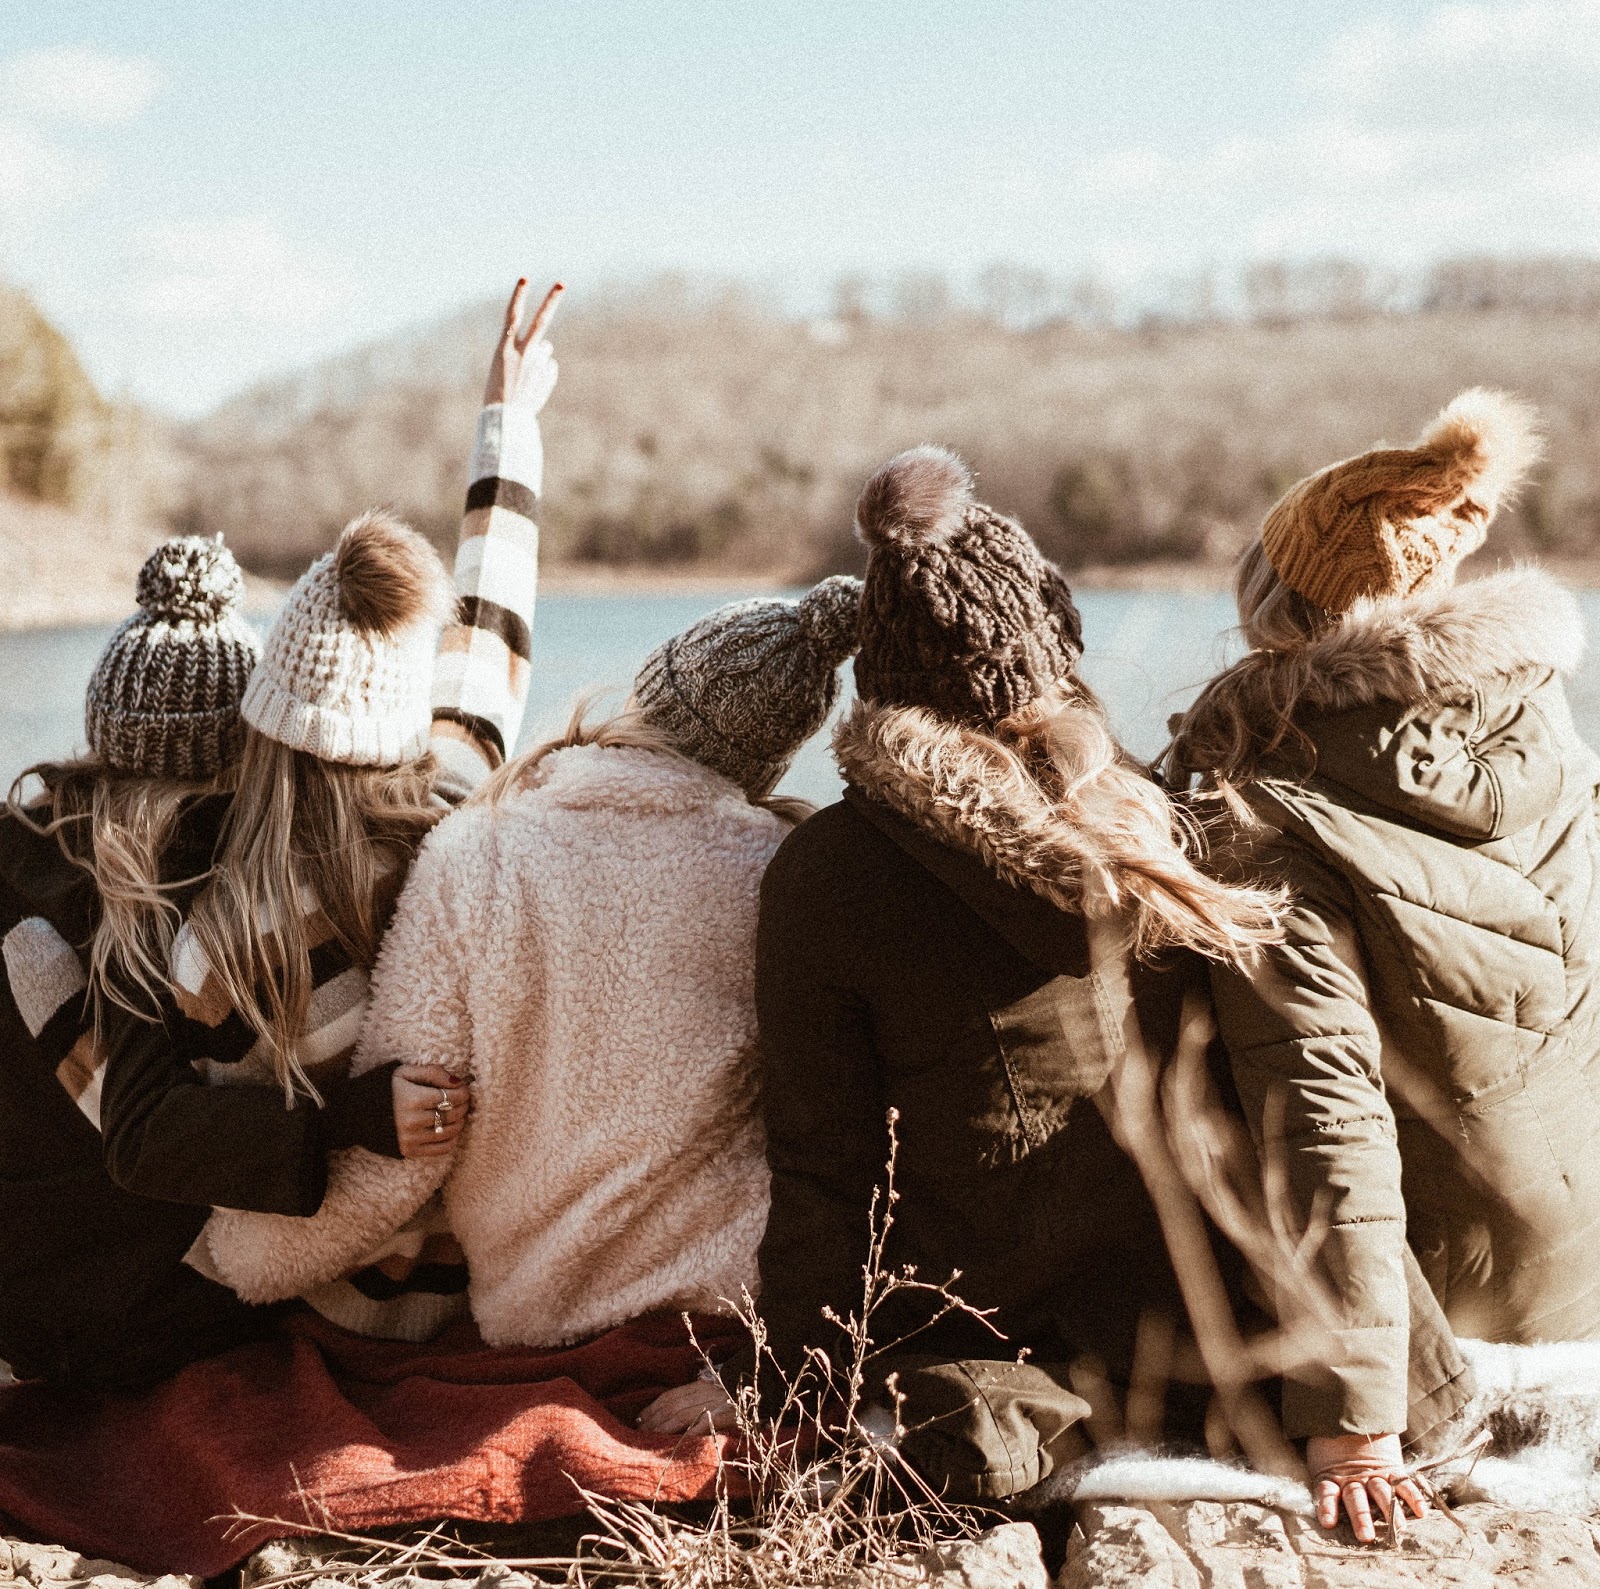
Over the past few months, Casey and I have been trying to perfect our best friend poses. We are definitely getting more comfortable with it, but we figured you may need some inspiration as well. And I really mean inspiration. If you try to take this exact picture and it ends up being something a little different, just go with that! This may be weird but I am going to quote my college senior self here... "Art is about starting with something intentional, and letting it take you to unintentional places." Now just sub in 'BFF photos', or anything really, and you get my sentiment. We all know how to get together and take a cheerleader pose. But we are going to get a little more creative, so let's talk poses!
1. The double peace pose. This pose has become a staple, yet you don't see it toooooo often. Sometimes there's a peace sign, sometimes just an open palm. I don't really know what this pose is. It's weird actually, but it works and it looks good so we do it!
2. The side by side and forward pose. This one may seem obvious, but I think we forget that we can take photos side by side without being cheesy. We can! This particular picture was just a given because there were a bunch of swings next to each other. However, you could do the same thing in a diner booth or on a curb. You can get creative with where you sit, but just take a couple photos laughing and you'll be good!
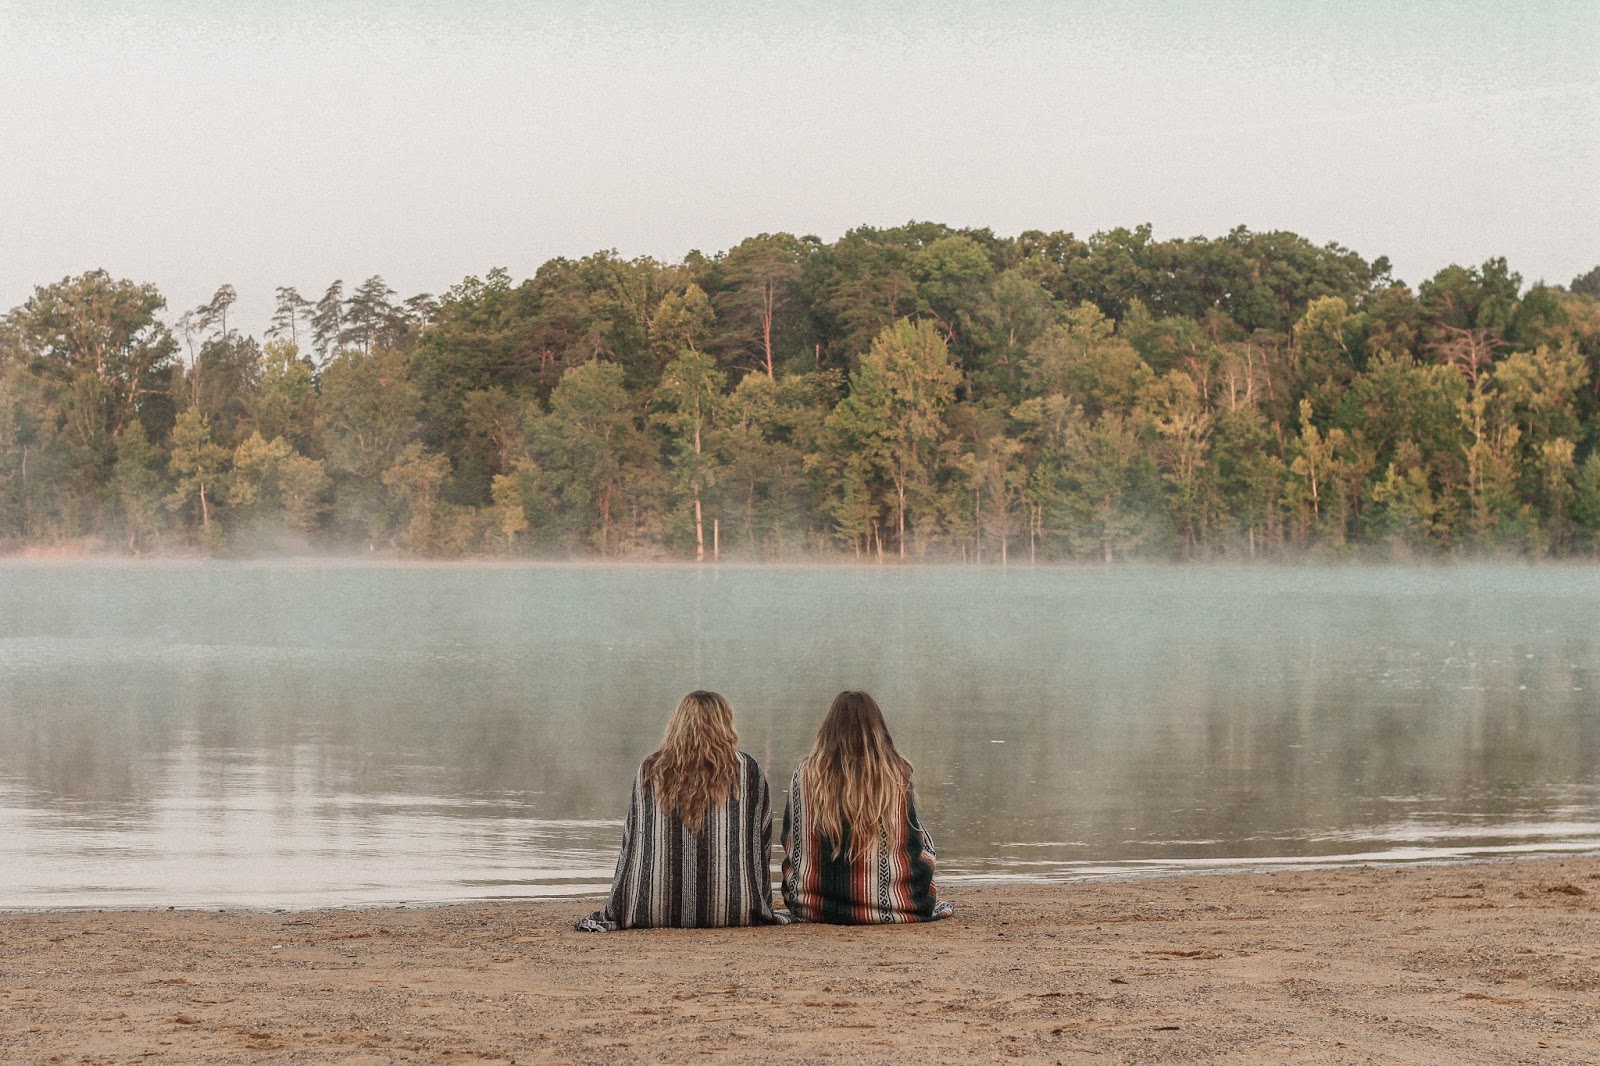
3. The sitting with your backs to the camera pose. This is basically the same pose as number 2 just facing away from the camera. This is a great pose if there is a really cool background you want a photo of or you're having a really great hair day and want to get your hair in the photo. Having people in your landscape photos is always a good way to add interest, so why not you and your bestie? This is also a great pose if you just don't want to take another one of your face, i.e. you don't have any makeup on.
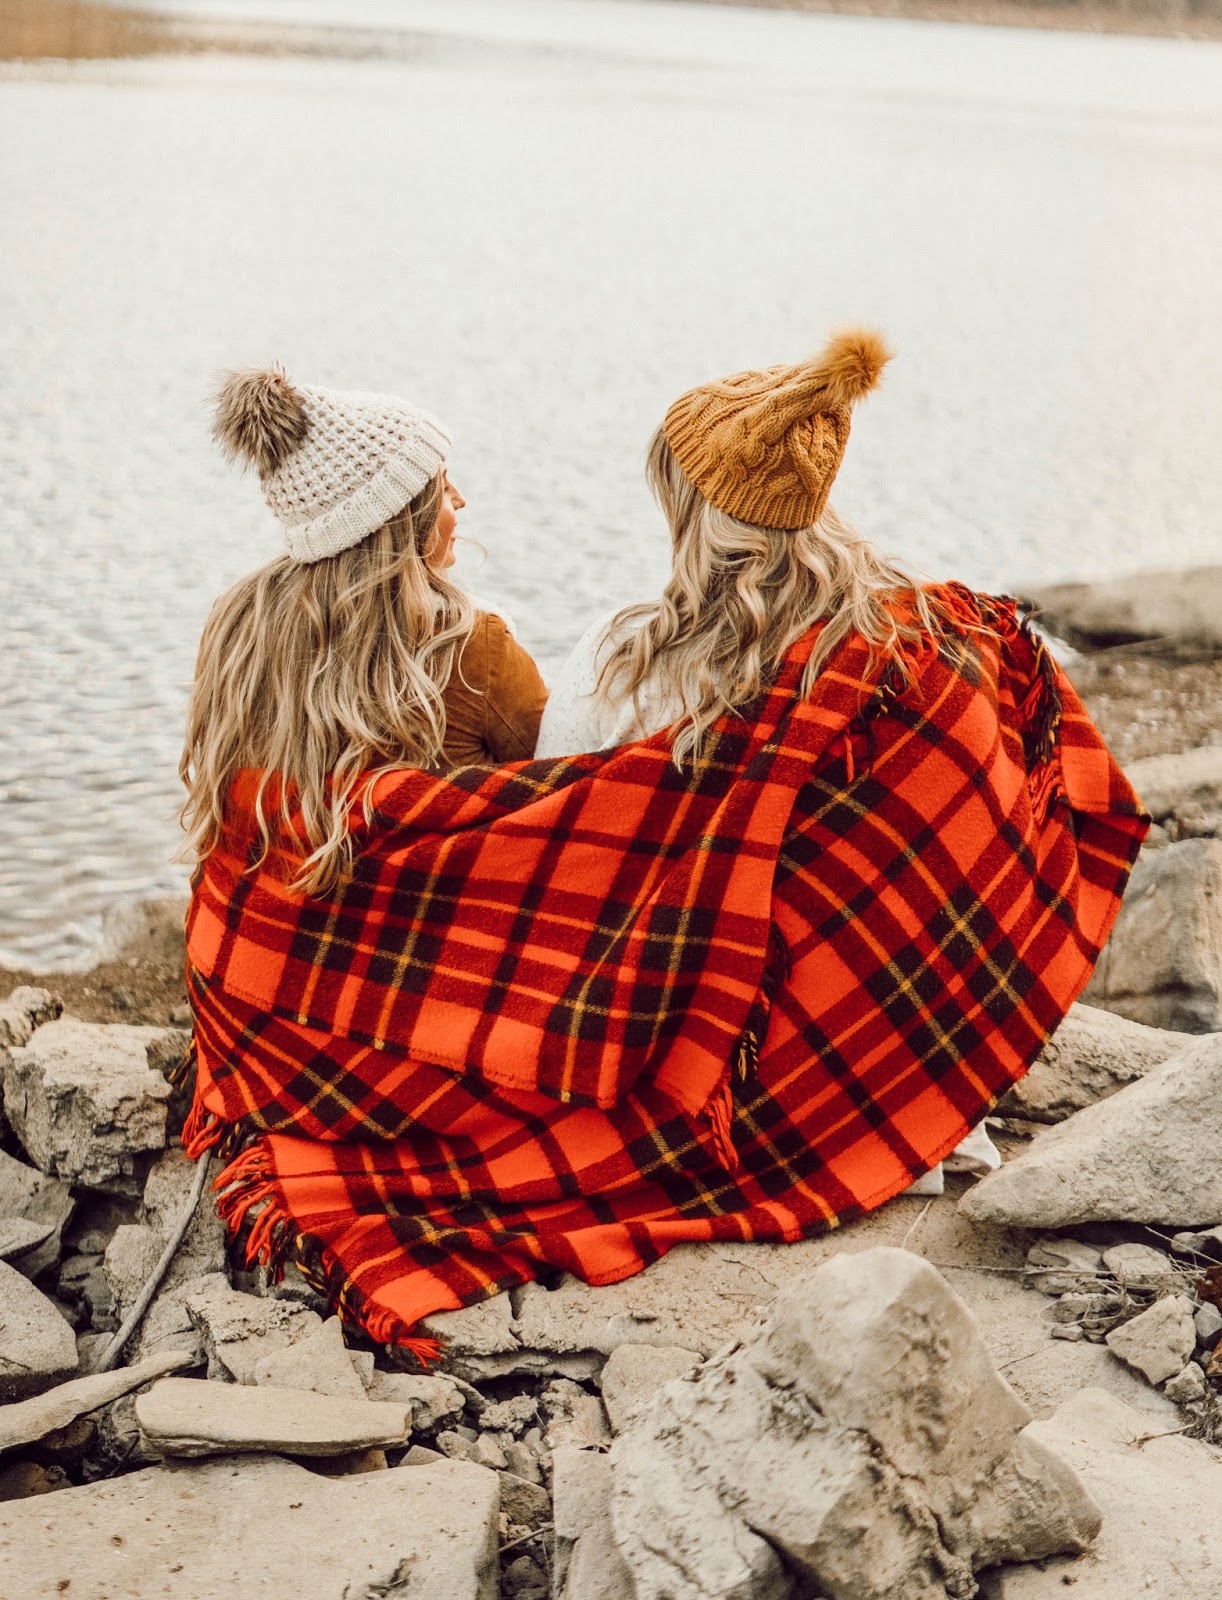
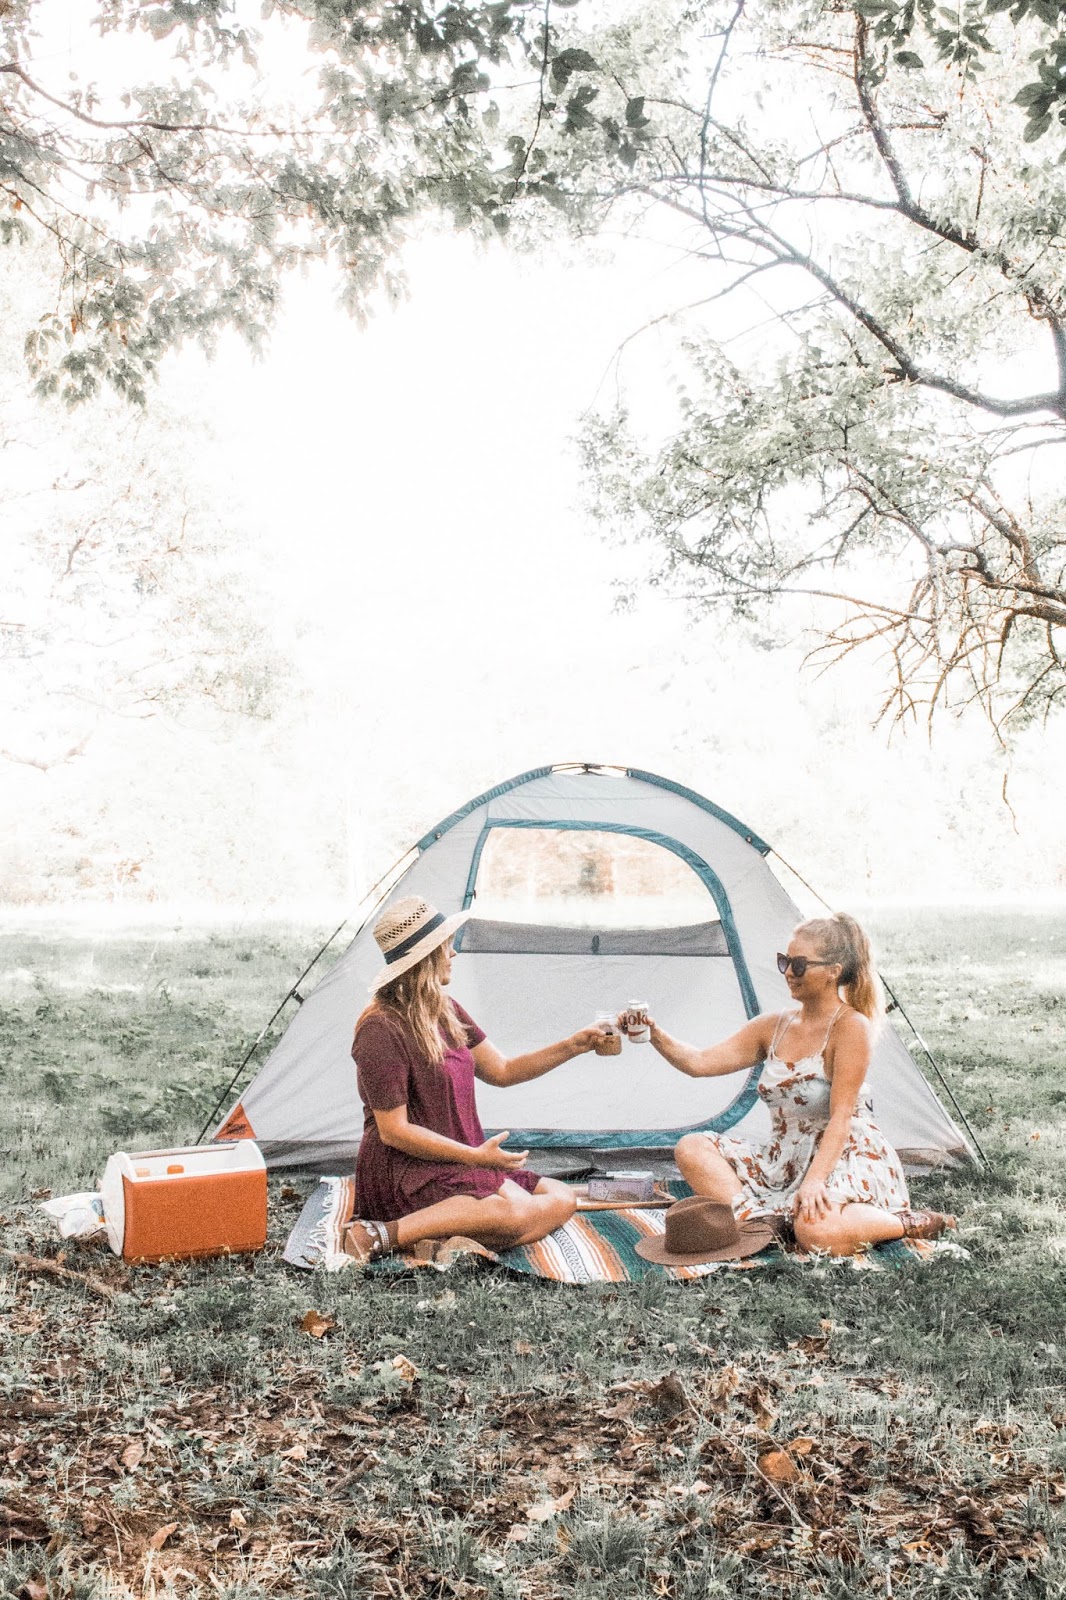
4. The sharing a blanket pose. You know you've seen it on IG and thought it looked cool. Do it standing or sitting in a cozy space or a beautiful place.
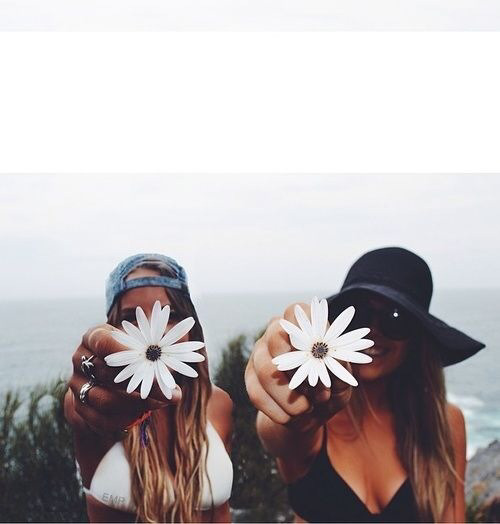
6. The props in your face pose. Another great way to cover your make-up-less face or to show something cute you found or are eating. Donuts, flowers, ice cream cones, coffee mugs, you name it.
8. The holding hands pose. This may the one that was the most uncomfortable for Casey and I because neither of us are very affectionate. We were doing a photoshoot with Jayda Iye and she had this idea for us to hold hands. We just laughed when she told us. But it turned out really cute even if we were uncomfortable the whole time!
9. The back to back pose. You have to be really careful with this one as it can get cheesy real quick! Unless you are going for cheesy... We found the serious faces worked best with this one for it seem more natural, but it's all up to you and what you want!
Well there you have it! If you liked this post, share it with your best friend by pinning the image below and sharing on your Facebook! And as always, we are so grateful you are here on our blog taking time out of your busy day to read our posts! Have a look around and stay awhile. :)