9 Best Friend Poses For Your Instagram

Over the past few months, Casey and I have been trying to perfect our best friend poses. We are definitely getting more comfortable with it, but we figured you may need some inspiration as well. And I really mean inspiration. If you try to take this exact picture and it ends up being something a little different, just go with that! This may be weird but I am going to quote my college senior self here... "Art is about starting with something intentional, and letting it take you to unintentional places." Now just sub in 'BFF photos', or anything really, and you get my sentiment. We all know how to get together and take a cheerleader pose. But we are going to get a little more creative, so let's talk poses!
1. The double peace pose. This pose has become a staple, yet you don't see it toooooo often. Sometimes there's a peace sign, sometimes just an open palm. I don't really know what this pose is. It's weird actually, but it works and it looks good so we do it!
2. The side by side and forward pose. This one may seem obvious, but I think we forget that we can take photos side by side without being cheesy. We can! This particular picture was just a given because there were a bunch of swings next to each other. However, you could do the same thing in a diner booth or on a curb. You can get creative with where you sit, but just take a couple photos laughing and you'll be good!
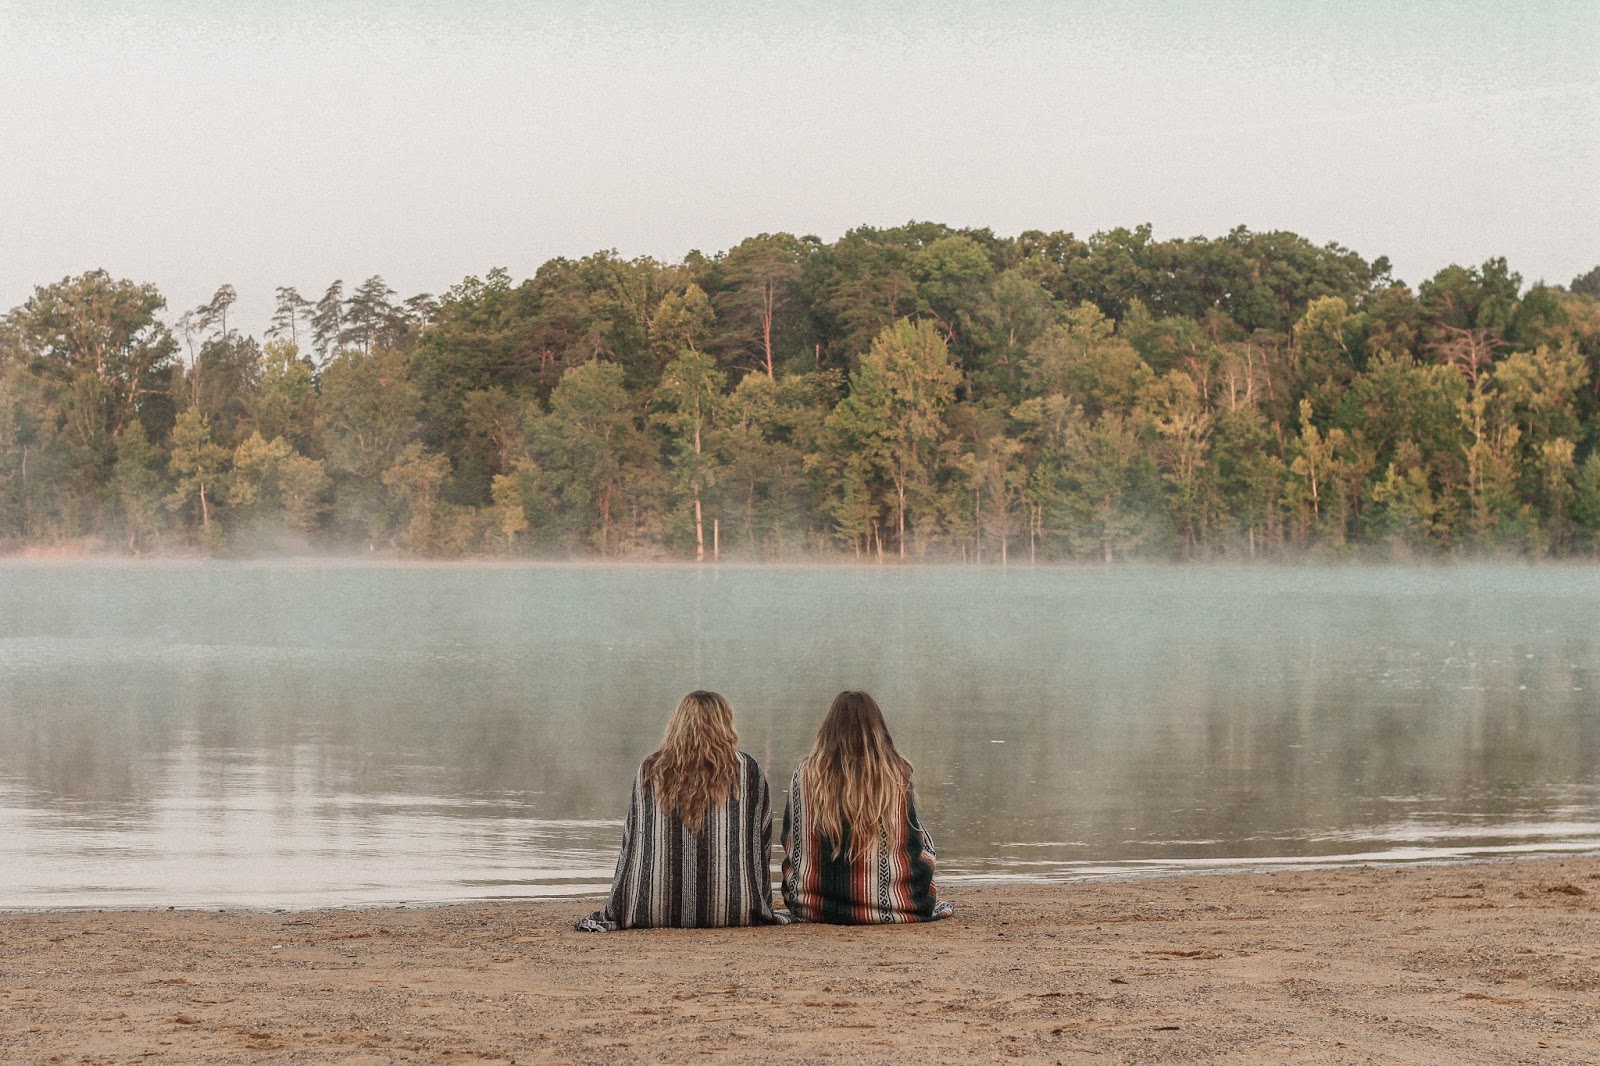
3. The sitting with your backs to the camera pose. This is basically the same pose as number 2 just facing away from the camera. This is a great pose if there is a really cool background you want a photo of or you're having a really great hair day and want to get your hair in the photo. Having people in your landscape photos is always a good way to add interest, so why not you and your bestie? This is also a great pose if you just don't want to take another one of your face, i.e. you don't have any makeup on.
The pose also works for groups!
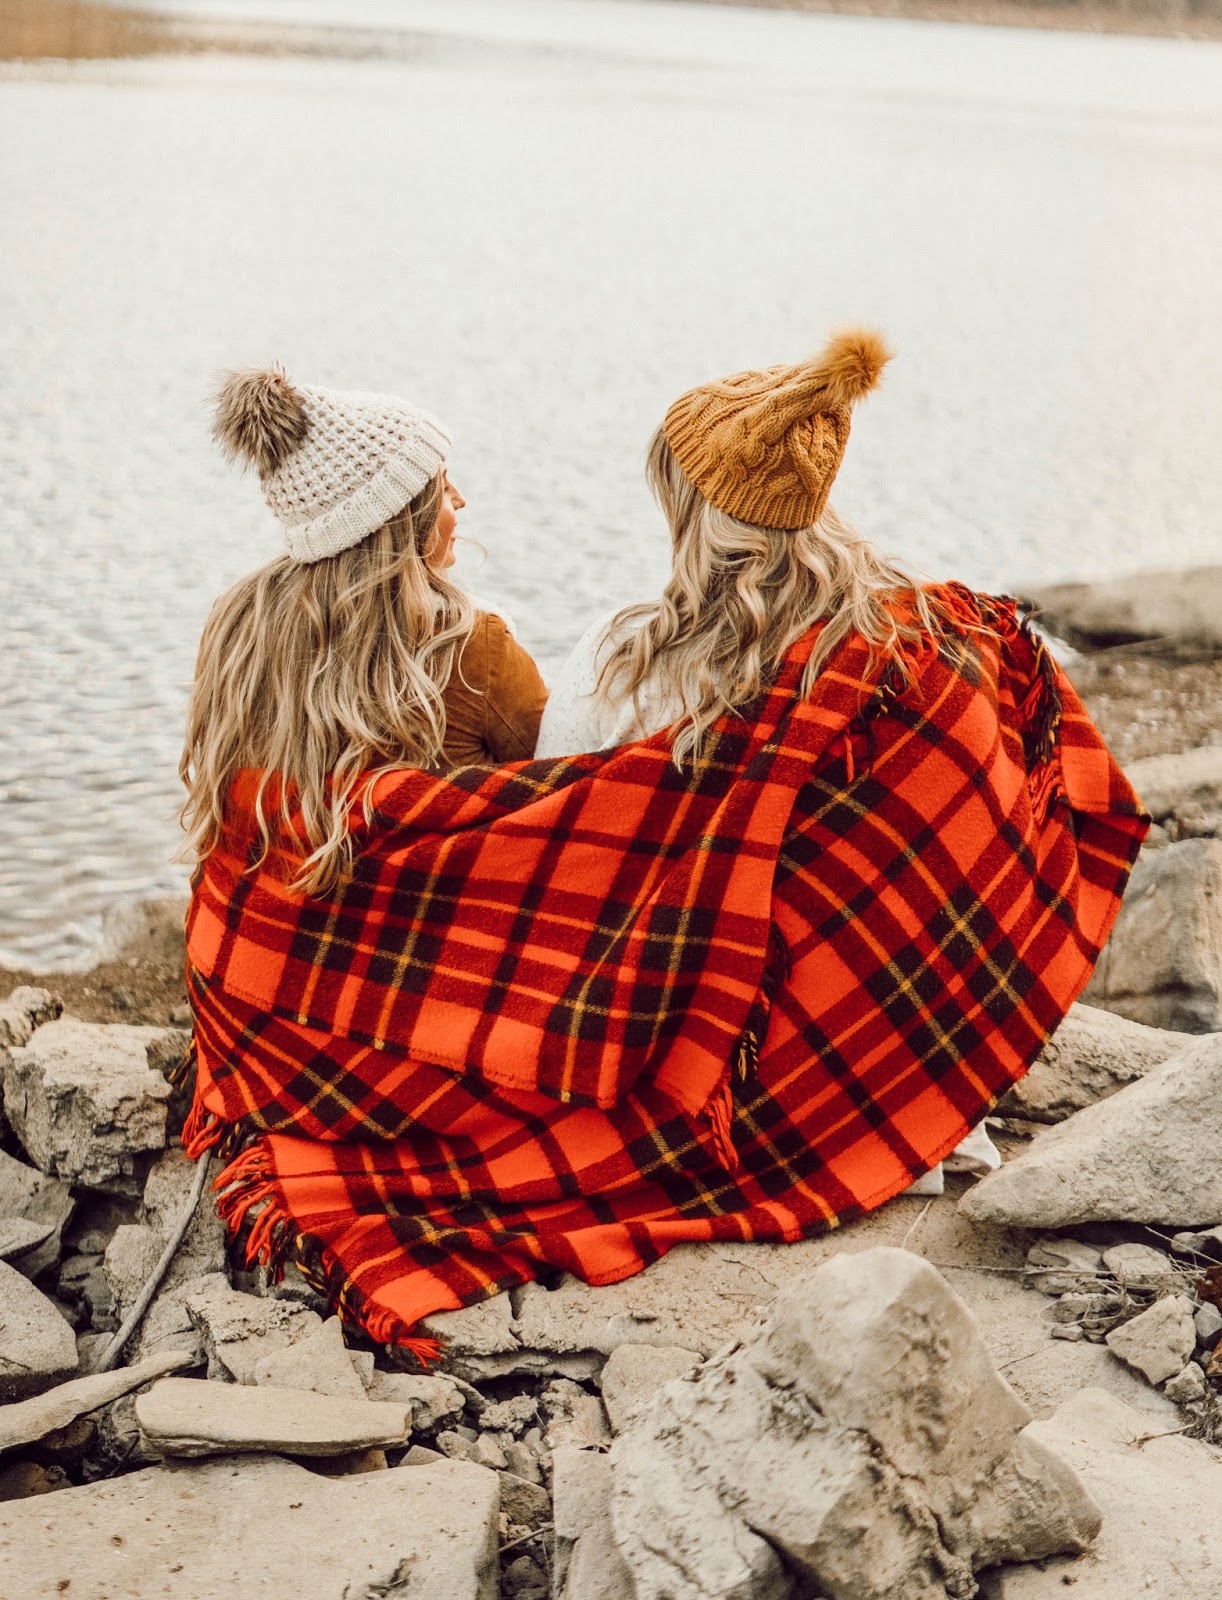
4. The sharing a blanket pose. You know you've seen it on IG and thought it looked cool. Do it standing or sitting in a cozy space or a beautiful place.
5. The piggy back pose. This is great if you have two or four people! It looks fun and it's pretty easy if you have a photographer or tripod. 
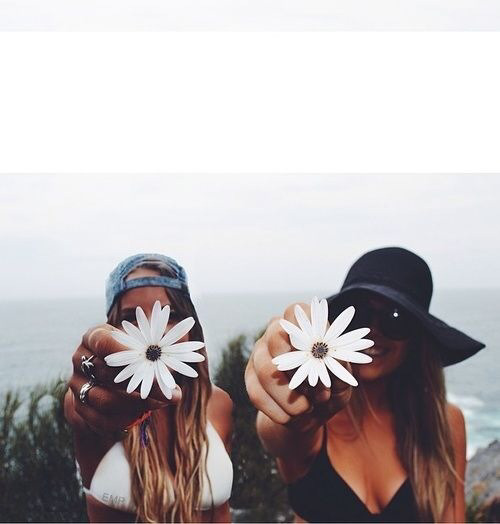
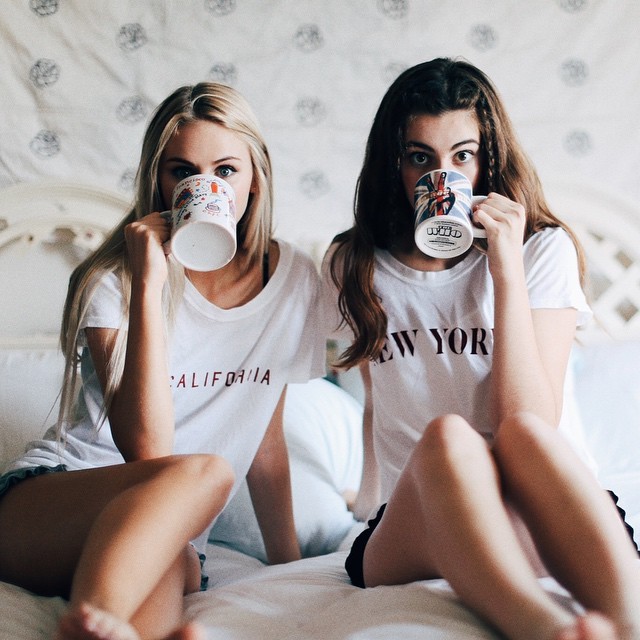
6. The props in your face pose. Another great way to cover your make-up-less face or to show something cute you found or are eating. Donuts, flowers, ice cream cones, coffee mugs, you name it.
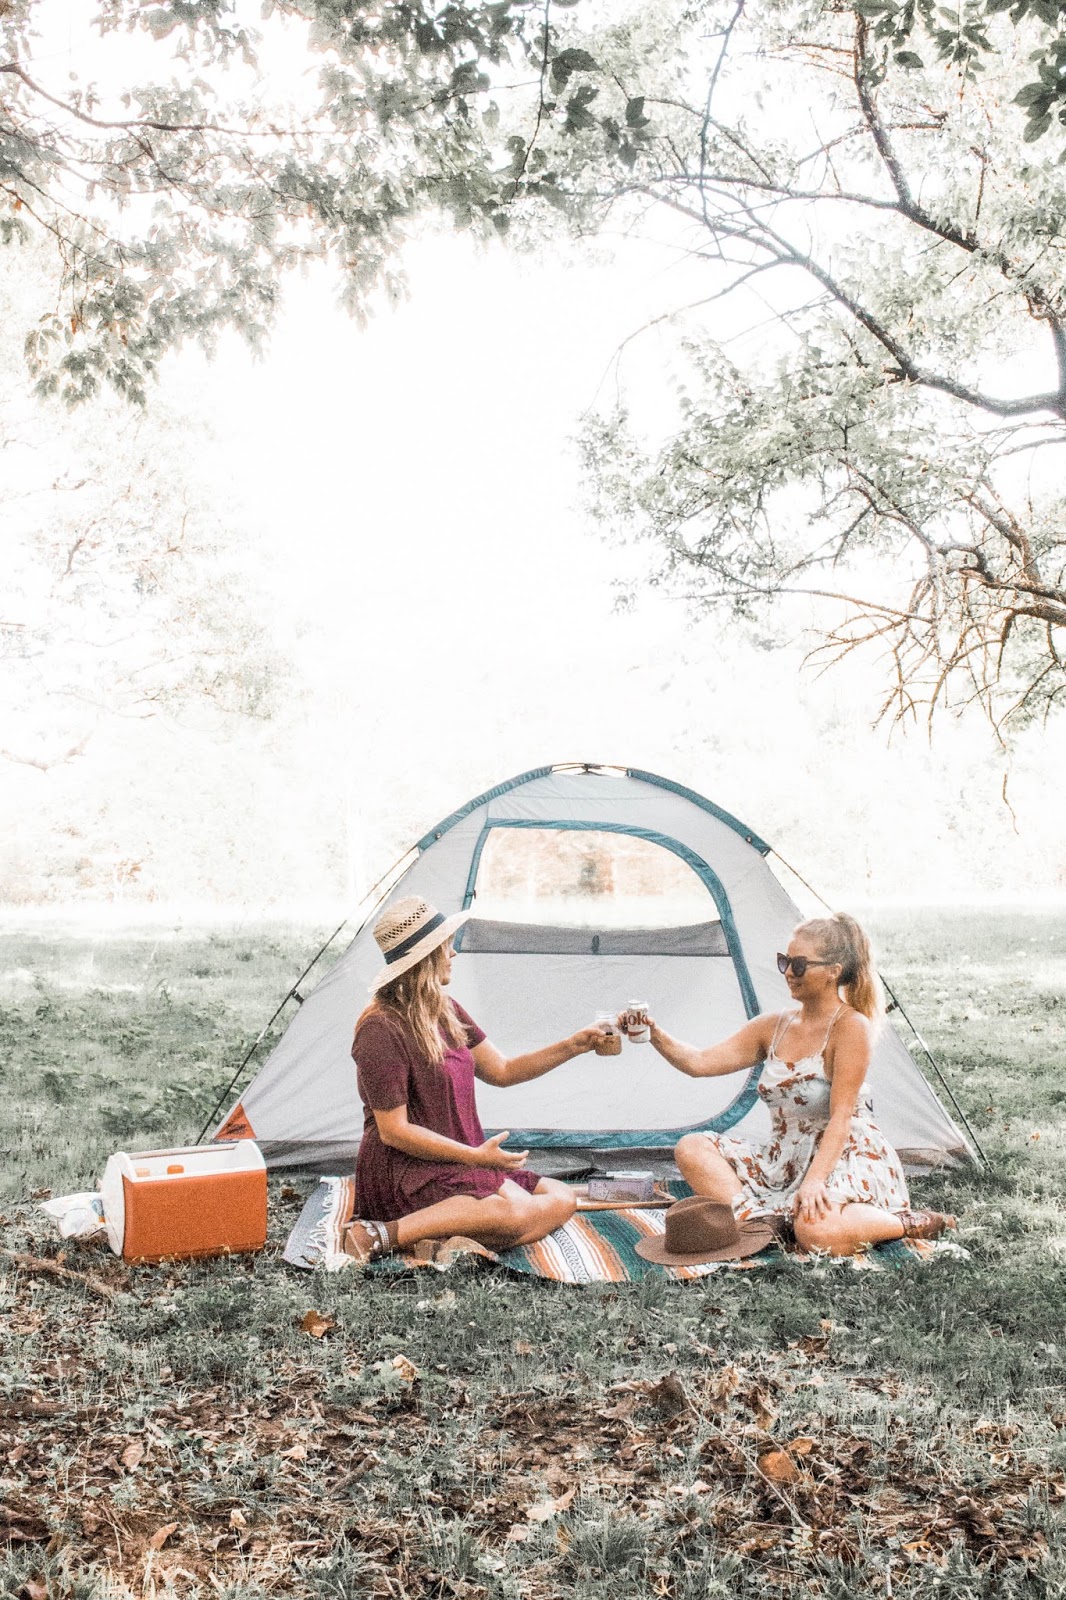
7. The cheersing pose. Sometimes you want your BFF pose to actually looked posed, yet cool. This is a good one for that.
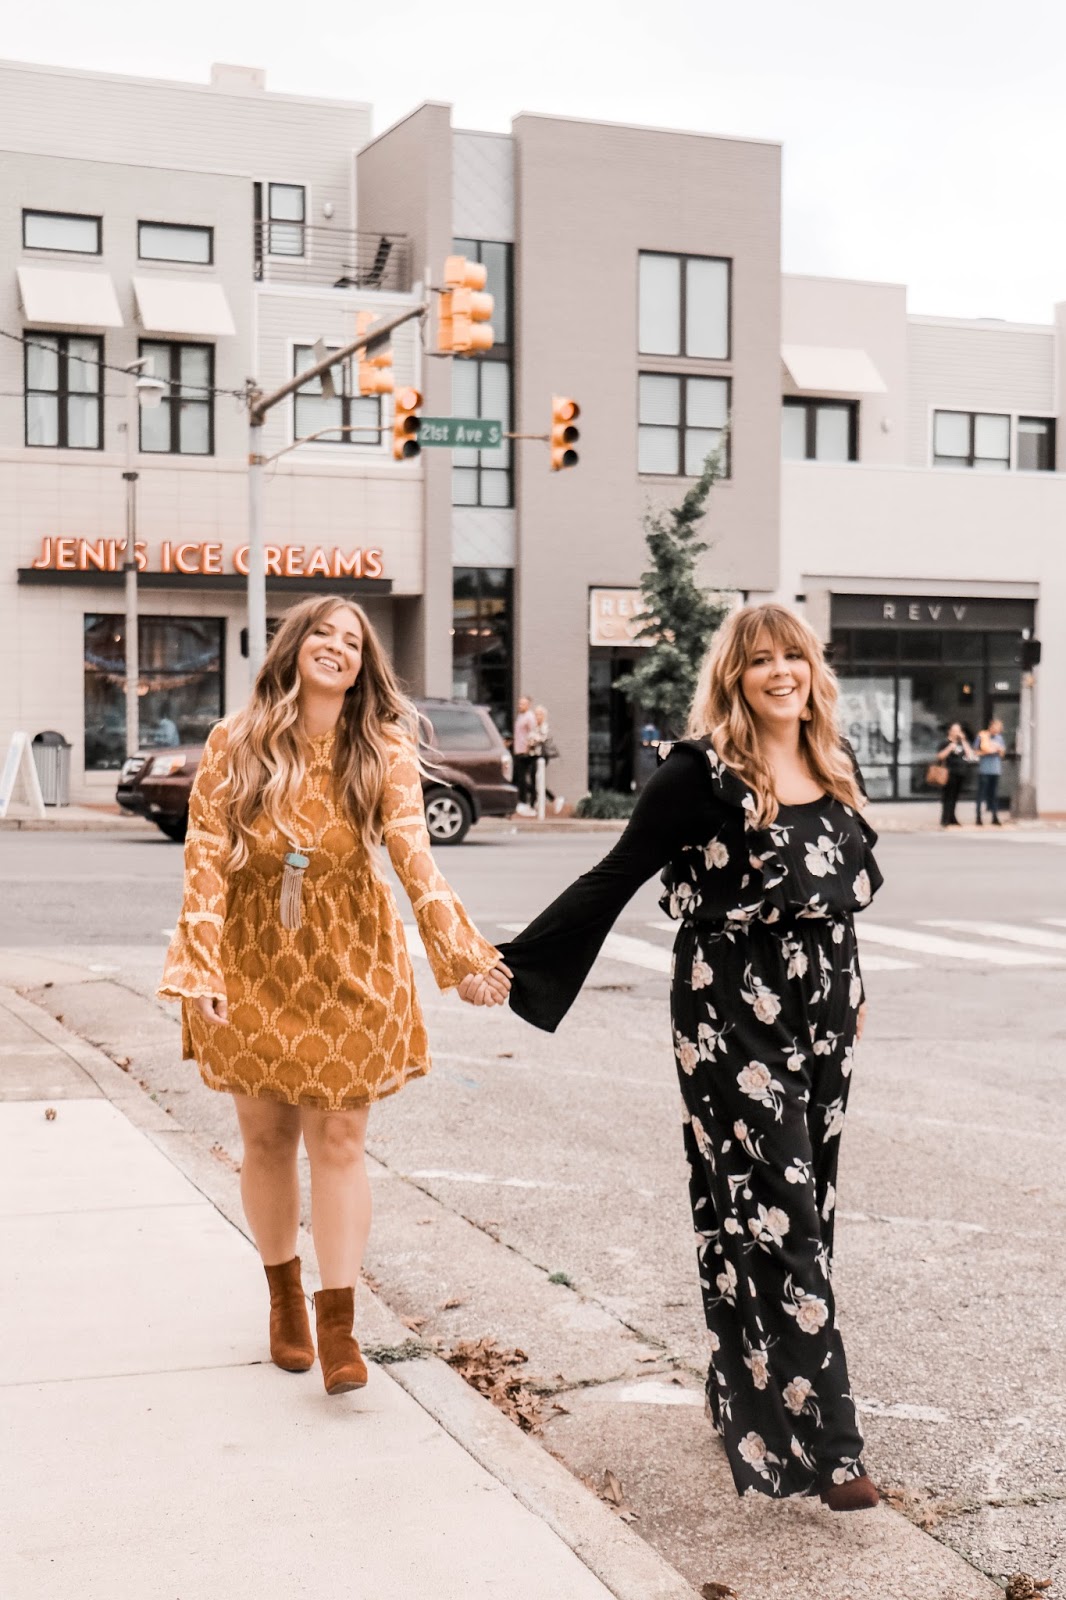
8. The holding hands pose. This may the one that was the most uncomfortable for Casey and I because neither of us are very affectionate. We were doing a photoshoot with Jayda Iye and she had this idea for us to hold hands. We just laughed when she told us. But it turned out really cute even if we were uncomfortable the whole time!
9. The back to back pose. You have to be really careful with this one as it can get cheesy real quick! Unless you are going for cheesy... We found the serious faces worked best with this one for it seem more natural, but it's all up to you and what you want!

Well there you have it! If you liked this post, share it with your best friend by pinning the image below and sharing on your Facebook! And as always, we are so grateful you are here on our blog taking time out of your busy day to read our posts! Have a look around and stay awhile. :)

xo, Savannah

The Best Grain Free Hot Cereal Recipe

I love oatmeal. Love it. And many people would tell you oatmeal is healthy BUT it has so many carbs. So many. I have certainly not mastered eating a low carb diet, but I do know that my body operates better when I eat a lower carb diet- specifically carbs that are low on the glycemic index. Today I am sharing with you a lower carb + healthy alternative to many hot cereal breakfast options out there. I found a version of this recipe in a comment section on Facebook and knew I had to try it out. I didn't expect to like this recipe so much, but it has become my go-to breakfast. The consistency is similar to Cream of Wheat. But there's definitely no Wheat in it!
My favorite thing about this recipe is that you can creative with it, just as you would with oatmeal. You could add nuts or fruit. And you can also play around with the proportions. This recipe is very flexible. The most important parts are the chia seeds and the flaxseed meal- that's what makes it cereal like. However, you could use more chia seeds and less flaxseed meal and vice versa. Be free! Play around with it, but please try it and let me know what you think.
Hot Cereal Recipe

Ingredients:
2 Tbs. of flaxseed meal
1 Tbs. of chia seeds
1 scoop of vanilla protein powder
2 Tbs. of unsweetened coconut flakes
cinnamon to taste
1 packet of Stevia
3/4 cup of unsweetened almond milk
1 Tbs. of no- sugar added peanut butter (optional)

Directions:
I warm up the milk first and then add the dry ingredients. Stir and let it sit for a few minutes until it thickens. Add any extra bits and enjoy!

If you are trying to do a low carb or keto diet this recipe has 6 grams of net carbs + 23 grams of protein. You may want to double check your recipe in case you don't use the exact same ingredients.
If you are really wanting to win at life, you will pre- make a bunch of these packets so you can just grab and run. When I go to work, I bring a packet of this mix and put my milk in a mason jar. Then I just heat up the milk in the mason jar in the microwave and mix.

**Store these pre-made mixes in the fridge. Flaxseed meal and chia seeds should be stored in the fridge after opening.
Well I hope you get to try this recipe out! It has been a life saver for me. If you liked this post and would like to see more recipes, pin the image below!
peace, Casey

DIY: Boho Christmas Stocking

You know when you are standing in a store looking at something really cool and you, for one reason or another, decide that you can make that thing yourself? Yeah that's how this DIY came about. If you have a DIY mindset like we do, you end up not buying a lot of things simply because you can make it better or for cheaper! I exhaust myself. I'm not going to lie... if you can't find the materials you need for this for cheap, you might as well buy the stocking that inspired this DIY, and you can find that here. But if you have a tons of yarn and trim on hand like we do, you'll just need to buy a sweater at Goodwill for $1 and you'll be good to go!
Things you will need:

- 5 different colors of trim ( I used pom pom and tassel trim)
- 3 or 4 tassels (I just made mine out of green, red and golden yellow yarn)
- A cream colored sweater
- Stocking or stocking stencil

Step 1. Lay your sweater flat on a table. Lay another stocking on top of your sweater and cut around it. You don't need any extra seam allowance so just cut right around the stocking. Do add about 1/4 inch to the top edge of the stocking. You should now have 2 pieces.
Step 2. Pin the right sides of the fabric together and sew the pieces together right around the edges. Trim the edges.
Step 3. Fold down and pin the top edge of the opening and sew it down.
Step 4. Cut 2 pieces of fabric about 4" by 1". Put right sides together and sew along the long edges. Turn inside out. 
Step 5. Fold the strip in half and sew it into the corner of the stocking where you want it to hang from.
Step 6. This part is optional, but adds an extra texture and really secures the stocking. Use a yarn needle to thread yarn through and around the edge. I believe this is called an overcast stitch, but it's really simple.
Step 7. Gather your tassels and trims and sew them onto your stocking in whatever order you'd like. I actually made some of my trims with yarn I already had at home. It would be way easier to go to Jo-ann, or somewhere like it, to buy a tiny amount of each trim you want for your stocking.
Step 8. Tie all your tassels to the red and white twine and various lengths and tie it to you stocking fabric hook.
Well y'all, this our last Christmas decoration DIY for the year. We will be sharing a couple last minute DIY gifts with you before the holiday so if you have any suggestions, we'd love to hear them! If you want more information about our whole boho Christmas setup, check it out in this post! If you liked this post, be sure to Pin the image below on your Pinterest!

xo, Savannah