
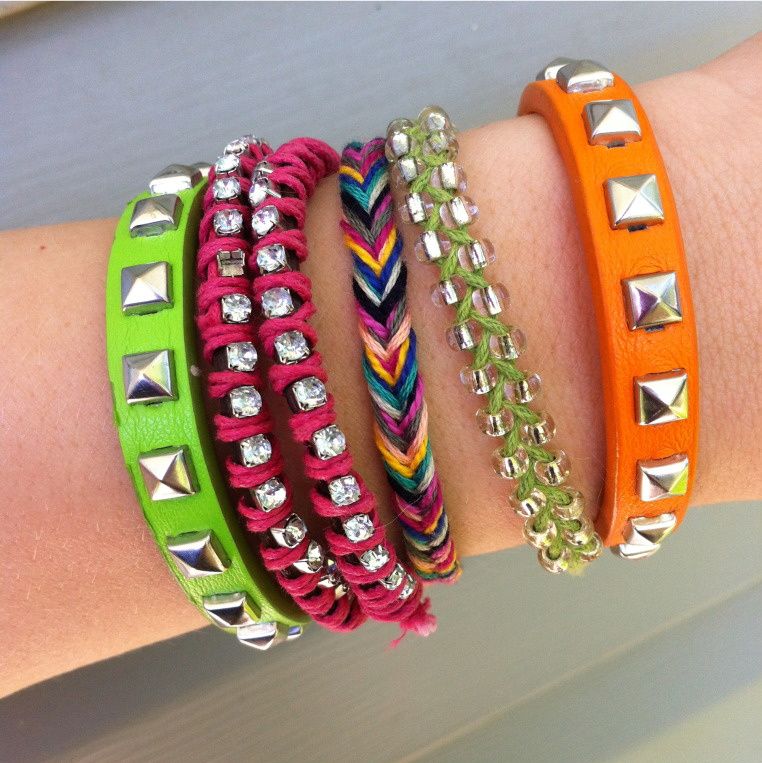

If you know how to do a fishtail braid to your hair, then you pretty much know how to make this bracelet. But for those of you who don't know about the fishtail and those of you who are curious about the logistics of my specific bracelet, well, read on!
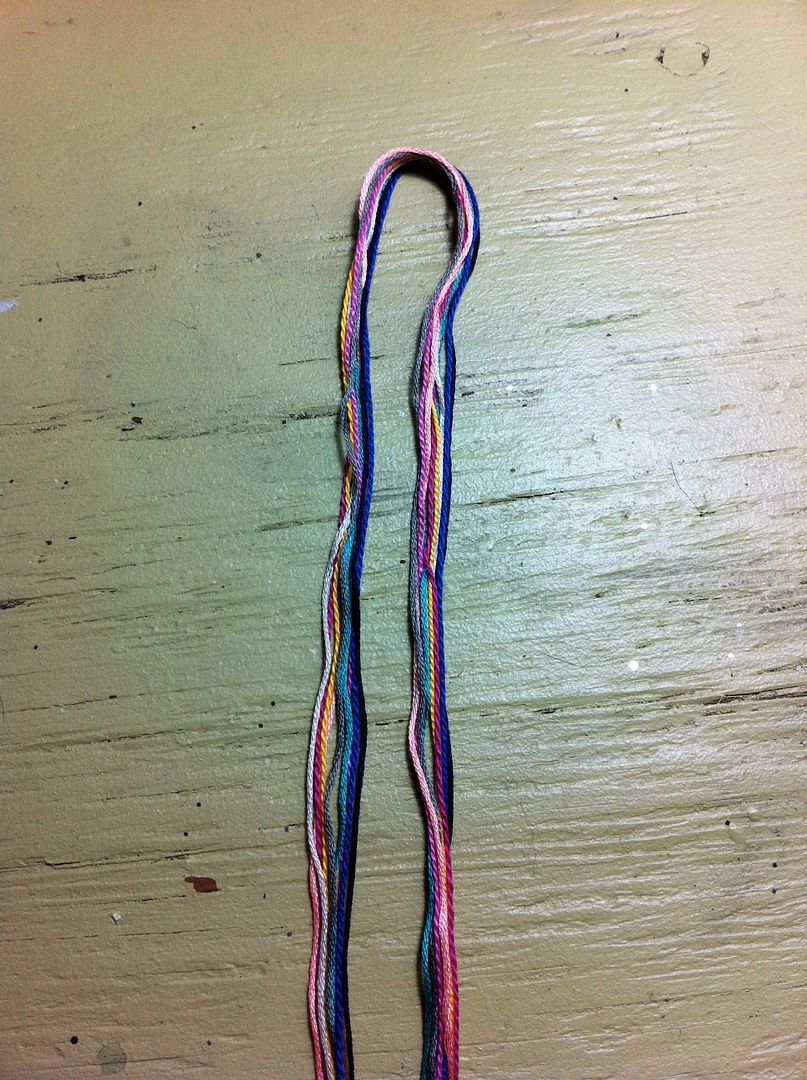
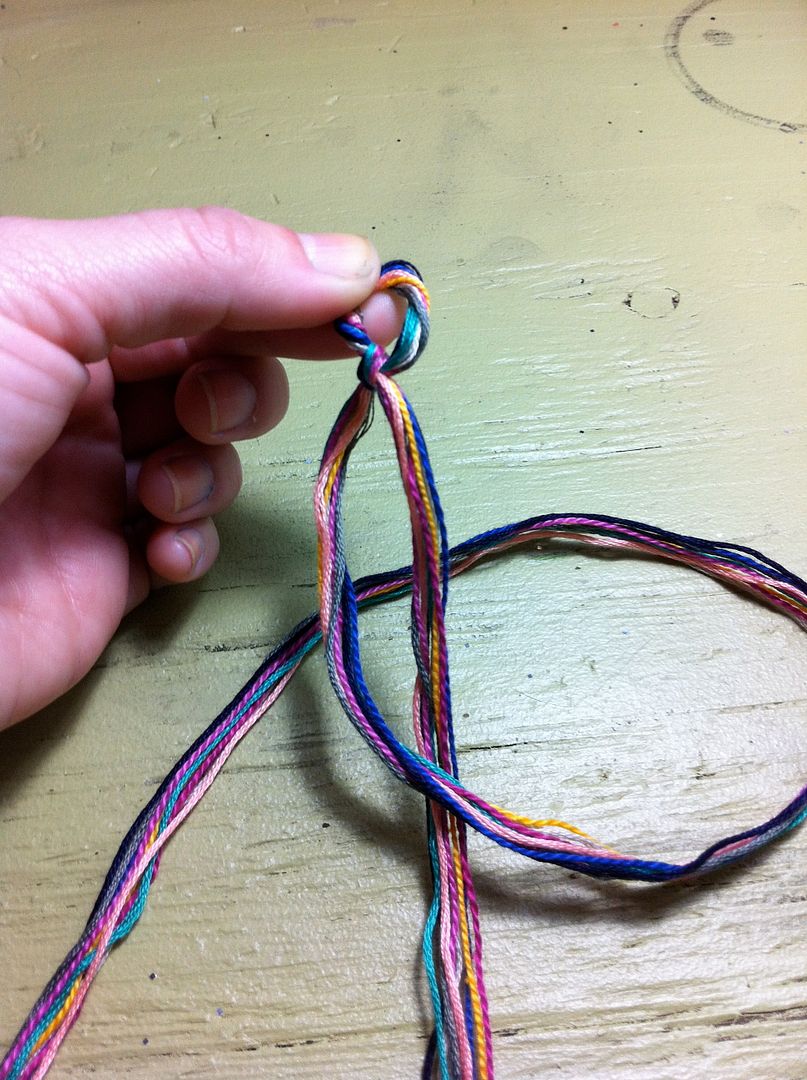
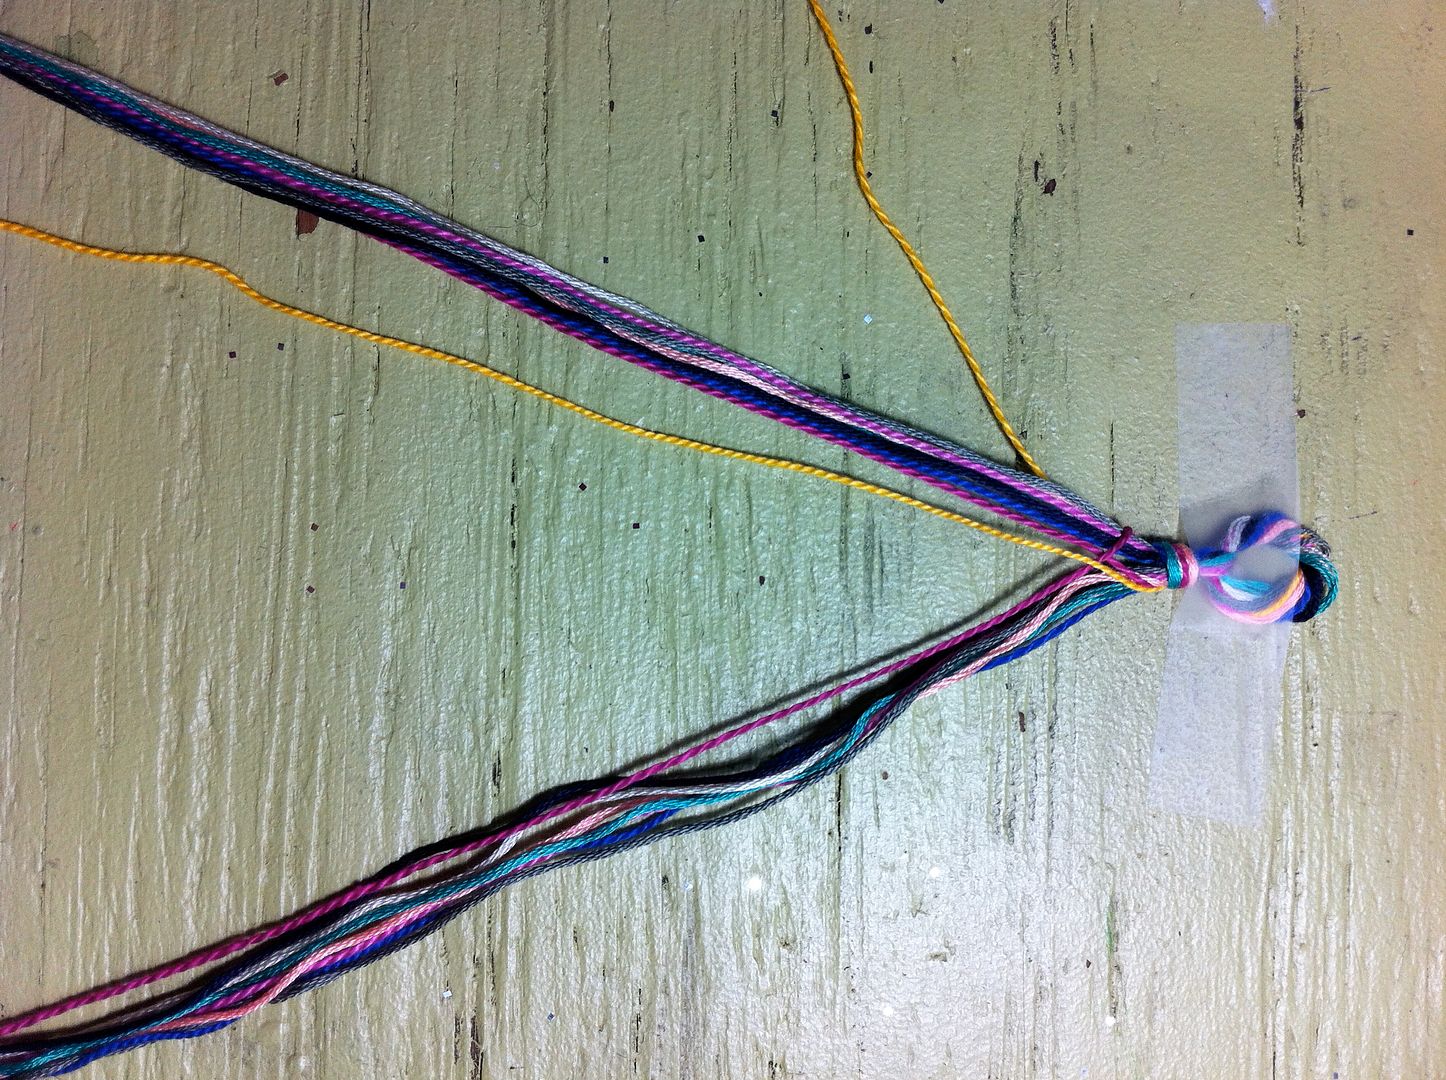
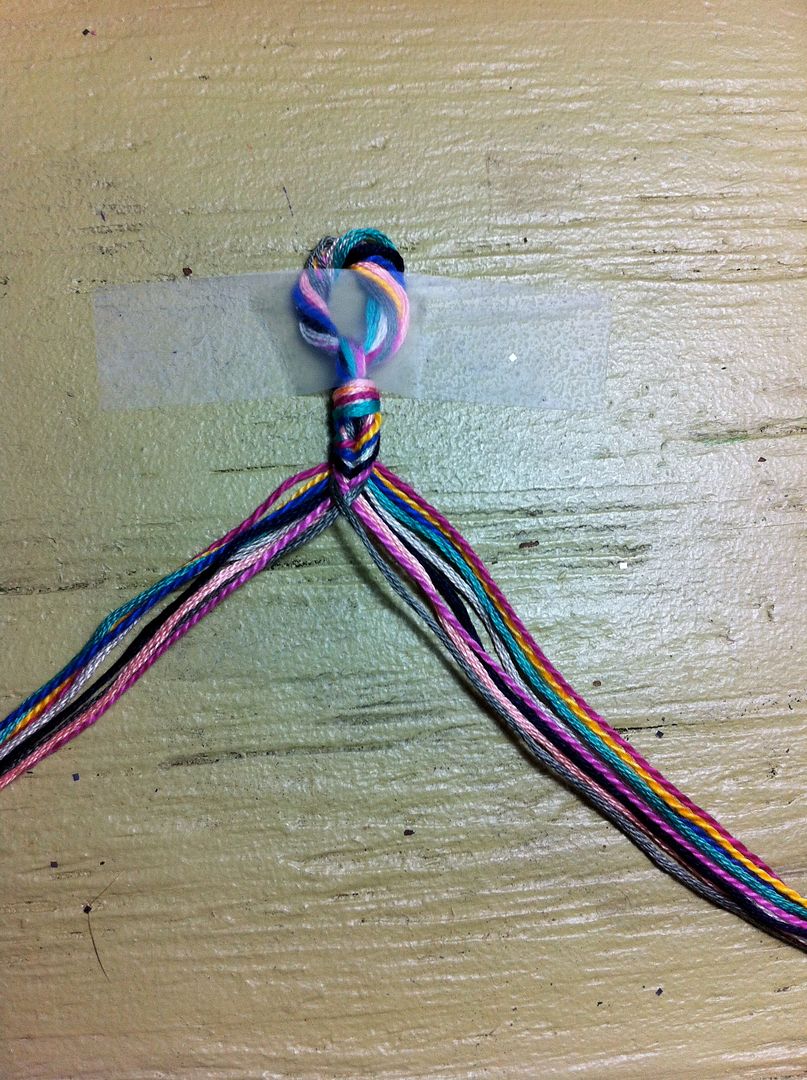
I used 9 strands of thread in 9 different colors. You could do this with only 2 different colors or whatever color variety you want. My strands were about 3 feet long each. Gather them together and fold them in half.
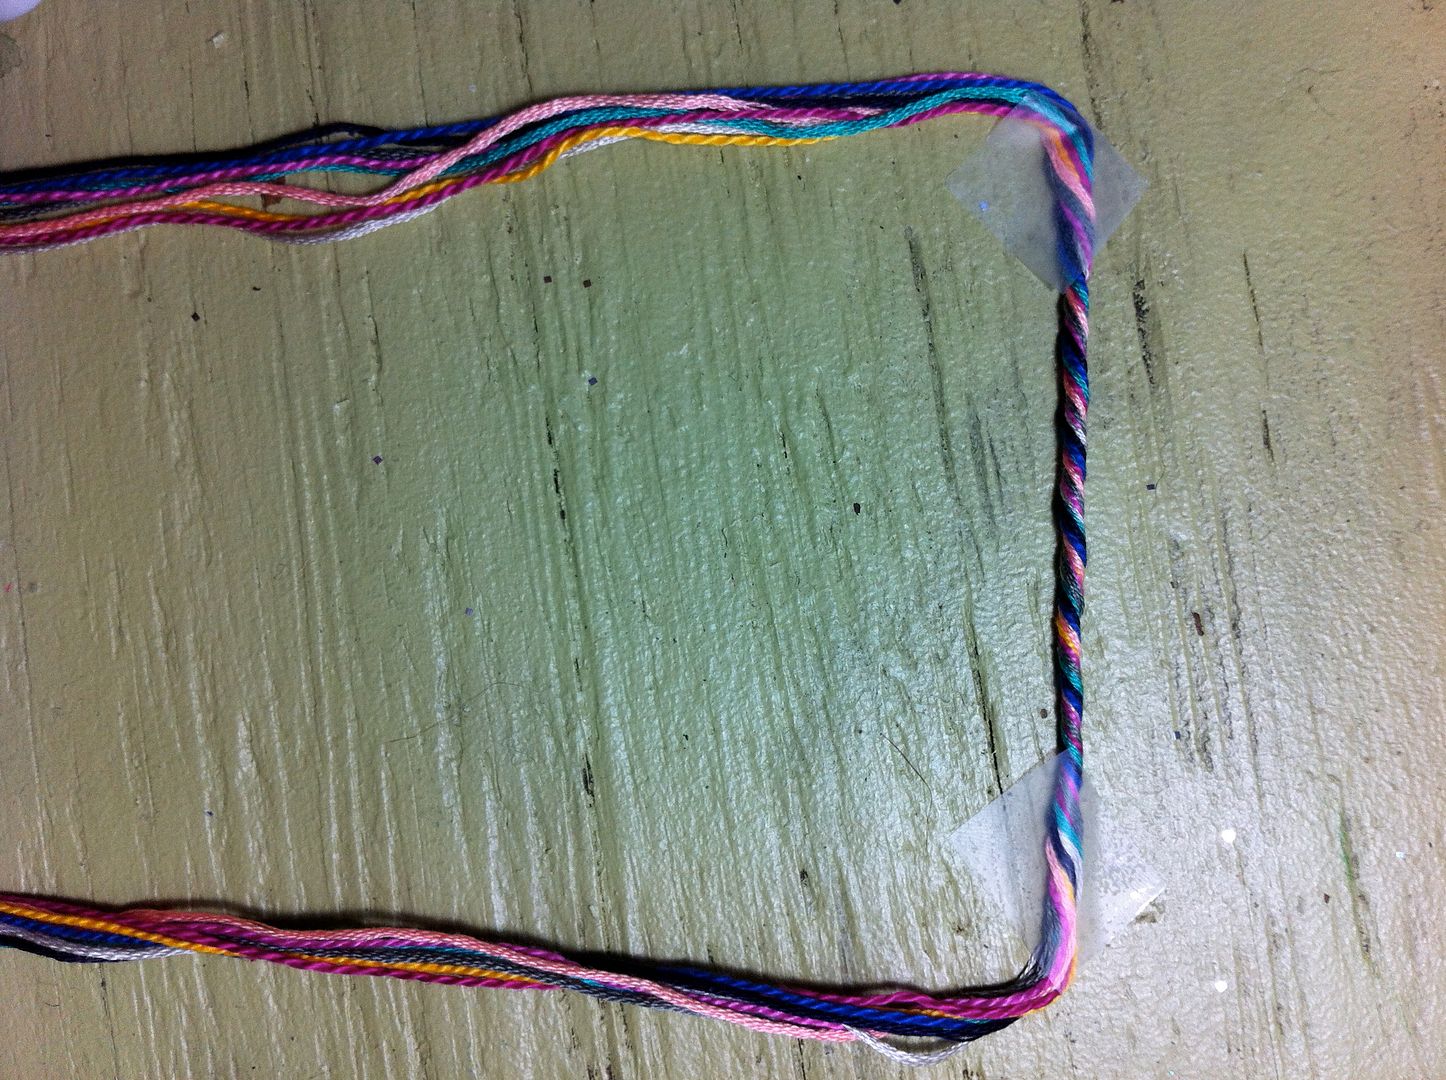
I twisted this top part so it doesn't get all tangled later. I'm only using tape for the picture.
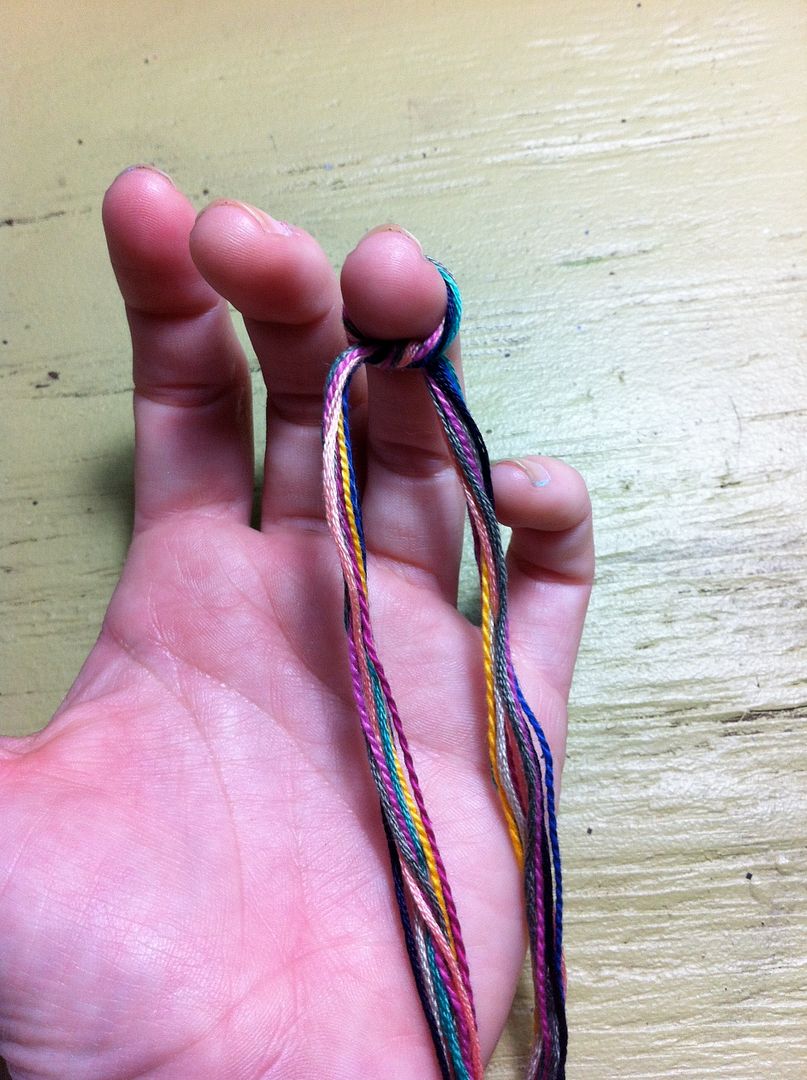
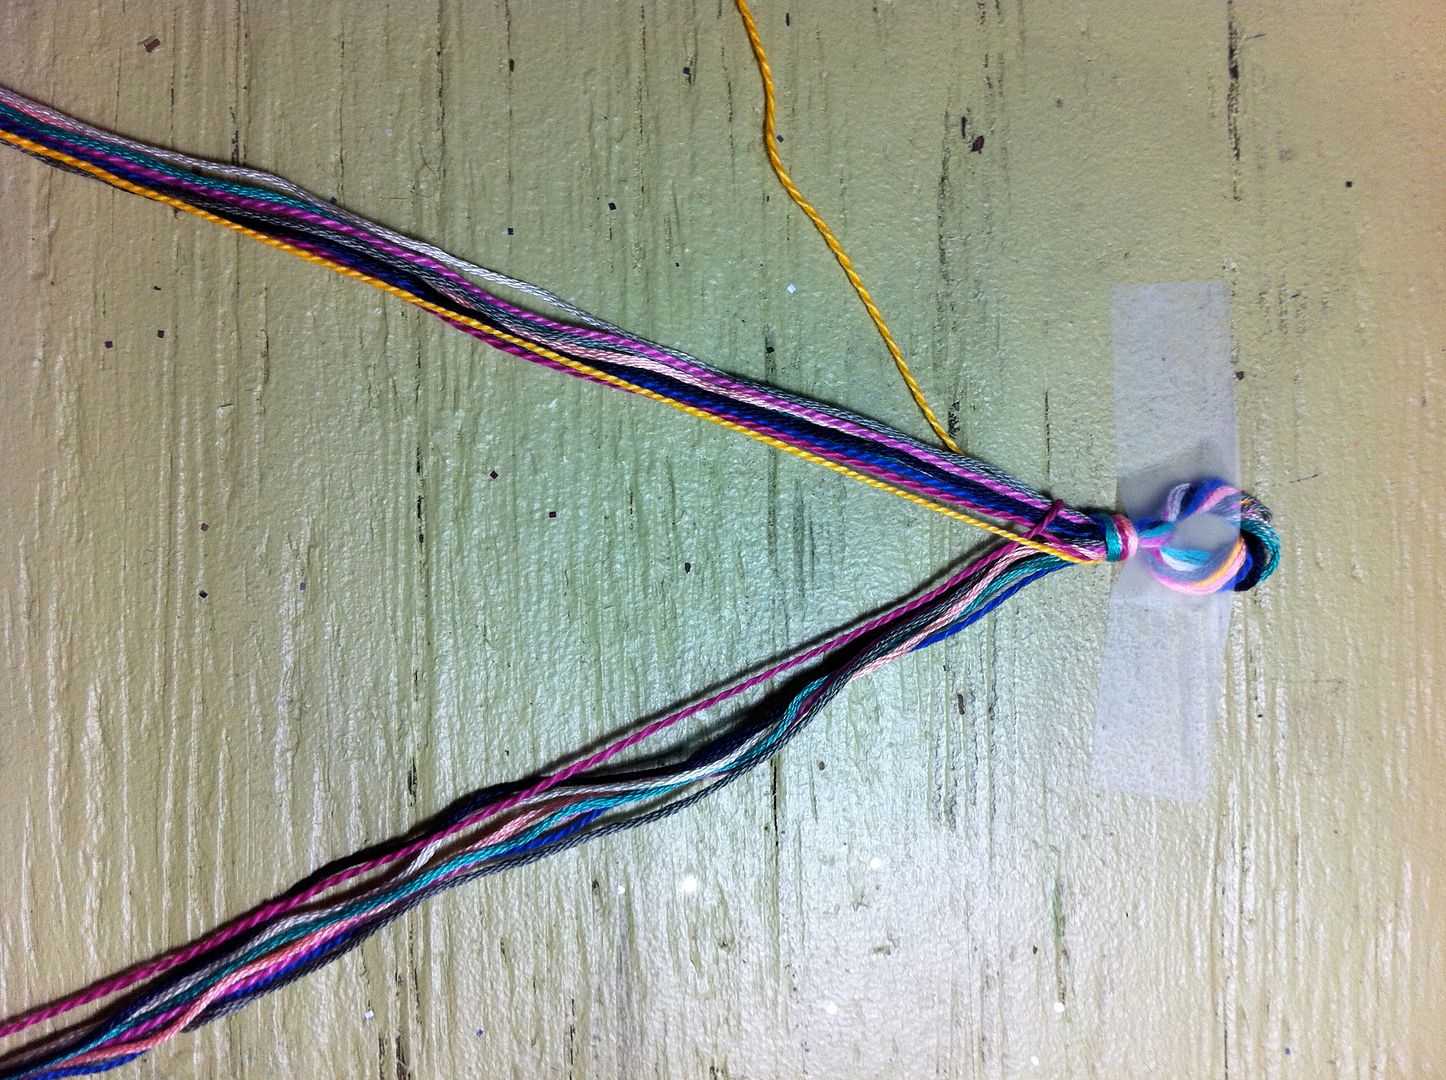
Where you twisted the top part, tie it around your finger.

Then tie a knot.
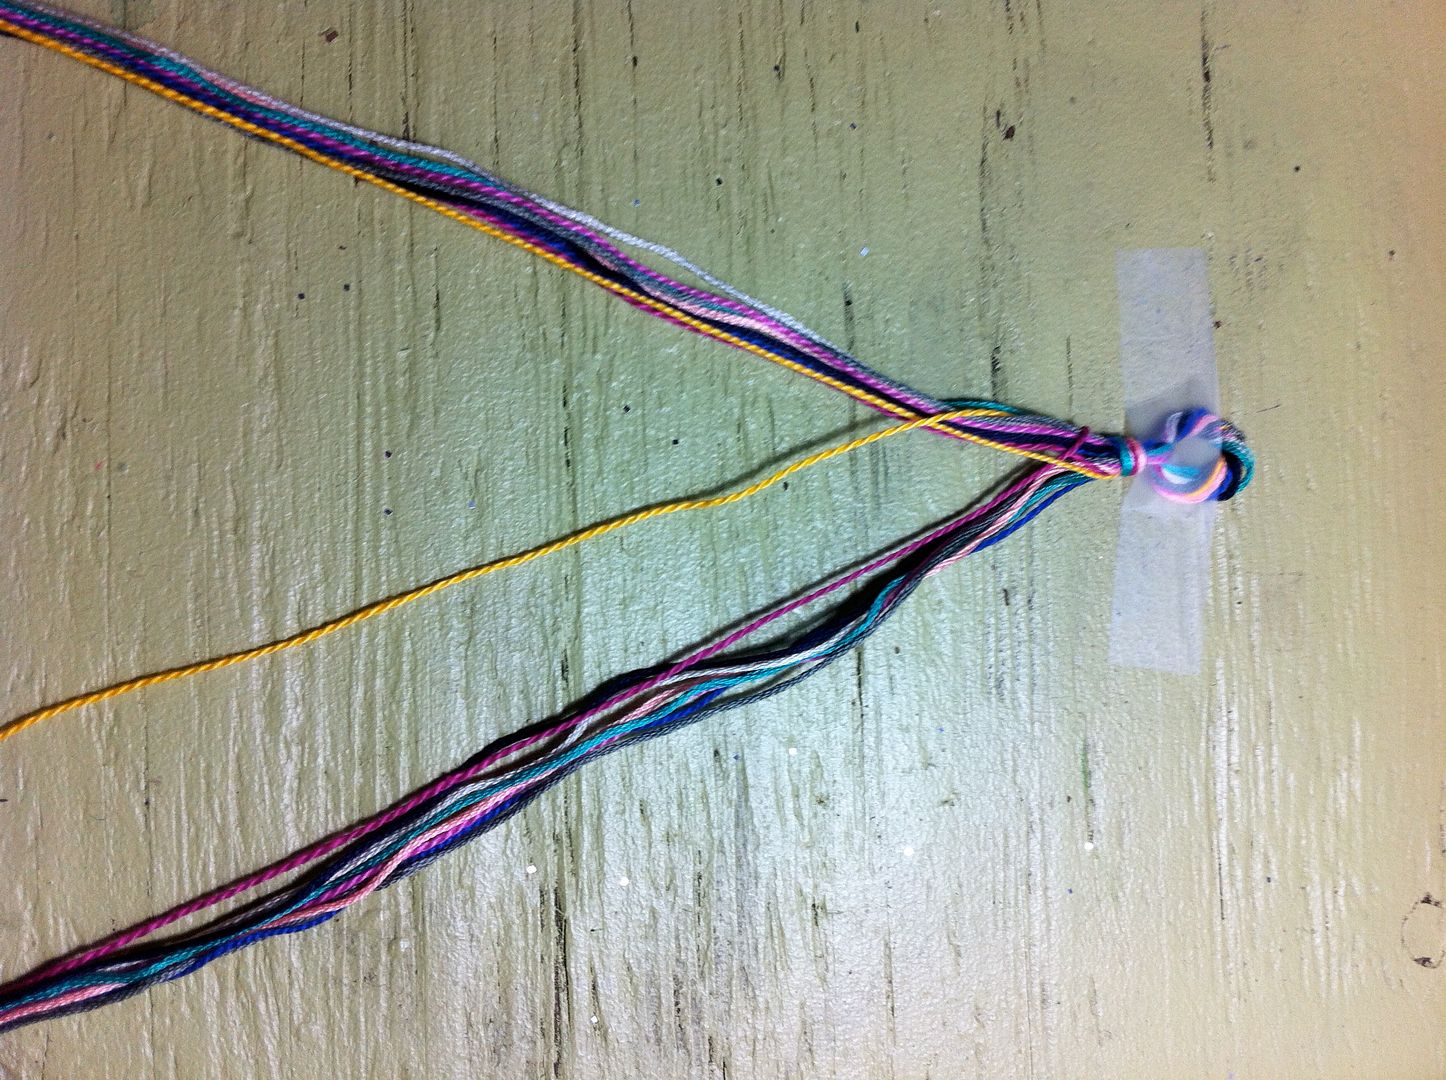
I'm now taking one of the strands and tying it around the other, almost like a tie. Wrap the left strand over the right strand and wrap it behind the right strand.
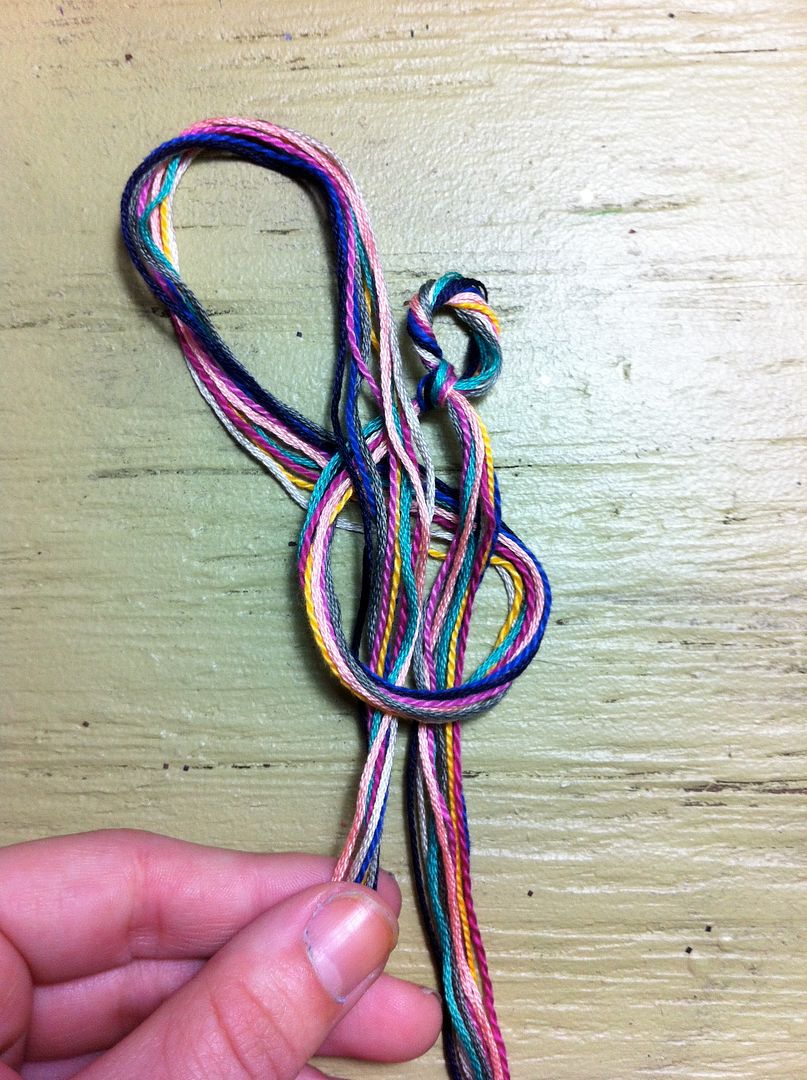
Then pull the end through the loop you've created and pull into a knot.
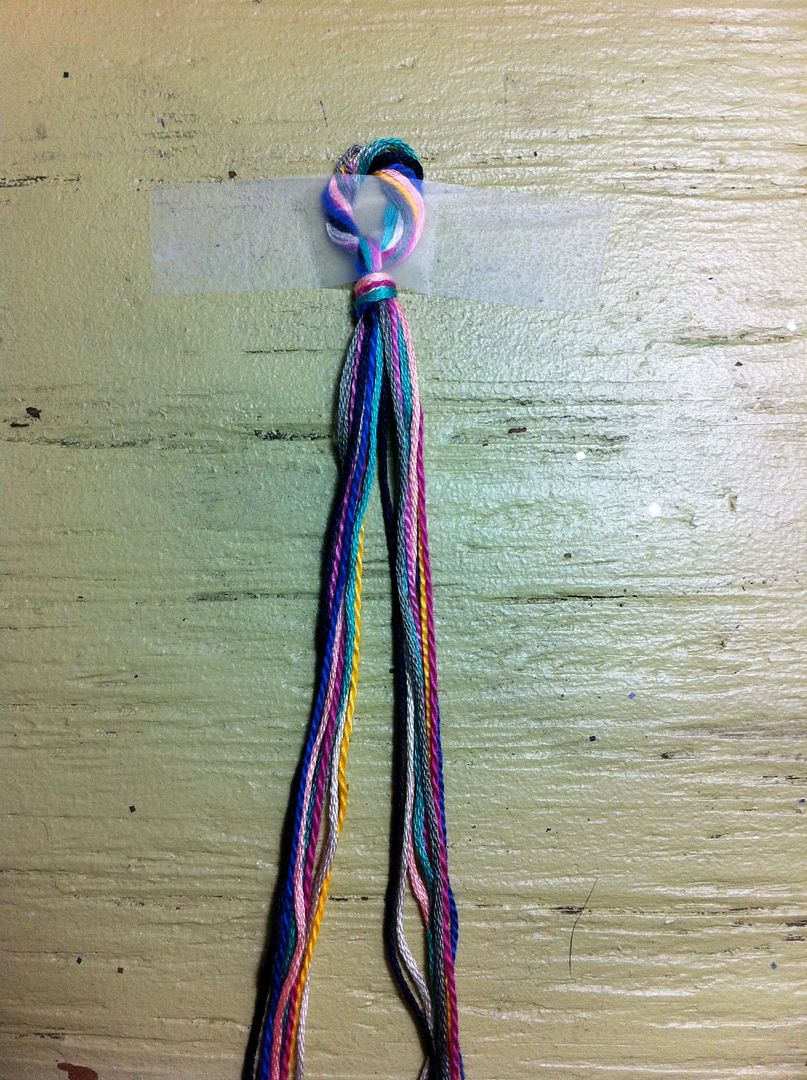
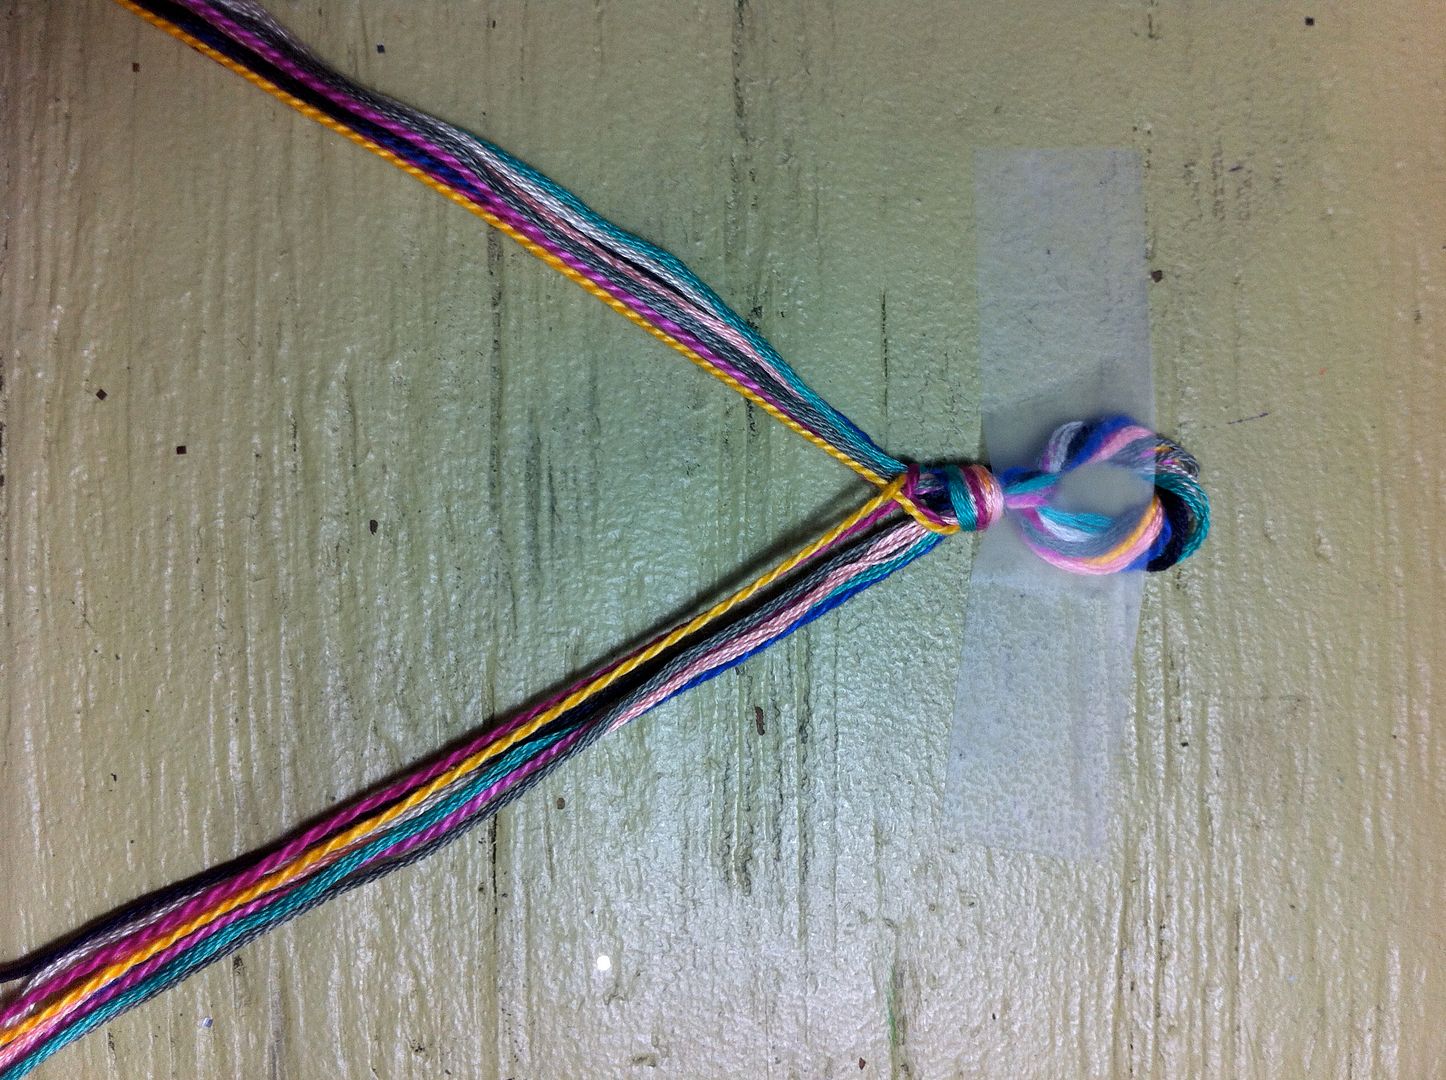
Tape the top down to keep the bracelet stable.
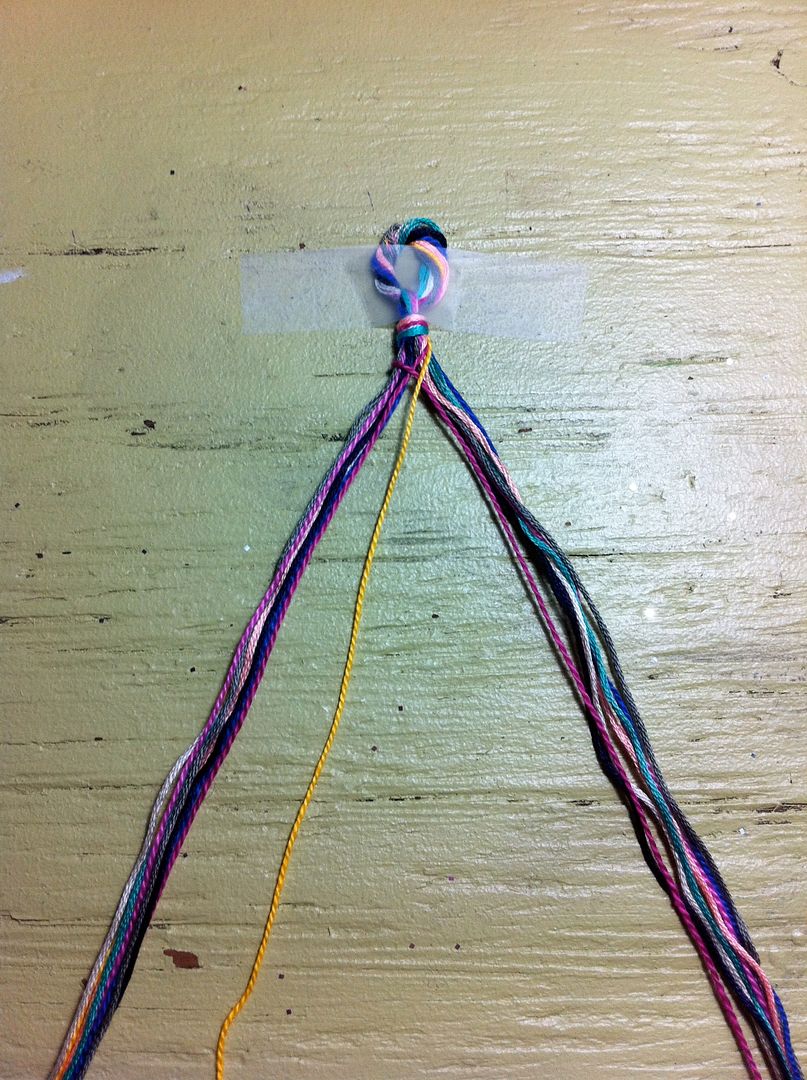
Star by grabbing one color from the right side and pulling it to the middle.
Pull the same color from the left side.
Add the piece from the right side to the left group of colors.
Now take the color from the left side and pull it to the middle (over all the other strands.)
Then add it to the right side and pull the two groups towards the top to tighten the "design."
Repeat those steps again until you've done each color. The design will look a little messy at first but after you get through all 9 colors, it will start to straighten up.
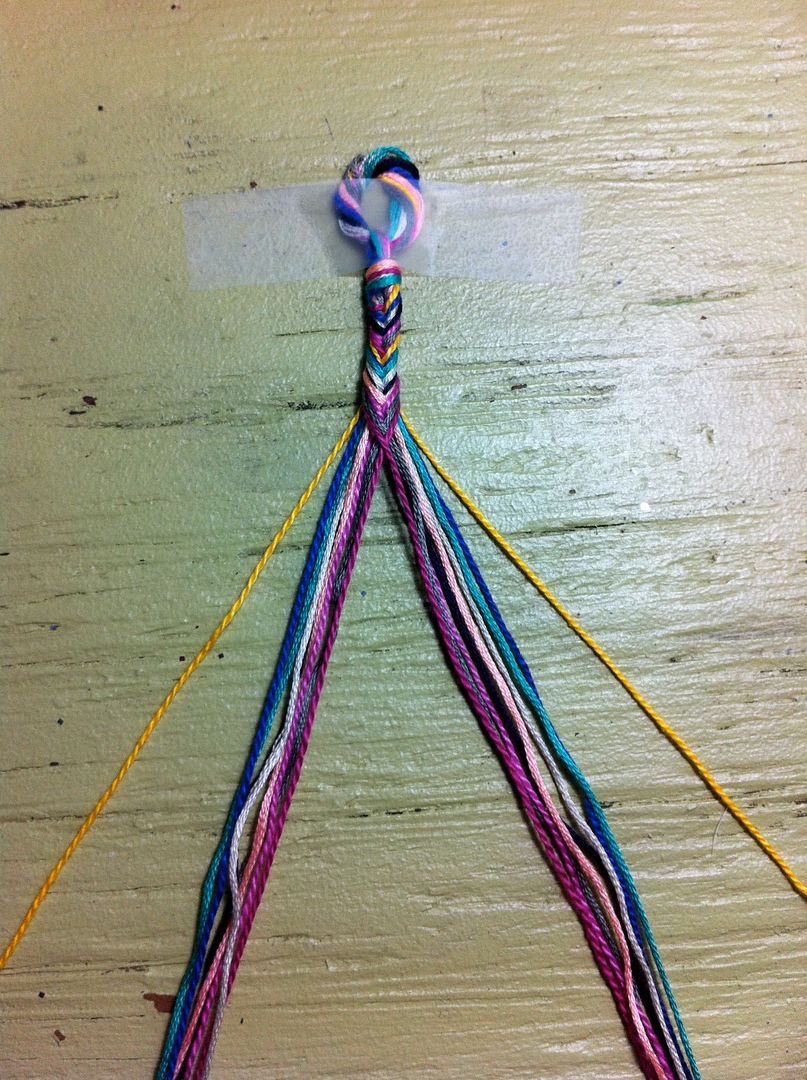
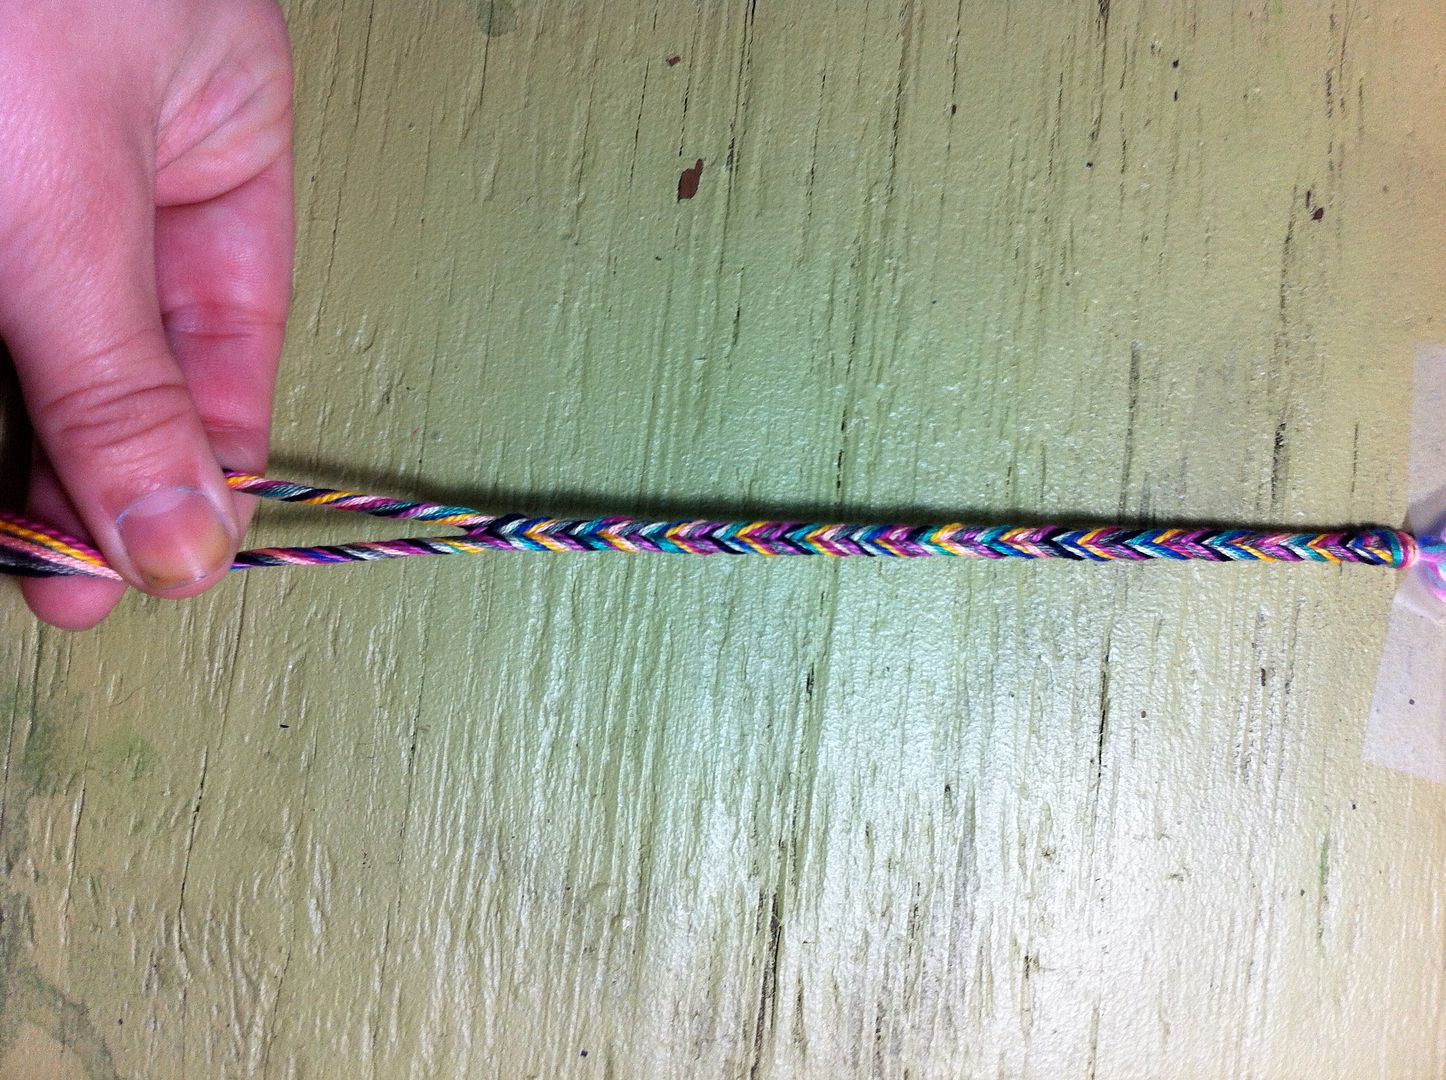
This is what mine looked like after braiding two sets. Once your bracelet has the pattern going, you can either keep the color pattern going or just make it random. If you do make your color pattern random, make sure you take a piece from the outside.
When you've braided as much as you need, twist the two groups inward (towards each other.)
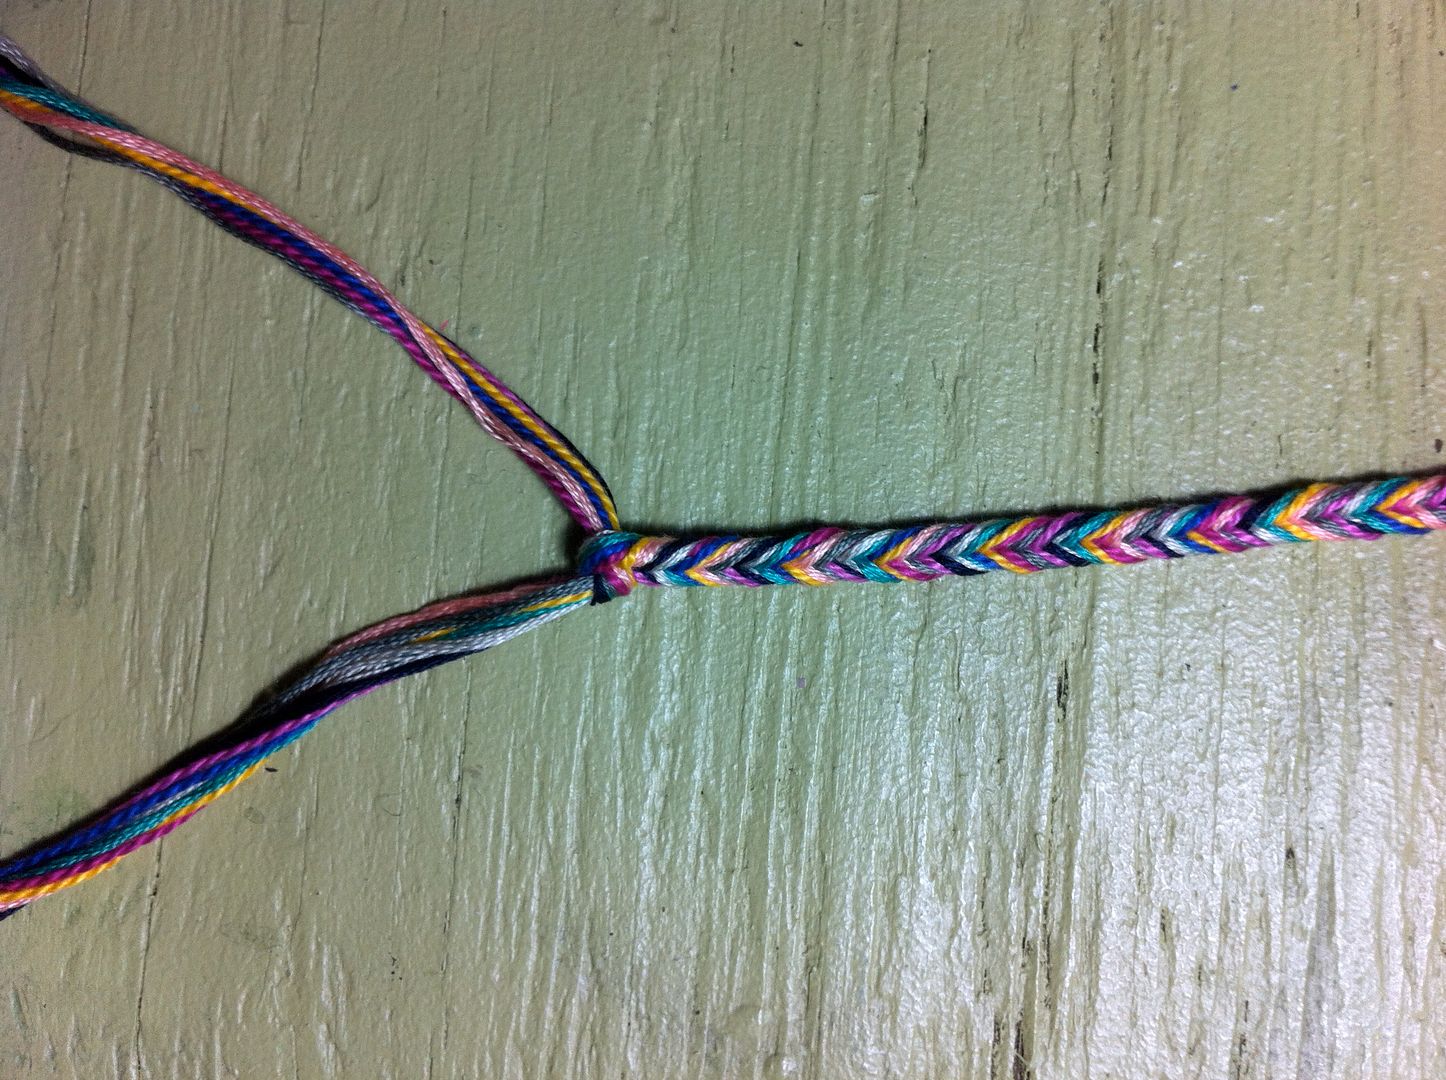
Then tie a knot.
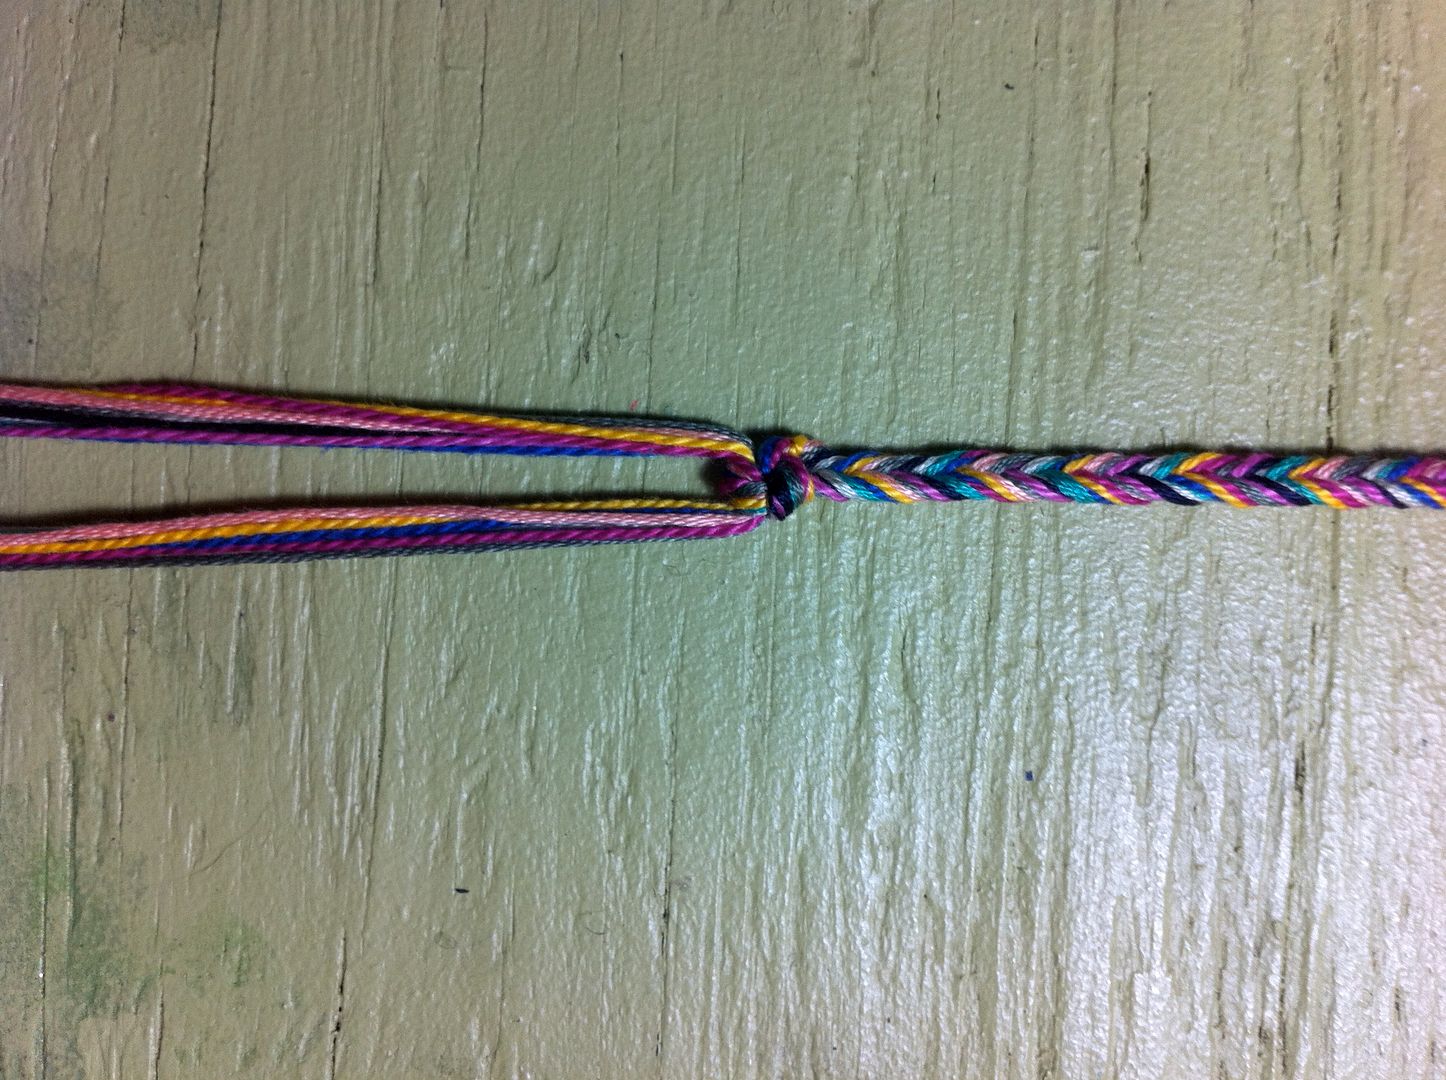
And another knot...

Now you will thread your bead onto all of the strands. I'm going to show you an easy way to do that. Take another shorter piece or string and thread it through your bead and then wrap the string around the group of strands.
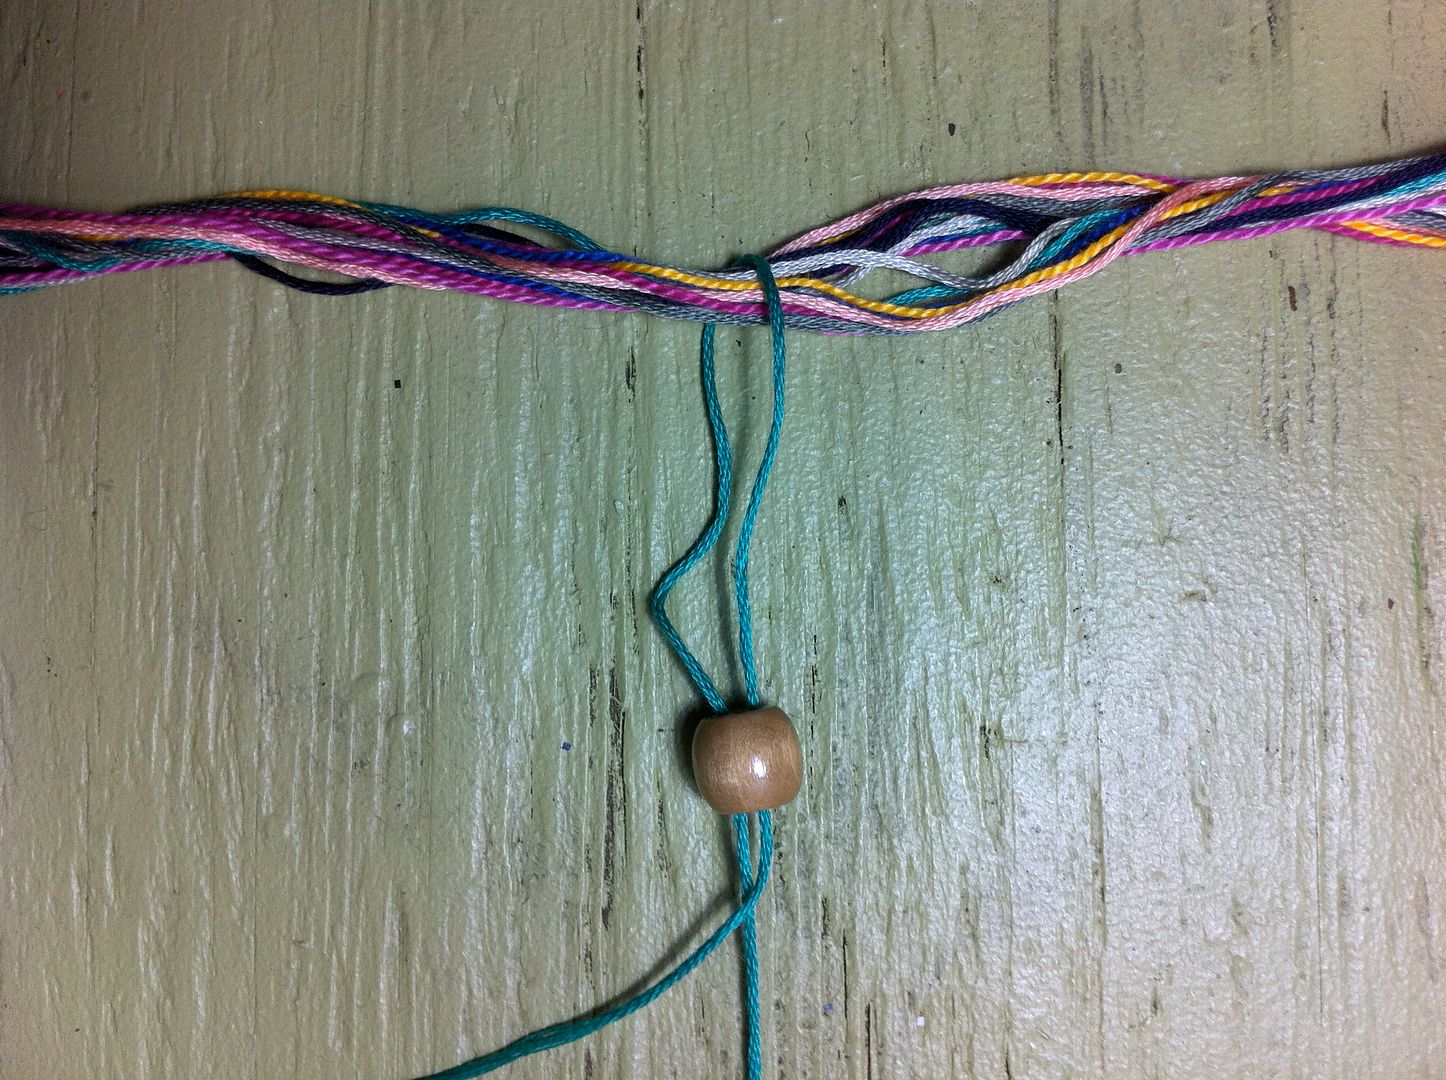
Then thread the smaller strand back through the bead.
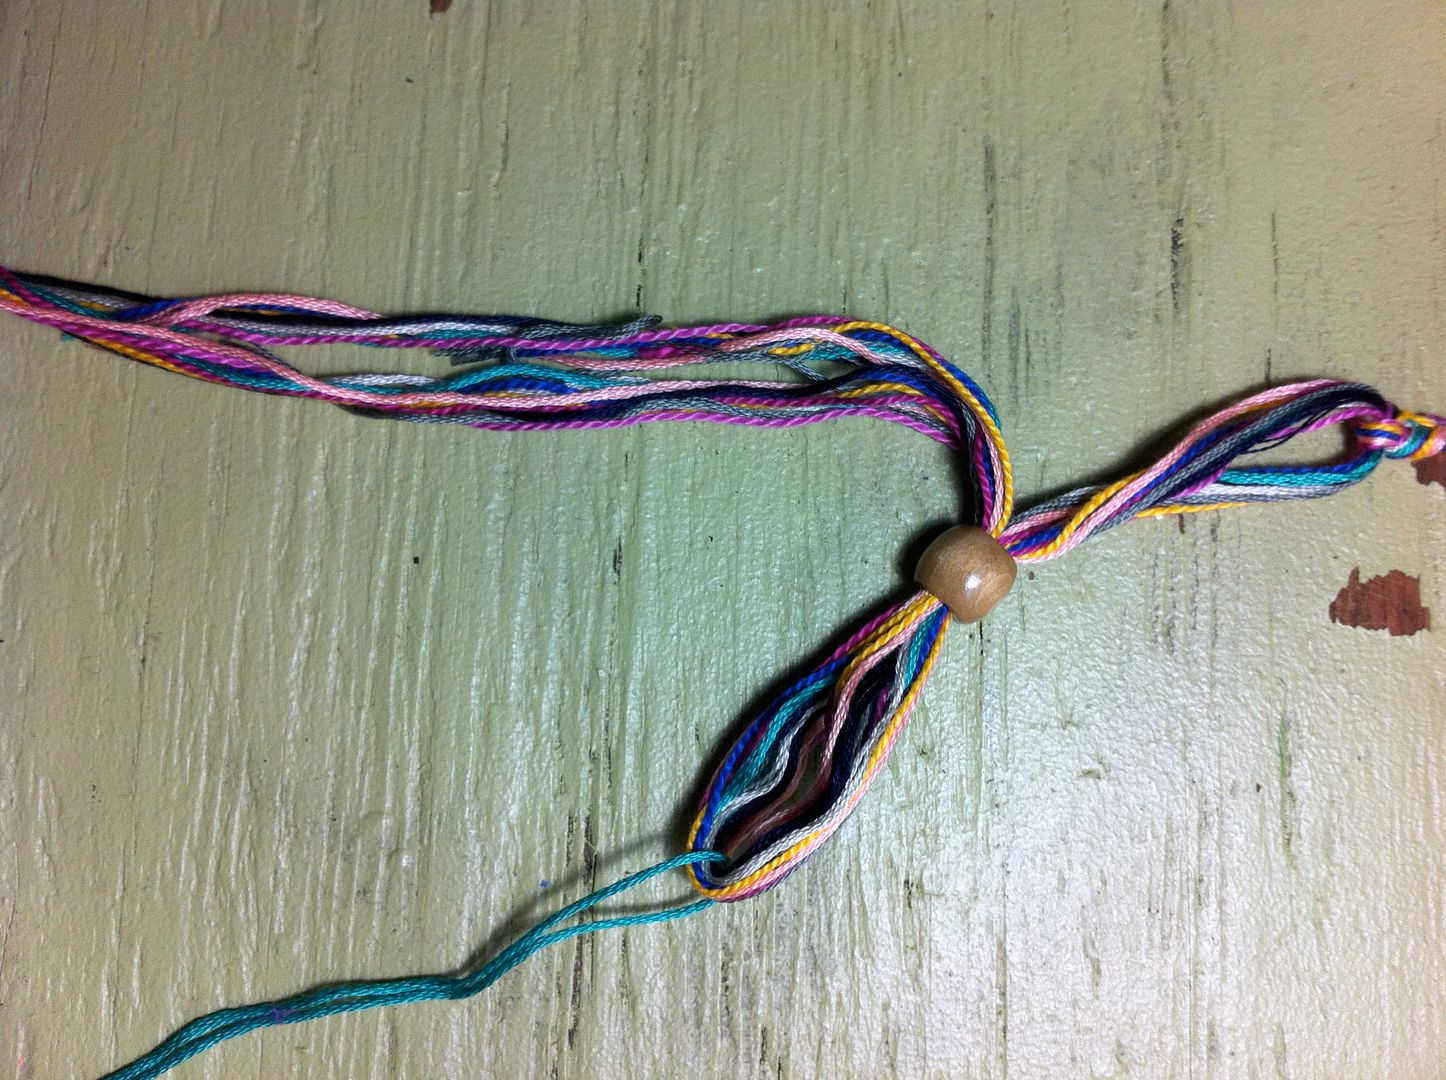
Grab both ends of the strand and pull through bead and the group of strands will come through with it.
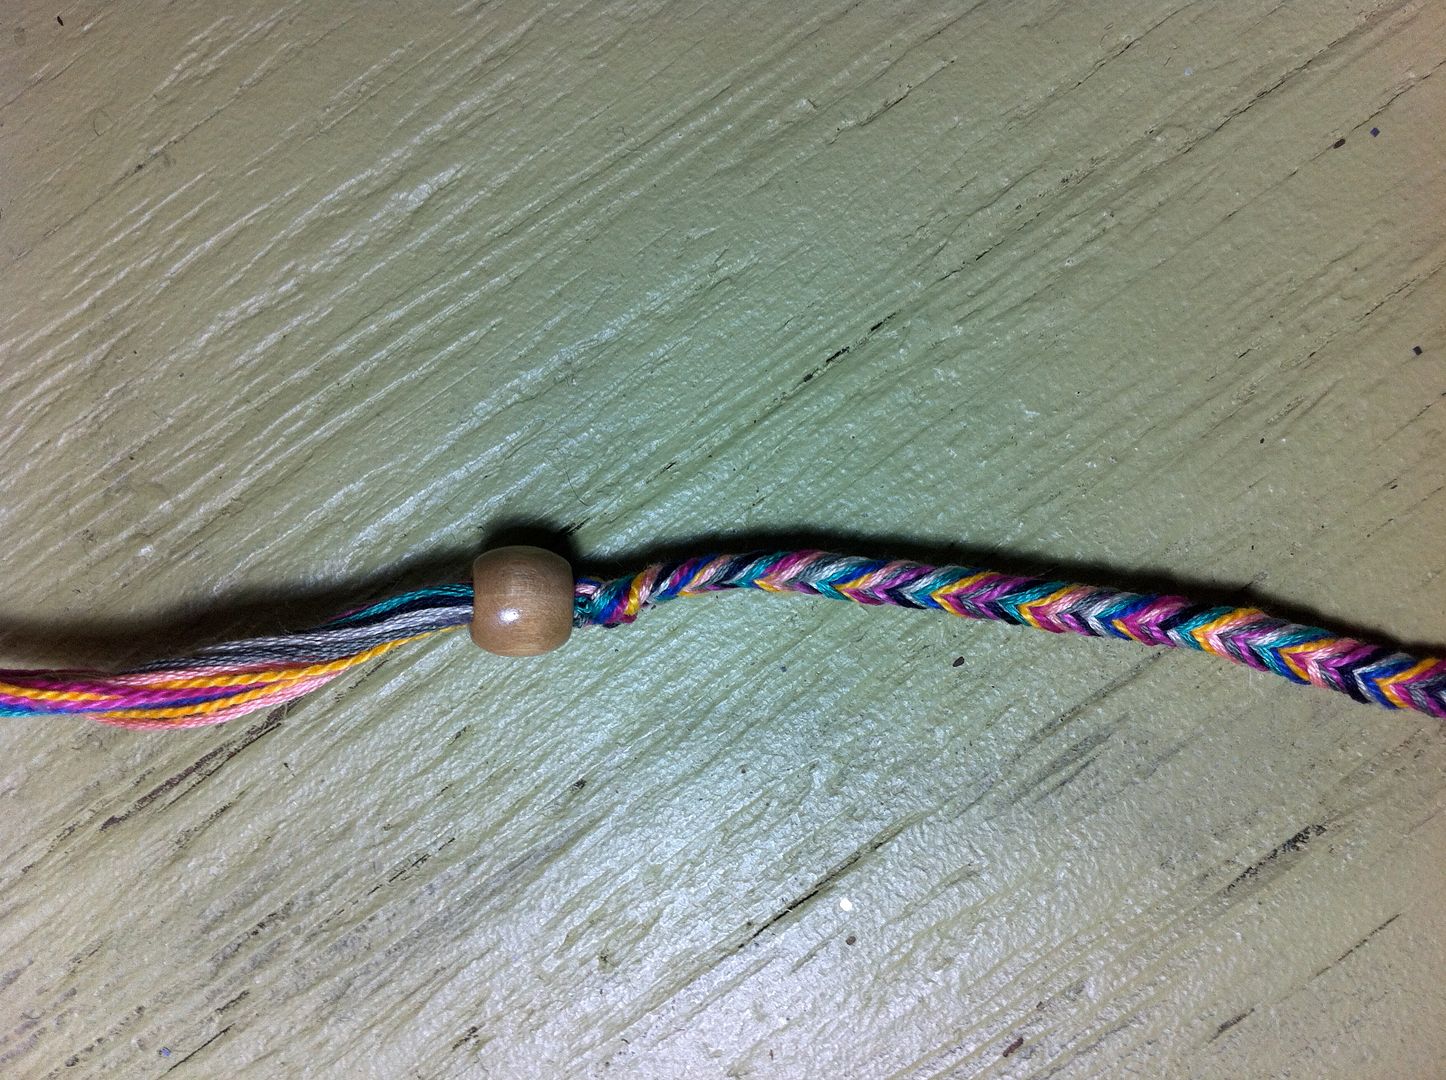
Then slide your bead up to the knots.
And tie two knots underneath the bead and cut off the extra string.

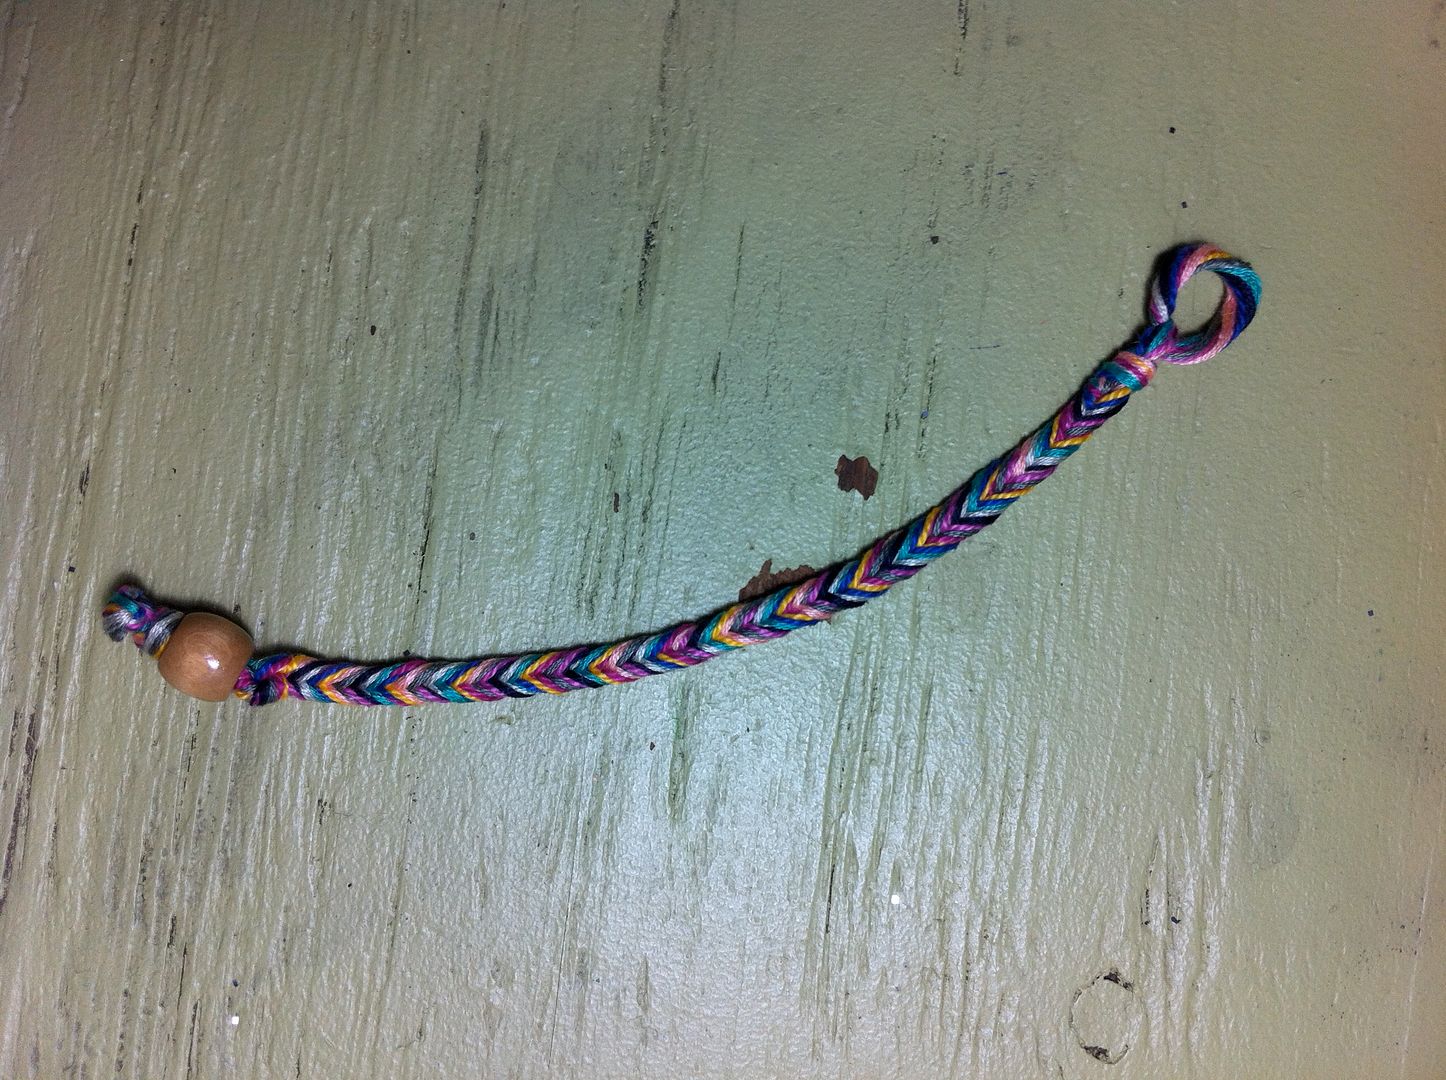
There you have it! This bracelet does take some time to finish but not as much time as other friendship bracelets I've tried. We'll be making more of these bracelets soon in all sorts of colors so stay "tuned"!
xo, Savannah
**This post contains affiliate links.
very cute! i've always had a problem with my bracelets twisting as i make them, but maybe this design will prevent that.
ReplyDeletenew follower of yours, i look forward to seeing more!
yael at livingdink.blogpost.com
So so so pretty! I really want to try this.
ReplyDeletesooooooooooooo cute!
ReplyDeleteLove it~
nice! love it. so cool
ReplyDeleteI love this! I love the fishtail pattern. Can't wait to make one of these.
ReplyDeletetherichstyle.com
Very pretty! Love this bracelet!
ReplyDeletexoxo,
Rachel
www.rachelslookbook.com
so very nice!
ReplyDeleteI love this bracelet. Do you have directions for the green one, second from the right. I love that one too.
ReplyDeleteI have one suggestion for you that I have been using instead of tape on the table and that is to get a clipboard, I have enjoyed this method more than the tape.
Thanks. Here are the directions for the green bracelet http://honestlywtf.com/diy/diy-beaded-bracelet/
Deletei just found your blog on pinterest. you girls are awesome!!! and now i found this bracelet. again.... awesome!!! im adding you to my bloglovin list and i think i will be pinning a lot of your stuff to pinterest :) love it
ReplyDeletethank you so much for this! i'm sooo loving this. I just tried it and my bracelet turned out really pretty. Following you guys now. ;D
ReplyDeletexoxoxo,
Ruvic
http://ruvicbe.blogspot.com/
This is great! I've always found it tricky trying to make friendship bracelets but I'm going to give it a go tonight using this post as a guide!
ReplyDeleteHolly
Astley Clarke
I've just linked to this neat little tutorial from my twine blog - thank you for such a great idea! :)
ReplyDelete- Angie
Whimsy Farm Twine
Great tutorial! I am trying to knock off the Madewell friendship bracelet in 2 colors. I made one and forgot what I did! I will try using your method. How do you do a 2 color?
ReplyDeleteNancy
awww thats so inspiring, thank you casey and savannah :)
ReplyDeleteI just made this. Super easy, and I love it!
ReplyDeletesoo cute(: can you do it with different amounts of string??
ReplyDeleteI love this! I love the fishtail pattern. Can't wait to make one of these. cheap wristbands thank you.
ReplyDeleteCan i just ask how do you tie it at the end?
ReplyDeleteNow this looks like something I can do! Hahaha :)
ReplyDeleteI've never thought to do a fishtail bracelet. VERY creative!!!
Thanks for the tutorial! :)
there are so so pretty! I put a link to your blog on mine for 8 DIY bracelet projects!!! http://schulmanart.blogspot.com/2013/08/8-diy-bracelets-projects.html
ReplyDeletethank you!!!!! i gave up on a tutorial of another pattern on youtube and didn't want to make bracelets anymore... i found this one and it was so easy!!! now i have a beautiful bracelet! thank you!
ReplyDelete