Every winter we fall into the same routine. More time is spent inside due to the decreasing daylight hours which means much more time on our hands. We like to think of this as a benefit because we trade in our long to-do lists and projects for more time relaxing and doing things to we like to do just for the sake of doing it.
We've been trying to do more activities instead of watching more tv, but sometimes we do both at the same time! Not all of these hobbies will interest you but I hope you find one that does and maybe this is the nudge to get you to try something new. Doing any of these hobbies will make you an infinitely more interesting person than scrolling your phone or watching tv (no judgement- we do our share of scrolling & tv watching).
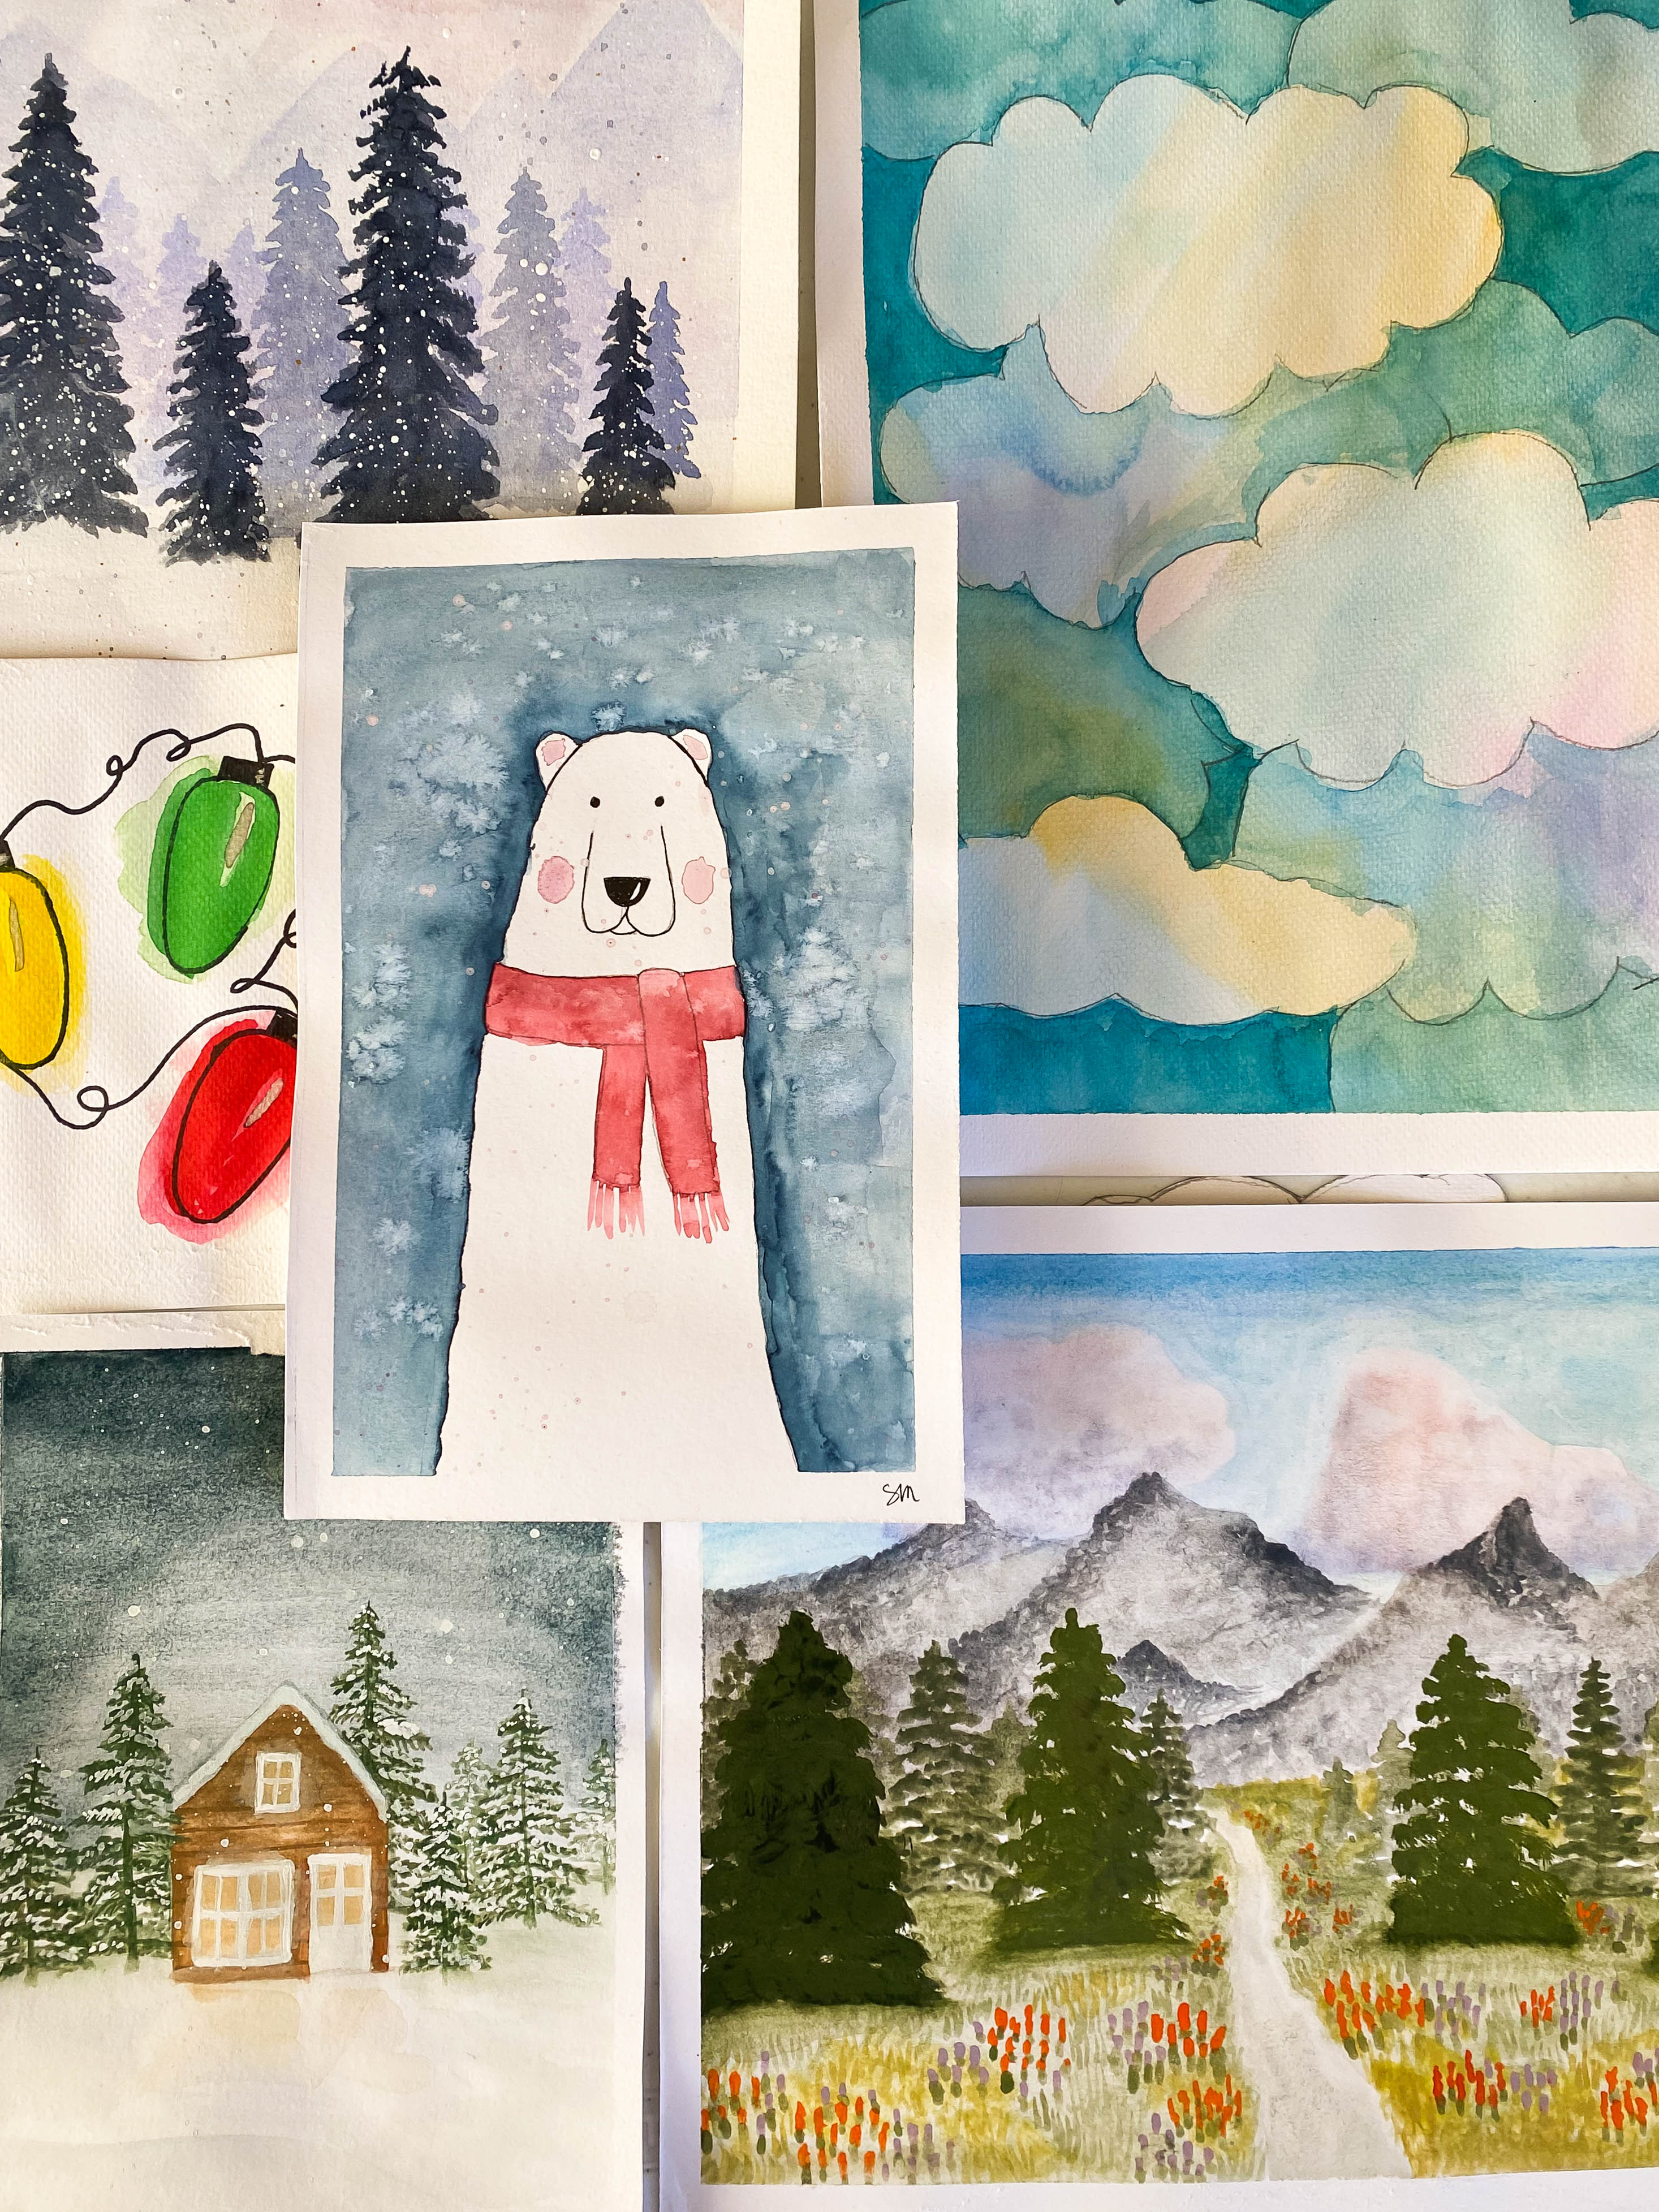
1. Water color: Casey and I recently took a watercoloring class because it was something we were both interested in exploring. It piqued our interest enough that we decided to invest in some supplies so we could leisurely explore watercoloring in the comfort of our home. It's been a nice hobby for both of us because it's affordable to start, the supplies take up minimal space, and you can complete a painting in just a few minutes. I think the key to sticking with a hobby is to be able to finish something and feel like you could do it again. This is exactly what watercoloring is for me- something fun an interesting that I can complete in an evening, even multiple times in an evening if I wish.
We started out buying a set of watercolors in tubes, but almost immediately wanted a palette of watercolors. With the palette it's easier to see the color and there's no time wasted searching for the right tube. It's also almost impossible to not waste some of what comes out of the tube. Our thought process was the tubes would be easier to share between two people, but I still think the palette is a nicer experience, especially for a beginner.
Our watercolor supplies: watercolor palette (similar) / paper / paint brush set (similar)/ pencil
2. Sewing: We have both been sewing for many years. I learned from my mom and Casey took sewing lessons as a teenager. Sewing can seem daunting but if you start with easy projects, you can build on your skill set and your confidence. Don't go out and buy a new sewing machine. Find a used one on Facebook Marketplace or eBay or some place like that and don't worry about getting one with a bunch of fancy stitches on it either. You want one that can sew a straight line, a zig zag stitch, and be able to do a buttonhole.
Check out YouTube to learn how to thread your machine and wind a bobbin or take a class to learn the basics. In our area we have a group of ladies who meet at the library and work on sewing projects. Find a group like that and they would likely love to help get you started.
Some easy projects to get started are:
Pillowcase Bag (be on the lookout for an updated version on this coming soon)
3. Knitting and Crocheting: Nothing says "cozy" like curling up with a ball of yarn and making something with your hands. And what's cozier than yarn?! Plus, the repetitive motion can be incredibly soothing on those long winter nights. With crocheting a lot of people start up with granny squares and that's how we started. I'm currently finishing a giant granny square that will be turned into a tote bag. For something bigger like a blanket, you have to complete a lot of granny squares to make a finished product. But they have
these really cute kits that I've heard are even better for beginners because you have a finished product more quickly. If you want to get into knitting and want a quicker project, look into arm knitting.
This crocheted headband is a quick starter project.
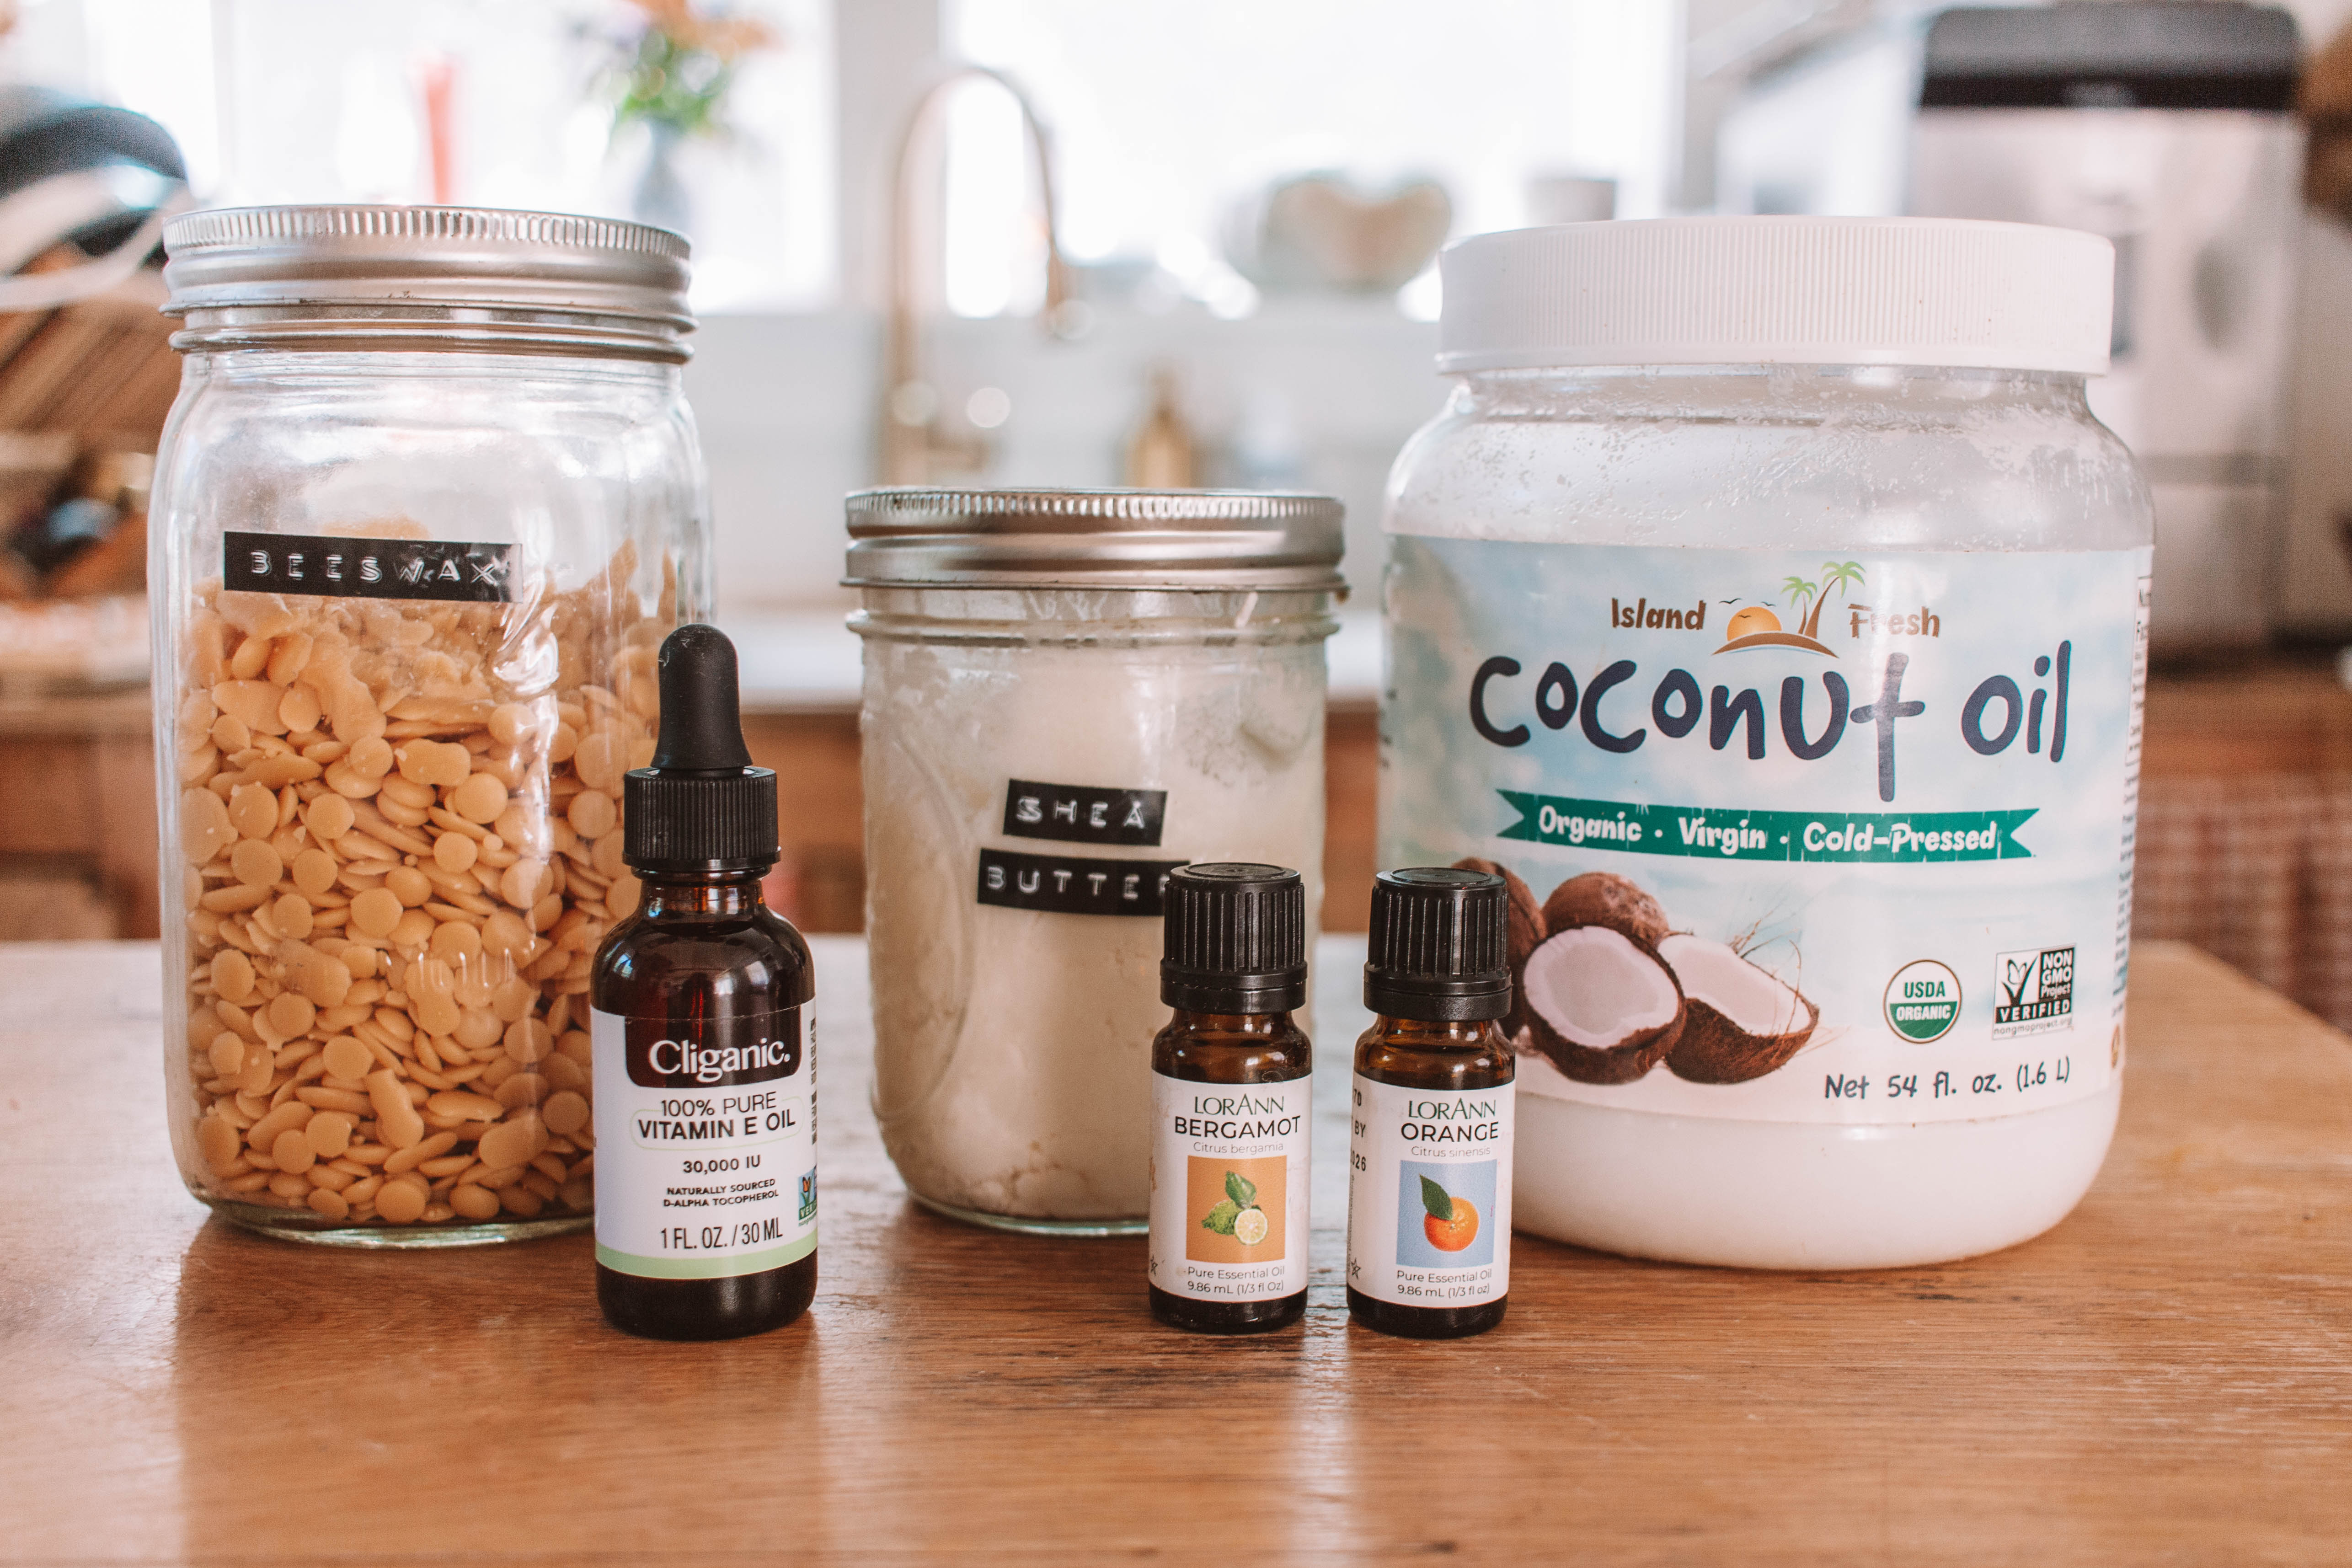
4. DIY Skincare products: This past fall we taught a class at a local store about making different natural skincare products. This is something we've done off and on for years and really enjoy. We have a tutorial on how to make your own calendula salve, lip balm, and a hand scrub. The good thing is that a lot of the ingredients overlap so if you can make one, you can usually make them all. And you can even make the hand scrub with things you have in your pantry.
5. Baking: Winter is the perfect time to experiment in the kitchen. From loaves of bread to decadent cookies and pies, baking warms your home while filling it with delicious smells. Plus, you get a cozy treat to share in the end! Need inspiration on what to bake? Start out with something simple like these recipes on our other blog: The Easiest Pantry Granola + Gluten Free Sausage Balls. Then work your way up to something more advanced.
6. Reading: There's no better time to lose yourself in a good book than winter. I naturally want to read more in the winter and I'll set these lofty goals for how many books to read in year based on my winter self. Inevitably the temperatures start to warm up and I'm reading less because I'm outside more. But that's okay! You can make up for your summer self in the winter and read as much as you can! Make yourself a cozy reading nook & grab a hot drink and get to reading.
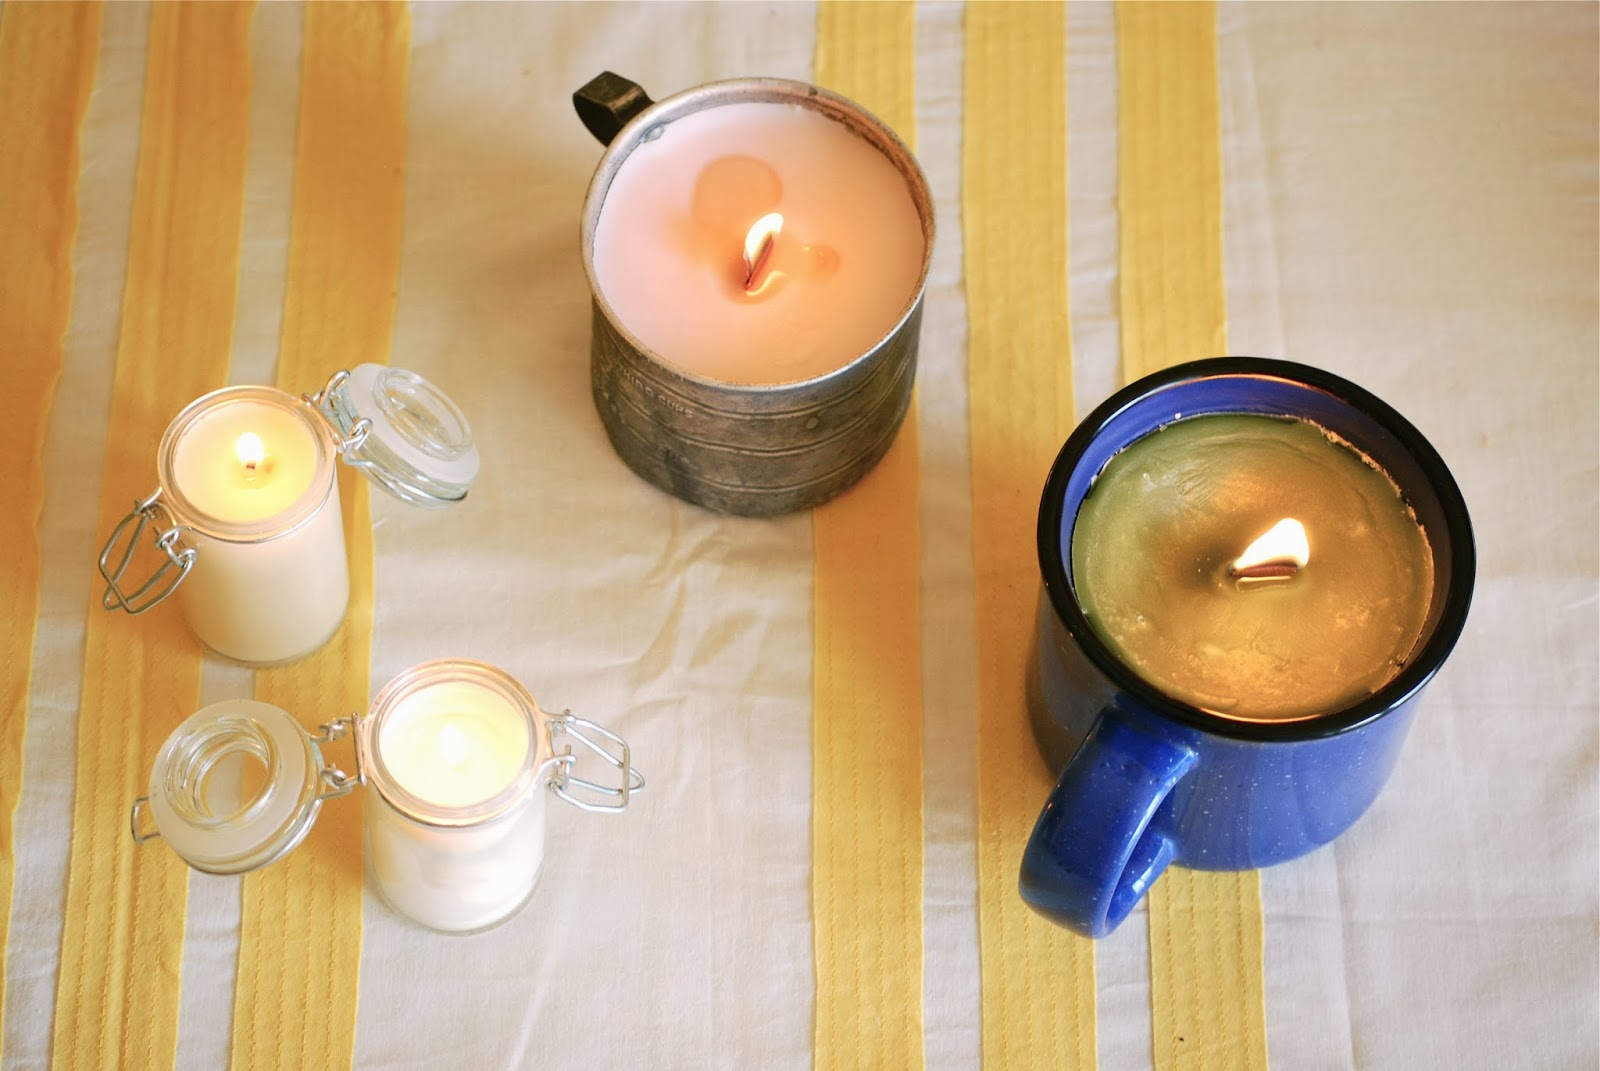
7. Candle Making: Nothing sets the mood like the soft flicker of candlelight. Why not take it a step further by making your own candles? You can experiment with seasonal scents like cinnamon, pine, or vanilla and create custom designs to add a personal touch to your winter decor. It also fun to find a vessel for your candle. You probably already have something in your house you can use. I also love to look at antique & thrifts for fun candle vessels. Last year for Christmas we came up with our own scent and made everyone in our family their own candle in thrifted vessels. We have a candle making guide here to help you get started.
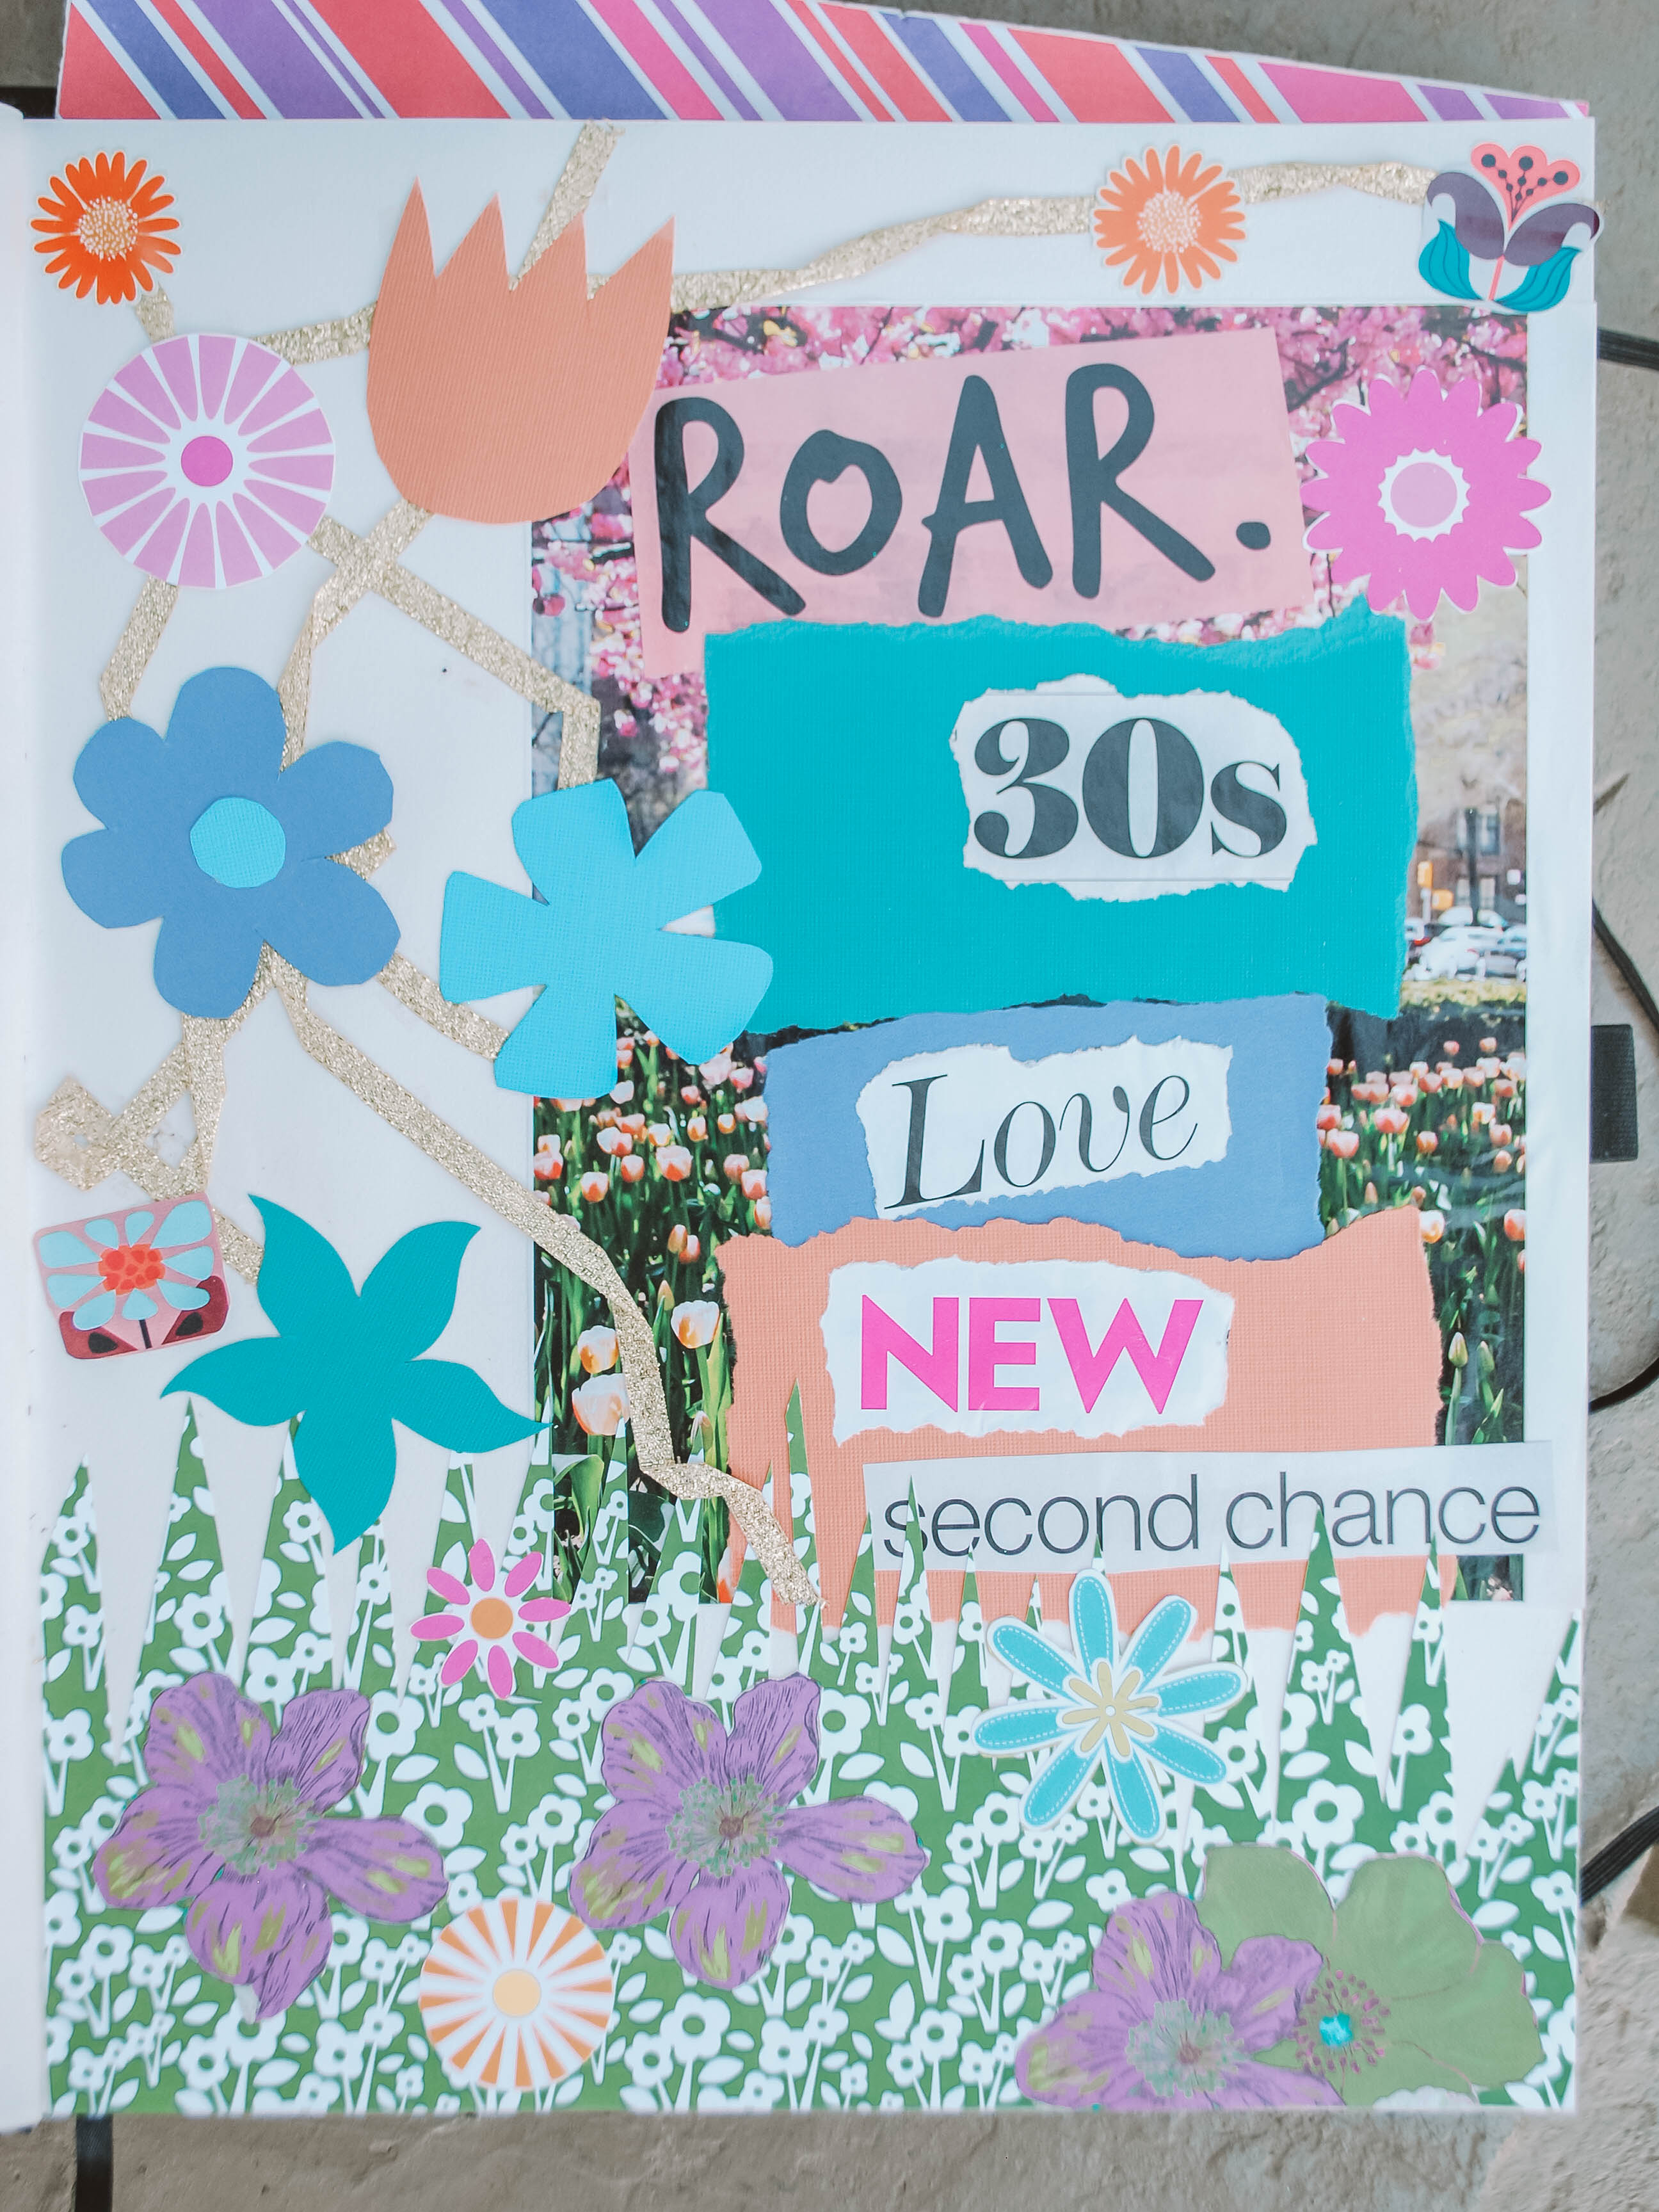
8. Journaling: Winter is a natural time for introspection. We are at the end of the year or at the beginning of a new one which naturally makes us think all the big things. You can start a journal to document your thoughts, set goals for the new year, or simply doodle and brainstorm. We went through a phase of visual journaling where instead of writing words you make a collage of sorts. I've seen people who will save receipts, business cards, menus, etc from a trip or just of the day. Then they will place them in a journal as a way to remember the trip or day. I love this idea and would like to start doing this myself. Journaling can be a great way to start or end your day.
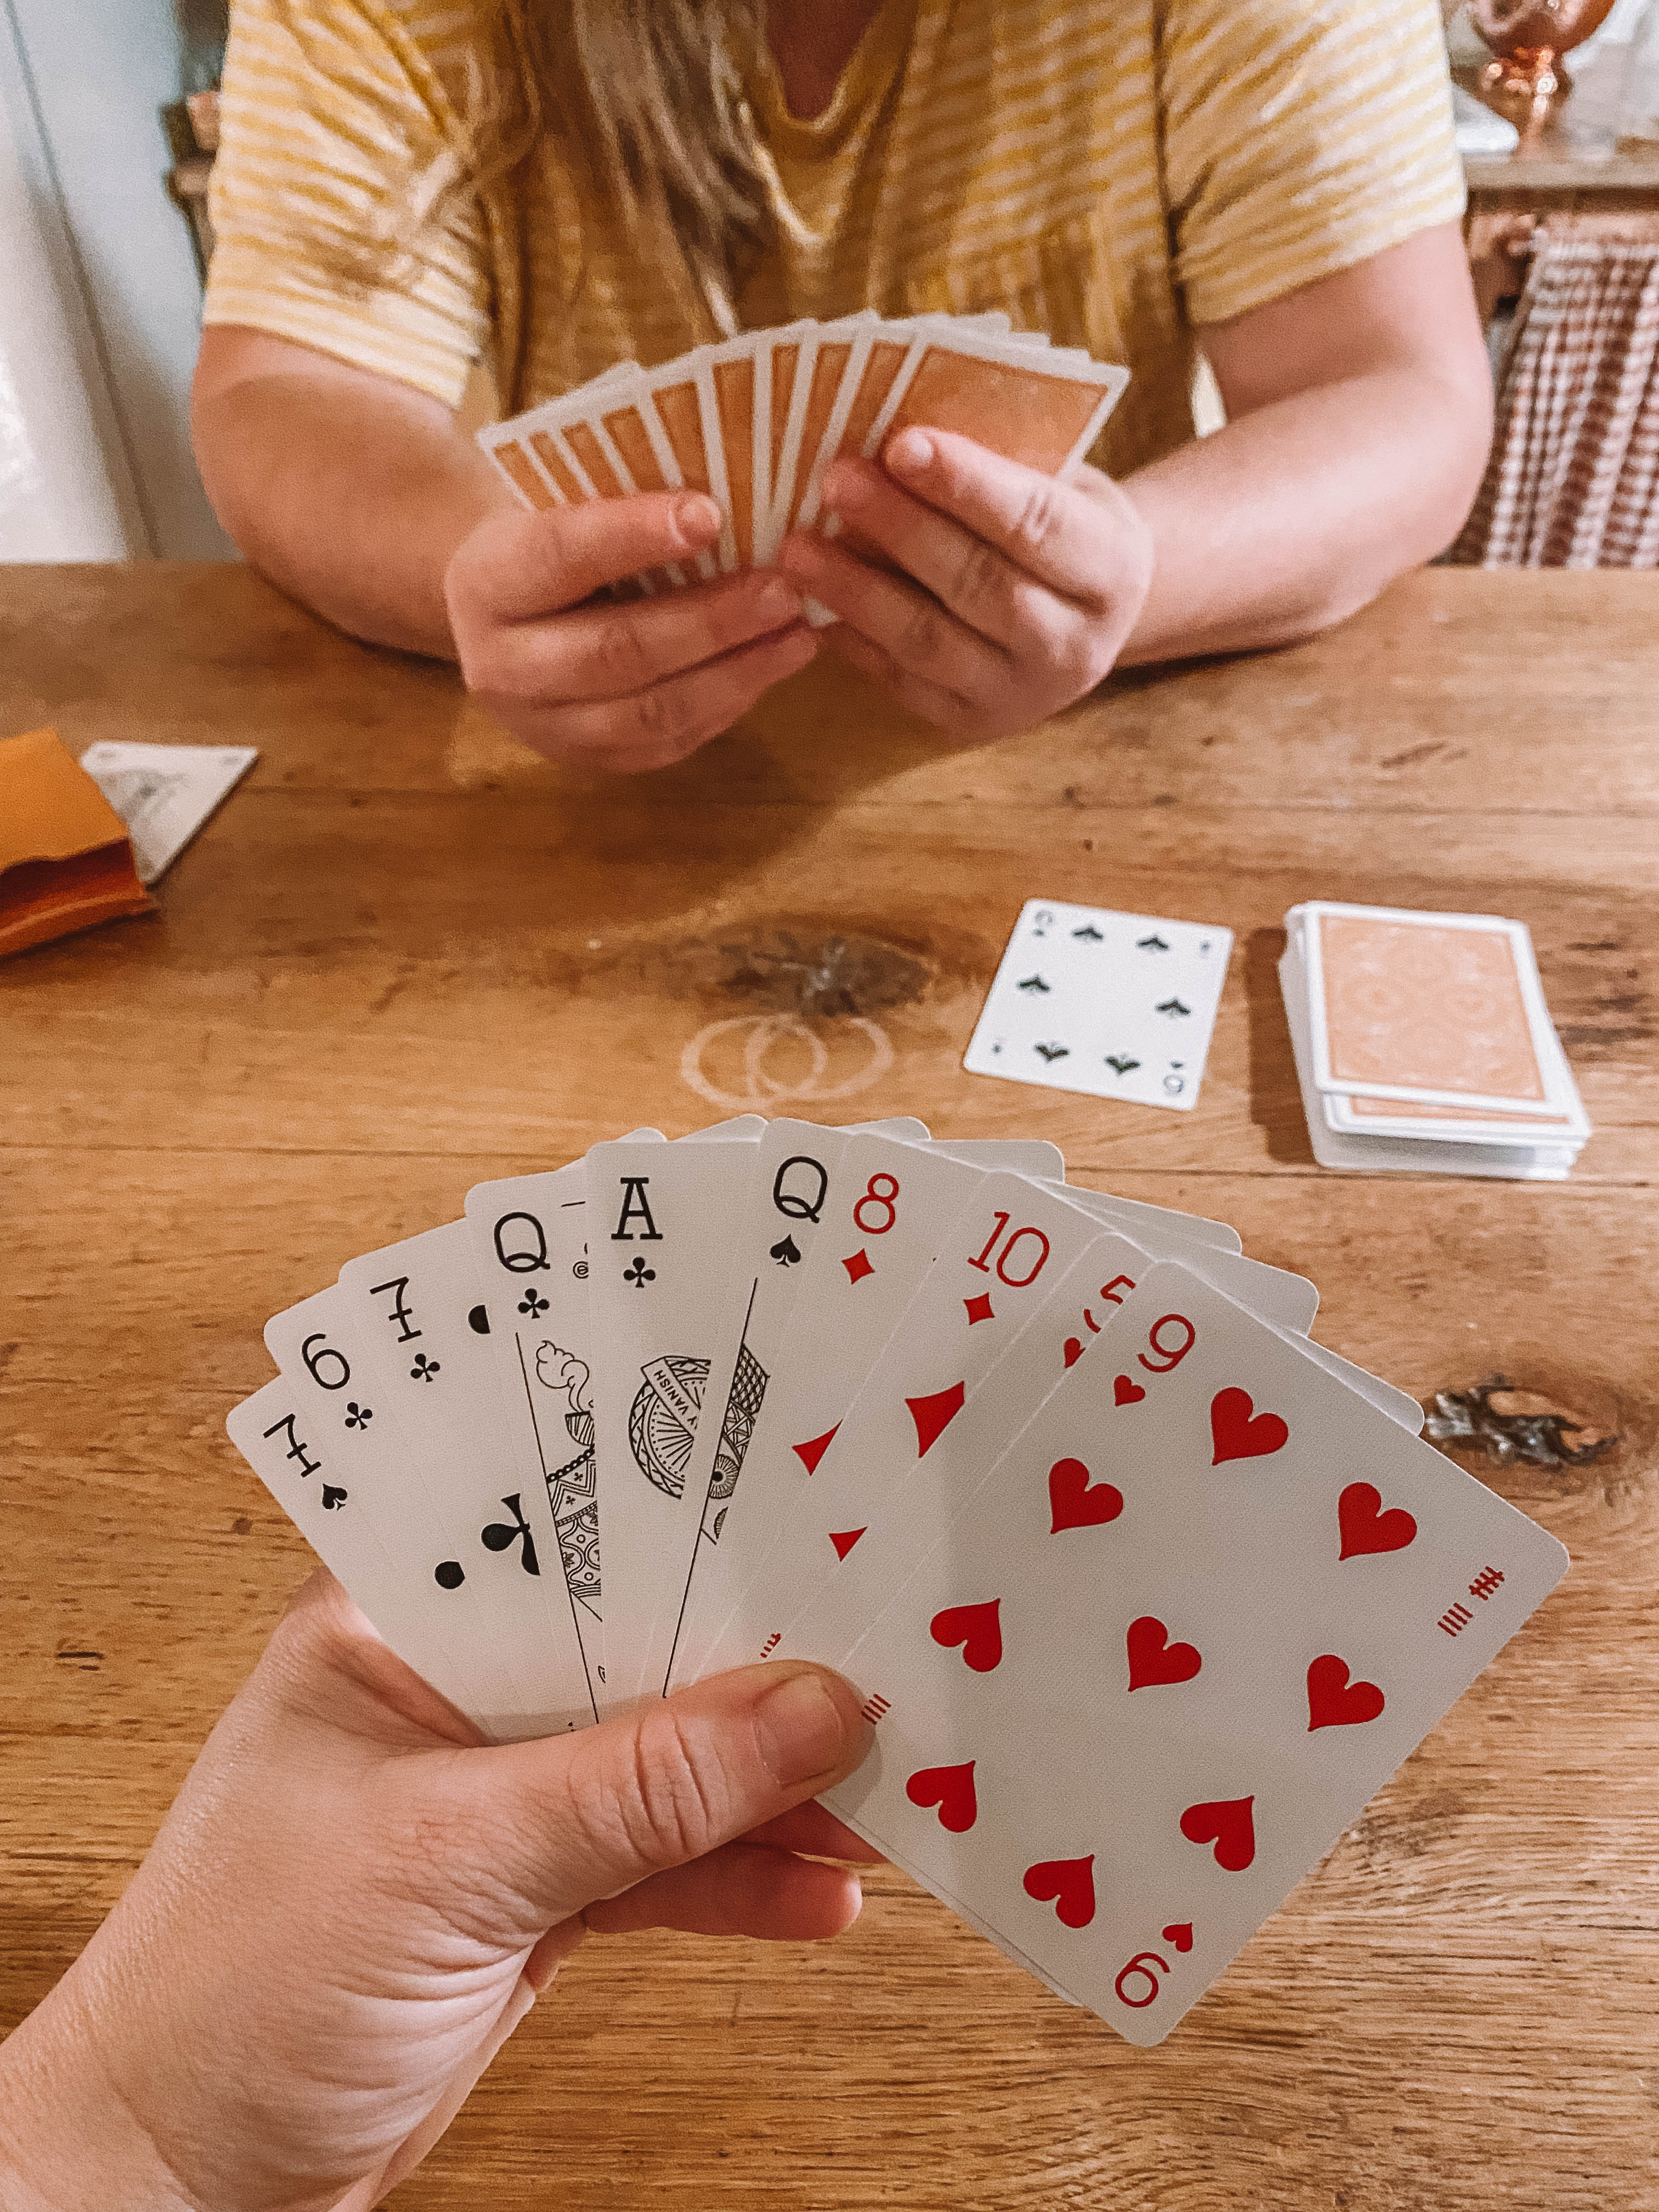
9. Puzzles and Games: Whether you’re putting together a 1,000-piece puzzle or playing a strategic board game, these activities are perfect for cozy nights in. They’re also a great way to connect with family and friends while staying warm indoors. We love playing card games or dominoes, and if you know of any other good 2 person games let us know in the comments!
10. Embroidery or cross stitching: This isn't a hobby that either of us has tried but we would like to get into it one day. I love the homey, handmade look of cross stitched & embroidered items. And they don't always have to look so old & stuffy as you can see here.
11. Wool felting: When I used to work at a summer camp as the art counselor, we had access to lots of wool straight from the alpacas on the property. This meant a lot of simple wool felting was done with the kids. But this is a hobby I have been wanting to try again for myself. I have this long term dream of owning fiber animals (sheep, alpacas, certain breads goats, rabbits, etc) and making things with their fur. There is a lot of steps between shearing a sheep and turn their wool into a sweater. But I feel like wool felting seems a little more instantly gratifying. But I've seen people craft lifelike replicas of people's animals. As with any crafts, I think it can be as simple or detailed as you want.
12. Stamp carving and block printing: Did you ever cut a potato in half and cut a shape or design in it to make your own stamp in art class? Making your own stamps & block printing can be as simple as that. Get a potato, an xacto knife, and some paint and you can get going. We also used to get those linoleum blocks that you carved to make stamps with. Carving those blocks is really satisfying.
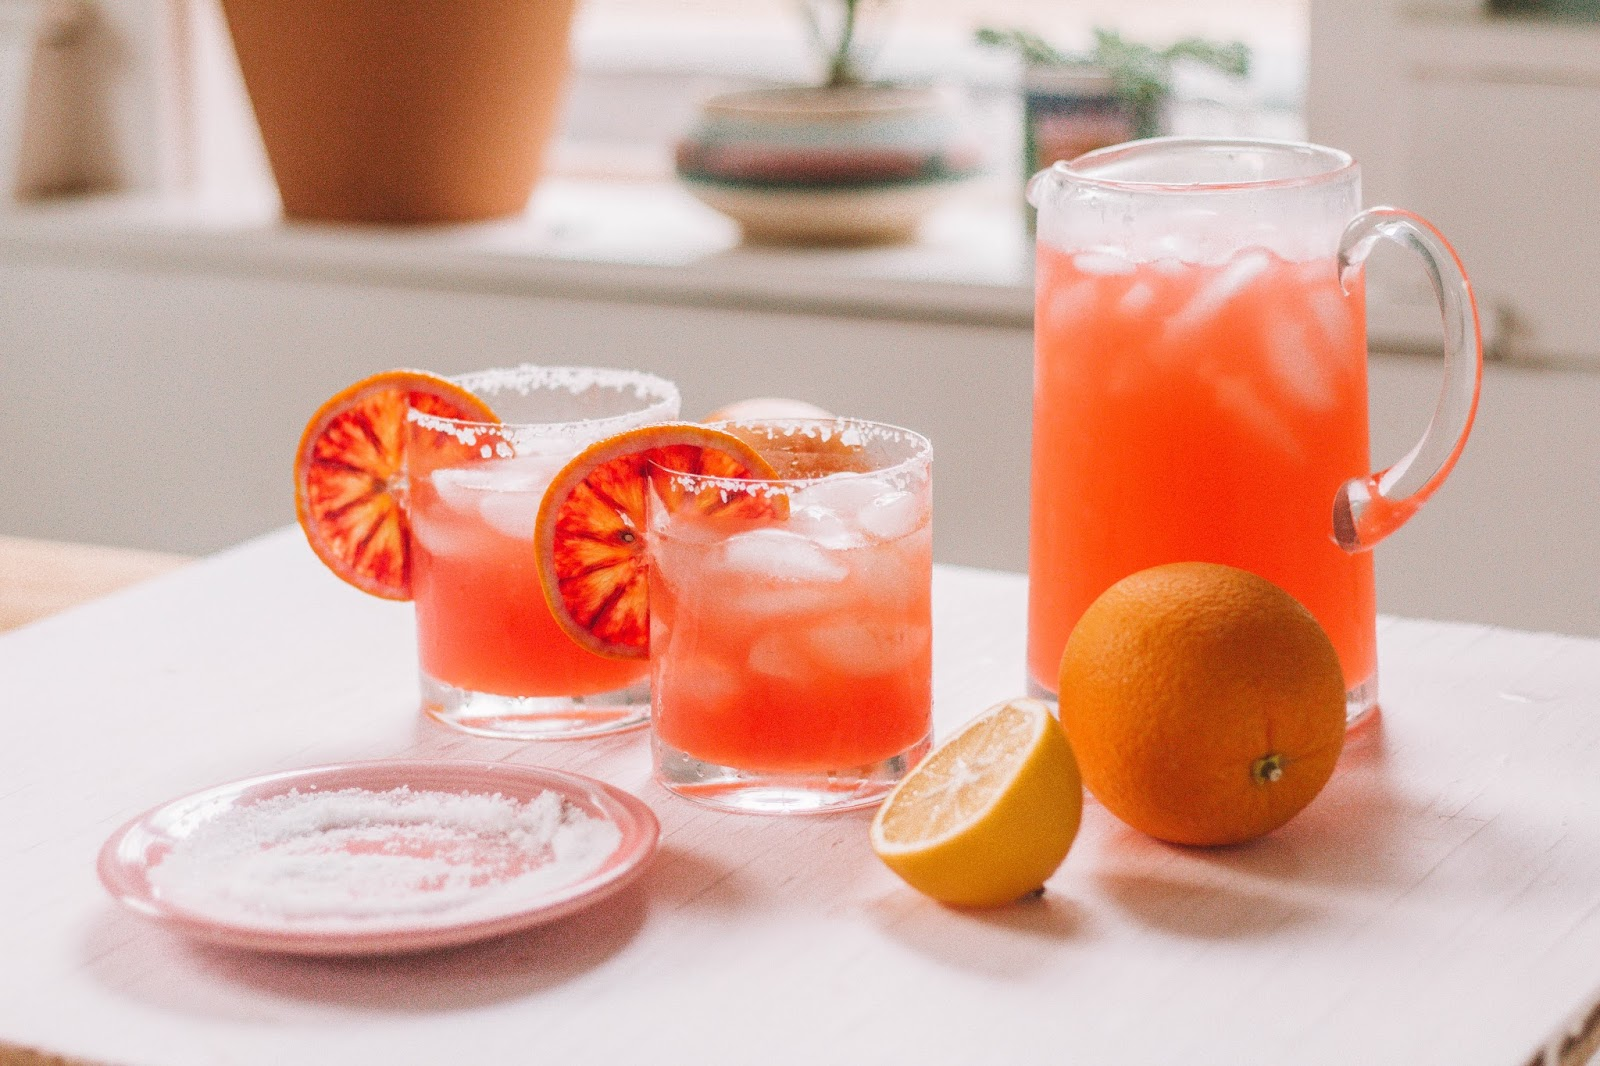
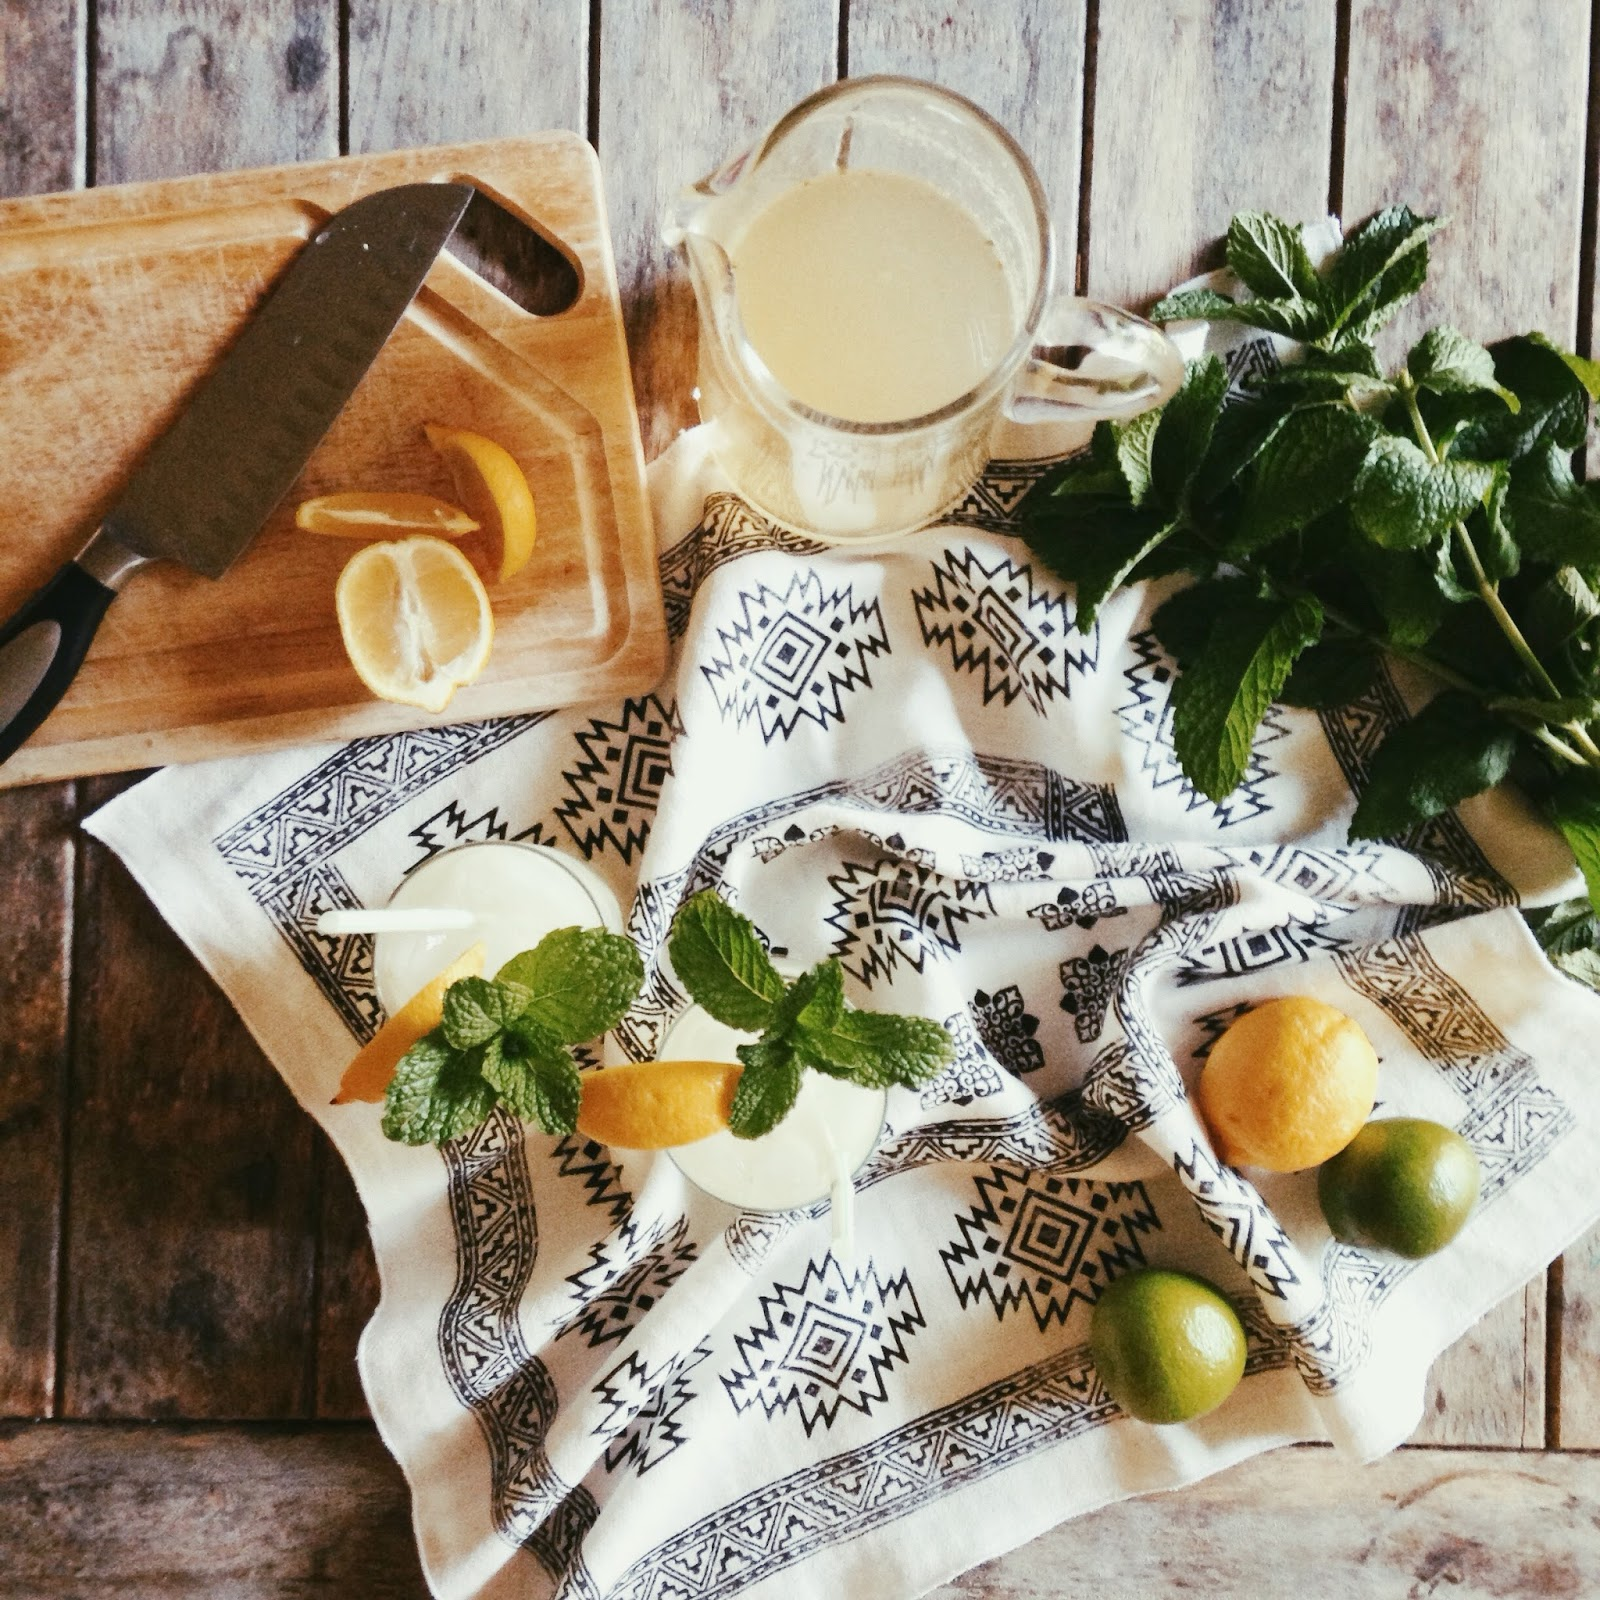
13. Create a signature cocktail, mocktail, or recipe: This is something I enjoy doing year round but in the winter there seems to be more free time. We aren't as busy trying to work outside until dark finishing a project. Some people have "house drinks" where they have one drink (some are with alcohol and some are without) that is their signature drink they make for their guests. You can make fancy simple syrups or make your own ginger ale. The options are limitless. Make this winter be the one where you master your signature house drink! Our Sunburn Cocktail is super popular and really delicous, but also try out our 3-Ingredient Paloma and Magic Lemonade!
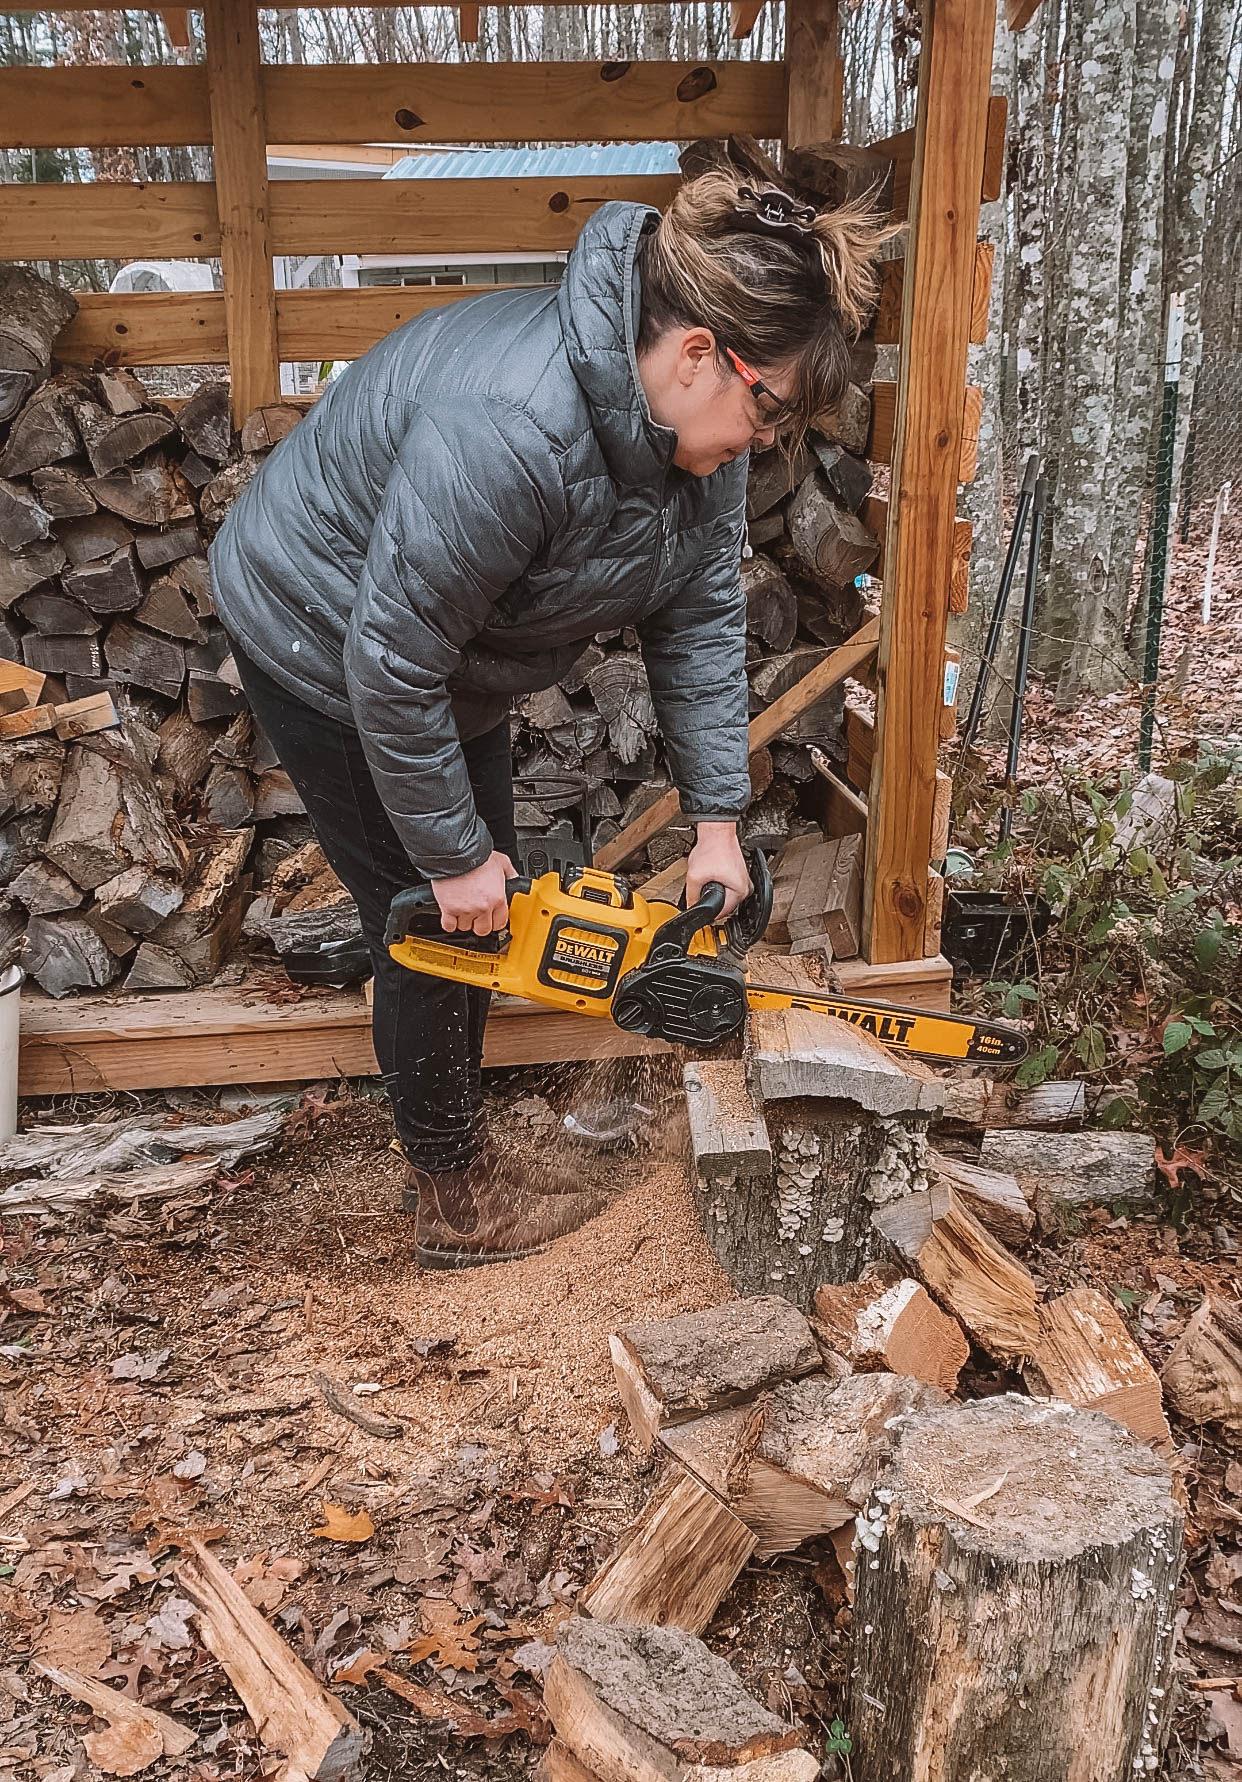
14. Practice a Skill: We follow a homesteader named Jessica Sowards of Roots & Refuge and she has a signature phrase, "turn your waiting room into a classroom." While you're waiting for your dreams to come true, learn a skill that will be helpful. Homesteading is a great example of this. A lot of people want acres of lands with pigs, cows, horses, and a big garden. But you can learn to can foods in your apartment. You can learn how to mend your clothes now. You can learn how to bake a loaf of bread. One of the things we get asked all the time is how do we know how to do all the stuff that we do. We have heavily relied on YouTube to learn a lot of skills but more than anything we just try new things. This next week we're going to be changing the alternator on our truck. Have we ever done that before? Nope, but we're gonna try. Learning new skills is great for so many things specifically your confidence & brain.
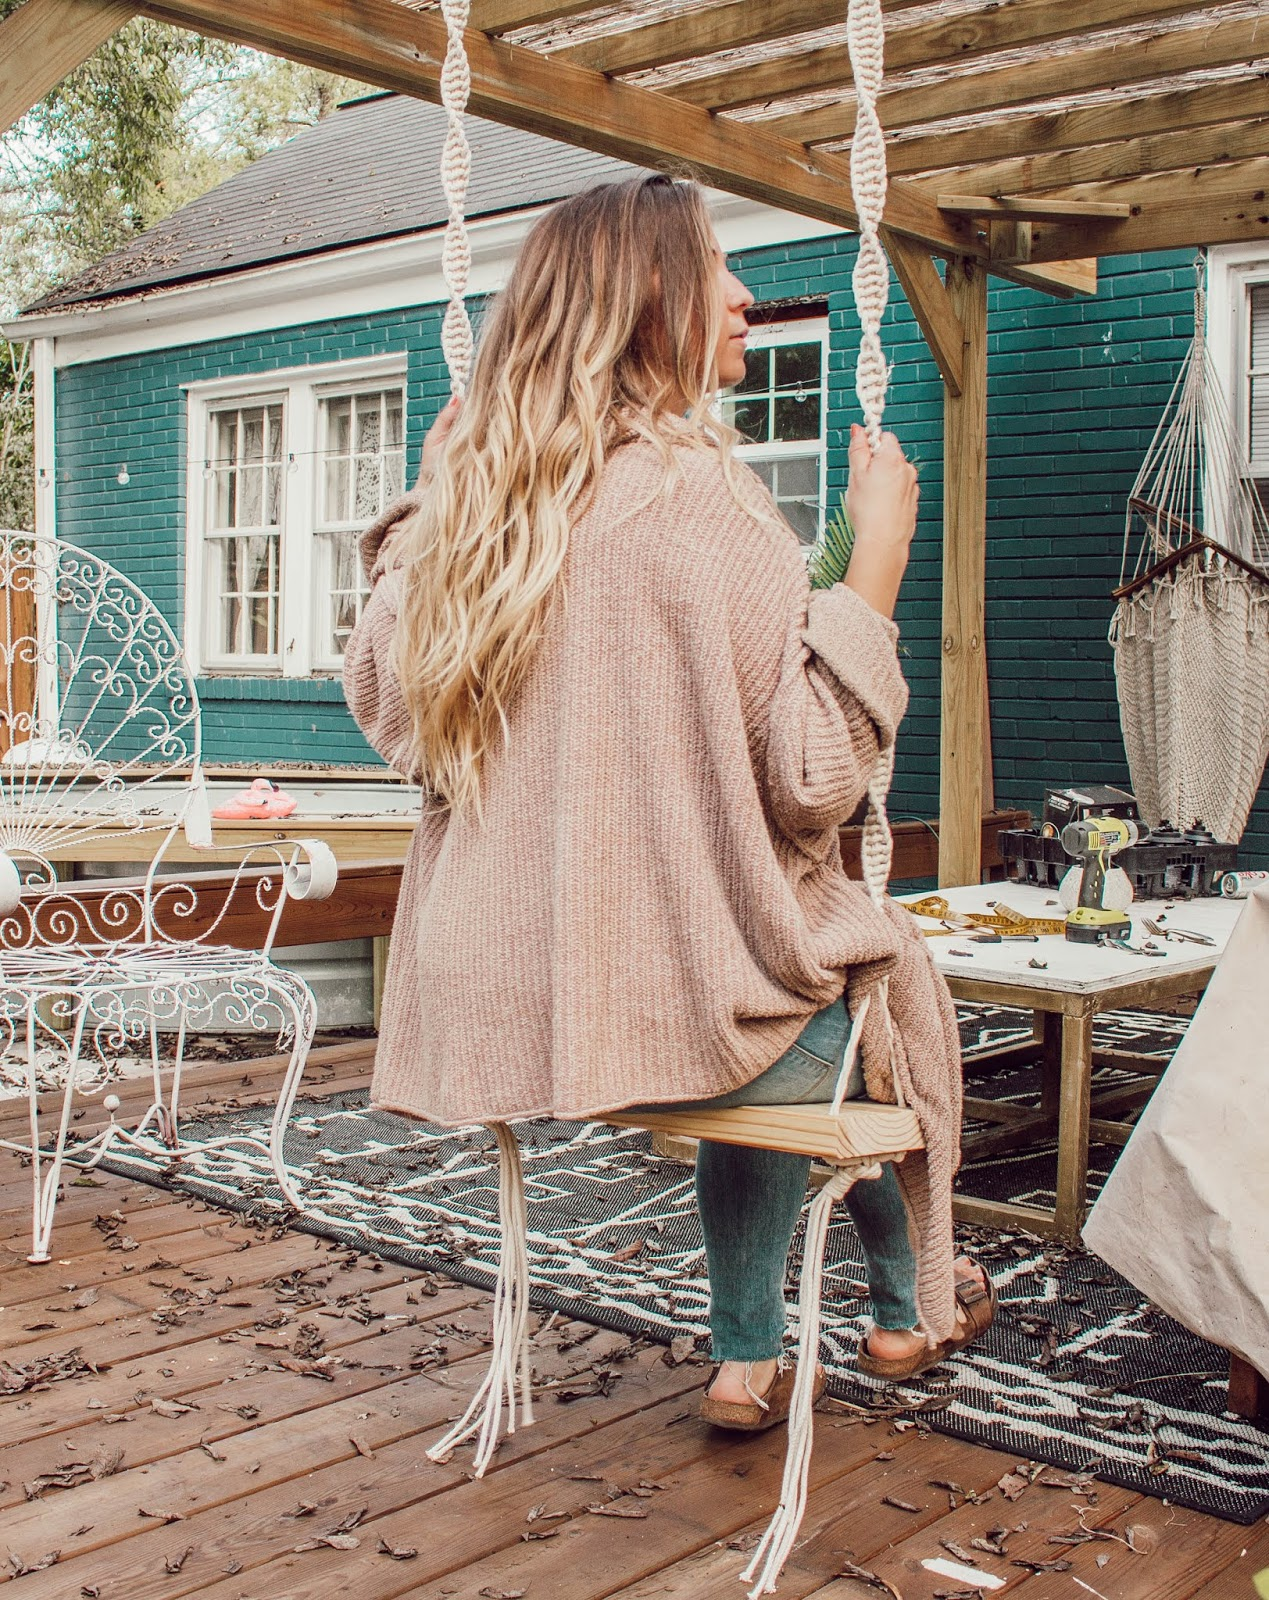
15. Macrame: Macrame was all the rage a few years ago and just like all trends it will come back around. Our old house was full of it! With just a few materials like cotton cord, a wooden dowel, and scissors, you can create beautiful, textured pieces like wall hangings, plant hangers, or throw pillows that add warmth to your home. We made these macrame swings at our old house & people in person and online always loved them!
16. Jewelry Making: A lot of jewelry projects can be completed in such a short amount of time. It's rather affordable to obtain the supplies, but I will say, the variety of jewelry making supplies out there can be overwhelming. It's best to start with one project and see if you'd like to pursue more jewelry making and go from there. These Wire Ear Cuffs only take a few minutes to make along with some wire and pliers!
17. Friendship Bracelets: You have come to the right place if you are looking for friendship bracelet inspiration. We have a plethora of friendship bracelet tutorials from years past. Turn on your favorite movie and get to bracelet making! Click this link and scroll your little heart out to find post after post about making different types of friendship bracelets.
We're almost 2 weeks into the New Year but it's not too late to set a goal for yourself, so make finding a hobby you enjoy a goal of yours this year. Or get back to doing a hobby you have enjoyed in the past. Don't get caught up in taking anything too seriously. Let your hobby be fun and relaxing. Thanks for reading!


