Showing posts with label does PINTEREST KNOW EVERYTHING. Show all posts

does PINTEREST KNOW EVERYTHING: CUSTOM NAIL COLOR

When we read some posts a while ago that said "make your own nail polish"... we were intrigued. That sounds like it'd be a lot of work and pretty stinkin' complicated. But what everyone really meant was, "this is how you make your own custom nail color." Once we realized this, we thought it'd be fun to see how well it actually worked. First of all, you will need a bottle of clear or white nail polish and some eye shadow. It will help you to have a sheet of paper as well and something to scrape the eye shadow with- I actually can't remember what I used! The end of a pen maybe?
DSC_0233
Anyways, FIRST- Pour out some nail polish if your bottle is completely full. You will need some room for the eye shadow. SECOND- Scrape the eye shadow(s) of your choosing until you pile up a good amount. We liked mixing colors because using just one seems kind of boring... unless you have a really awesome color. Our colors were all pretty simple. THIRD- Roll a piece of paper into and cone and use it to put the eye shadow into your nail polish bottle. FOURTH- Close the bottle and shake it up! We finished our polishes by using a label maker to put their "names" on the bottle- aren't we so creative? ha! joking.
DSC_0237
Don't get me wrong- there is not a shortage of nail colors out there. This is just fun and we found it worked pretty well! We definitely liked starting with white nail polish better because you could use less eye shadow and the color was waaaayyyy more opaque. Starting with clear nail polish just gave our nails the slightest tint of color. In the picture, the orange polish has three coats and the purple has one coat. These polishes also have a very very matte finish- as I suspect would happen with any color. I think this method is mostly just fun. I think I'll stick to buying my colors already made for now. But, if you feel like experimenting- this would be a fun one!

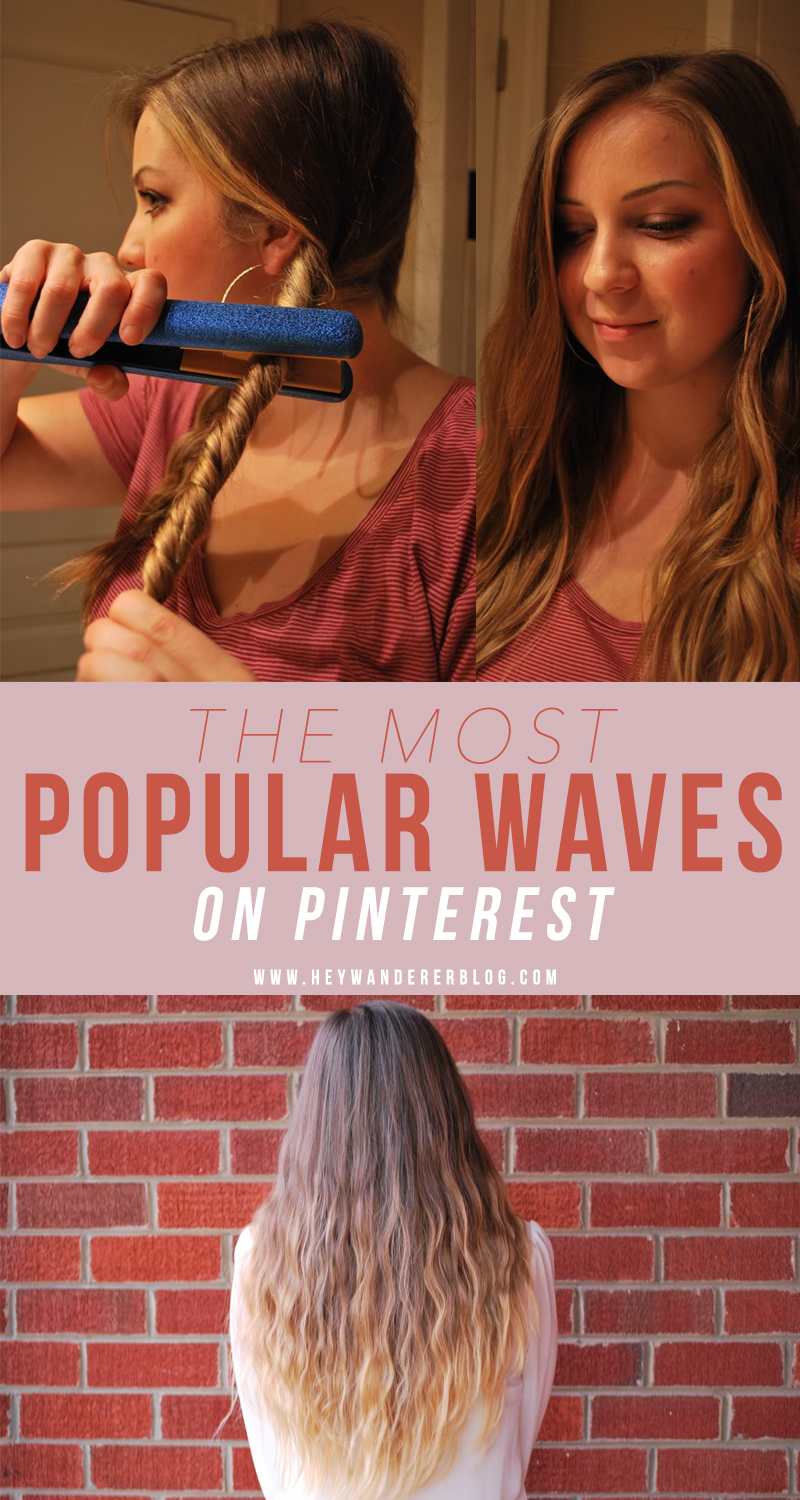
The Most Popular Beach Waves On Pinterest

This post was formerly called "Does Pinterest Know Everything?"
Photobucket
If you haven't read about why we do these posts, check out the explanation in our first "Does Pinterest Know Everything?" post.

So Pinterest told me that if I braided my hair and then used a straightener on those braids, that I would end up with these beautiful waves. So naturally I click on the picture to see a tutorial and I just end up on an image. No tutorial. But I'm thinking... I like to sleep on damp braids to get pretty waves in the morning- this just might work. So I pull out my straightener and get started. Only I ended up with more of a frizzy and crimped mess. Not like the picture on Pinterest at all! But I tried several different techniques and the one I'm about to show you is the one that worked best on my hair.

You will need:
Photobucket 
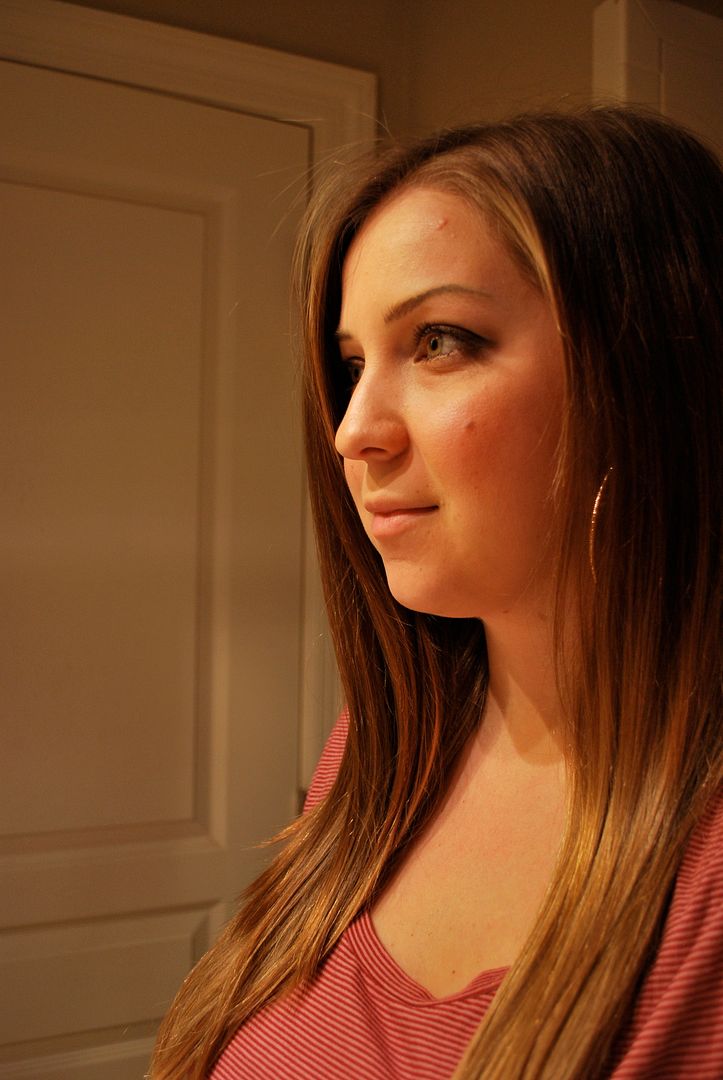
Here is my hair before, completely straight. This would definitely work better though if your hair hadn't already been styled before. If your hair doesn't take well to heating tools, you may want to use some curl spray or hair spray before you start.

Photobucket 
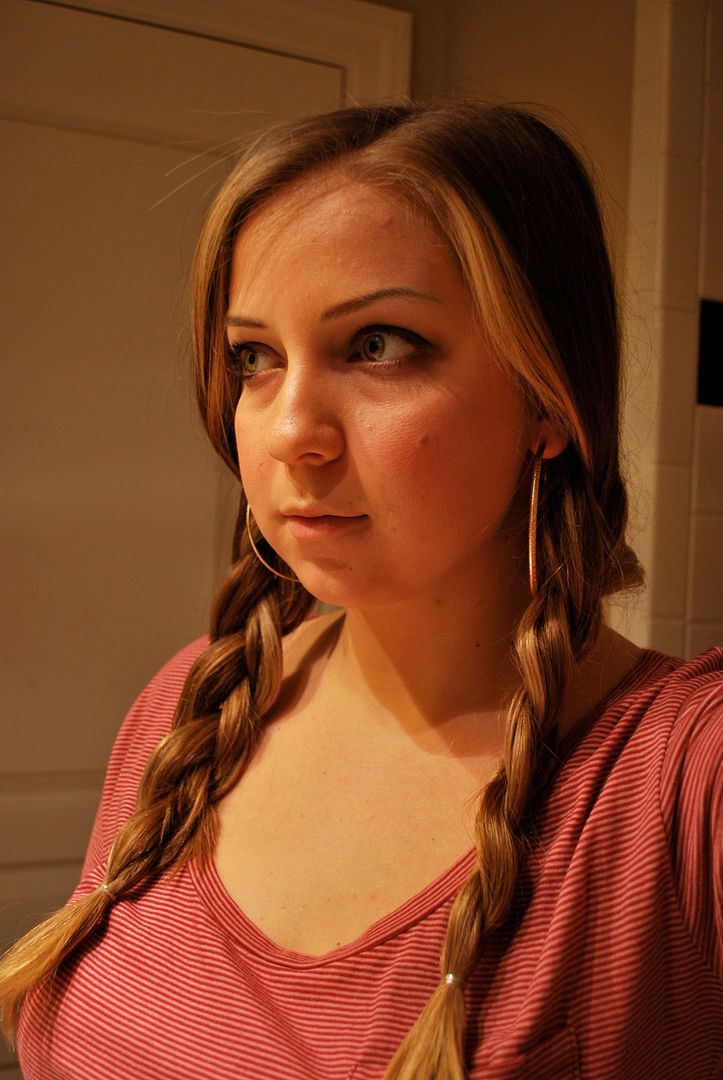
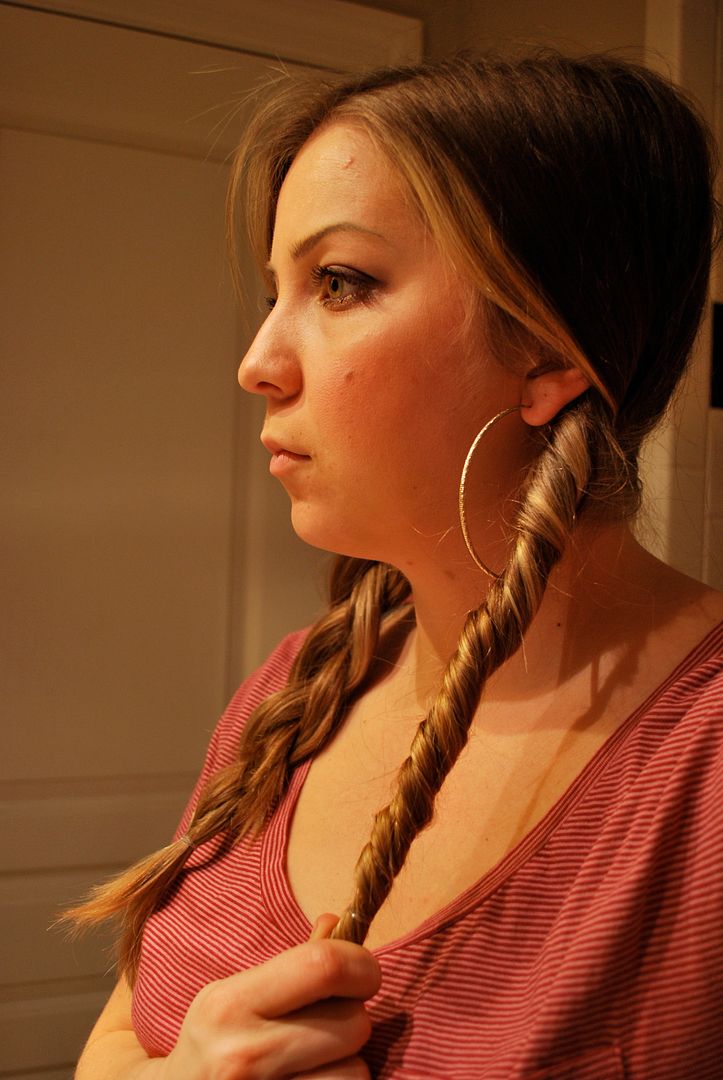
Split all of your hair into two parts and then braid each part and secure with a hair tie of your choosing. I found that the "waves" ended up looking better with bigger braids.


Photobucket 
Take one of the braids and twist it tightly away from your face.

Photobucket 
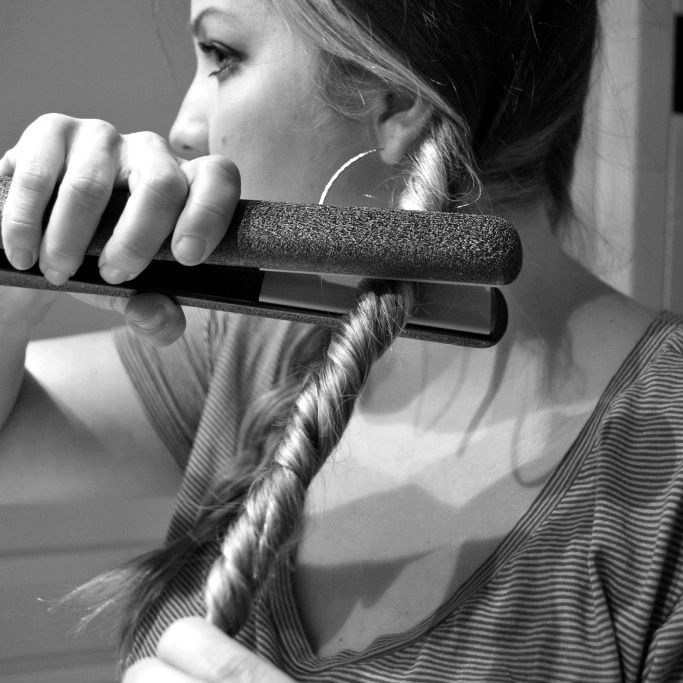
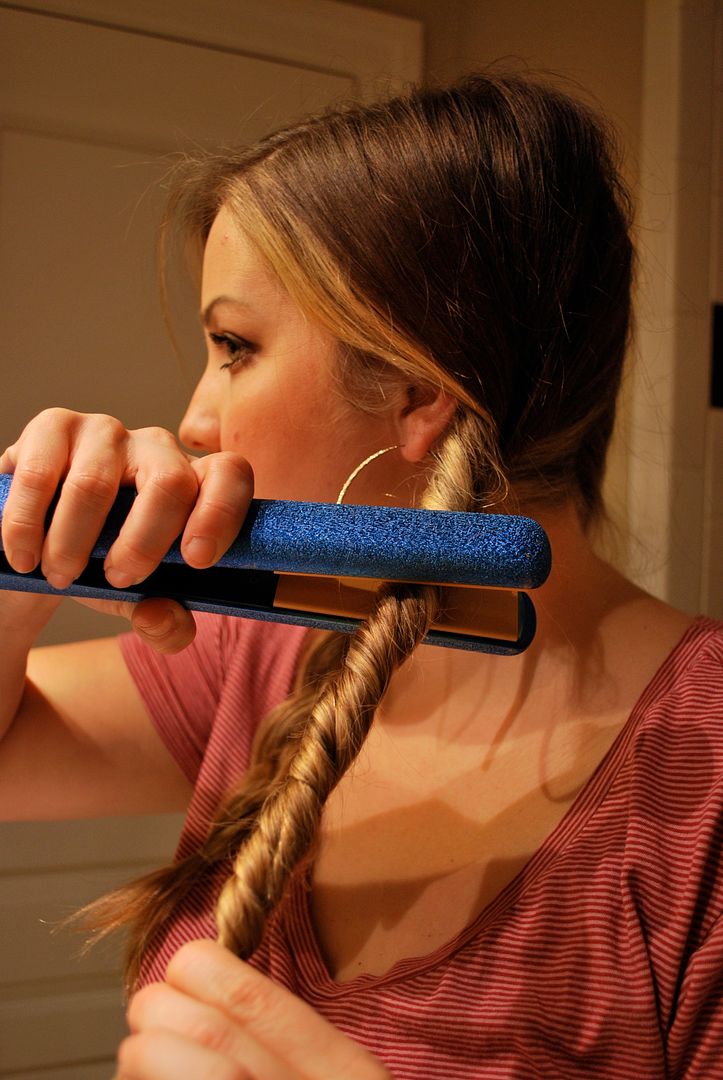
Place the straightener around the twisted braid and instead of just pulling the straightener down...


Photobucket 
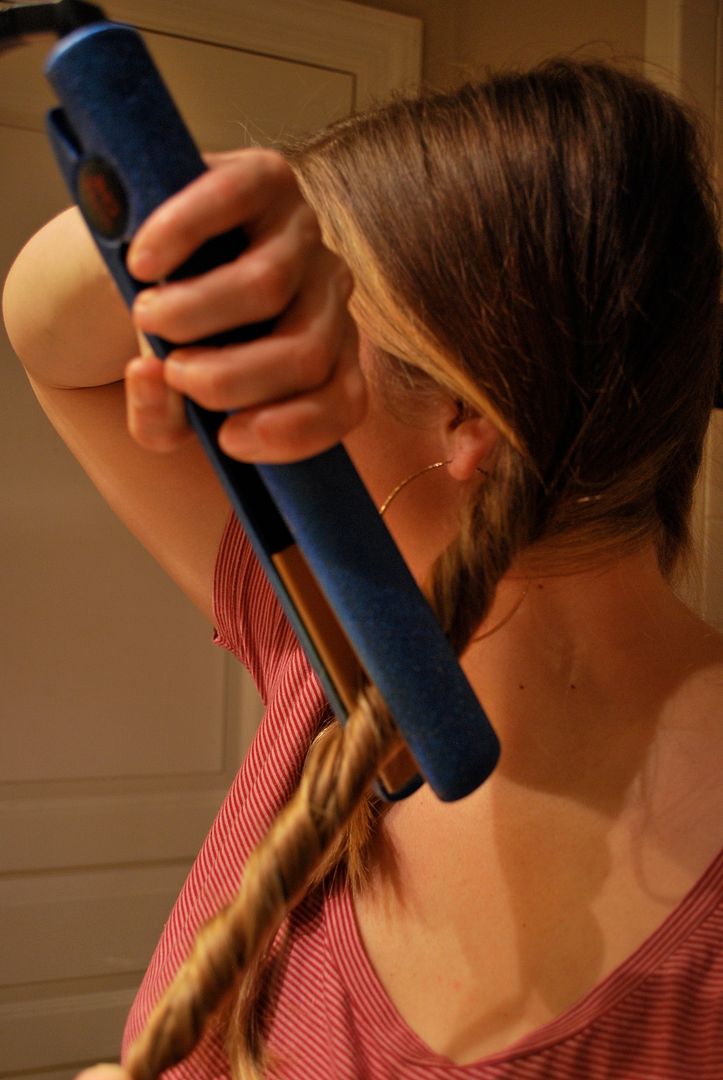
Twist the straightener in the same direction the hair is twisted. I started at the top and worked my way down the braid. Make sure you don't put the straightener where your hair tie is or else there will be a weird crease.

Photobucket 
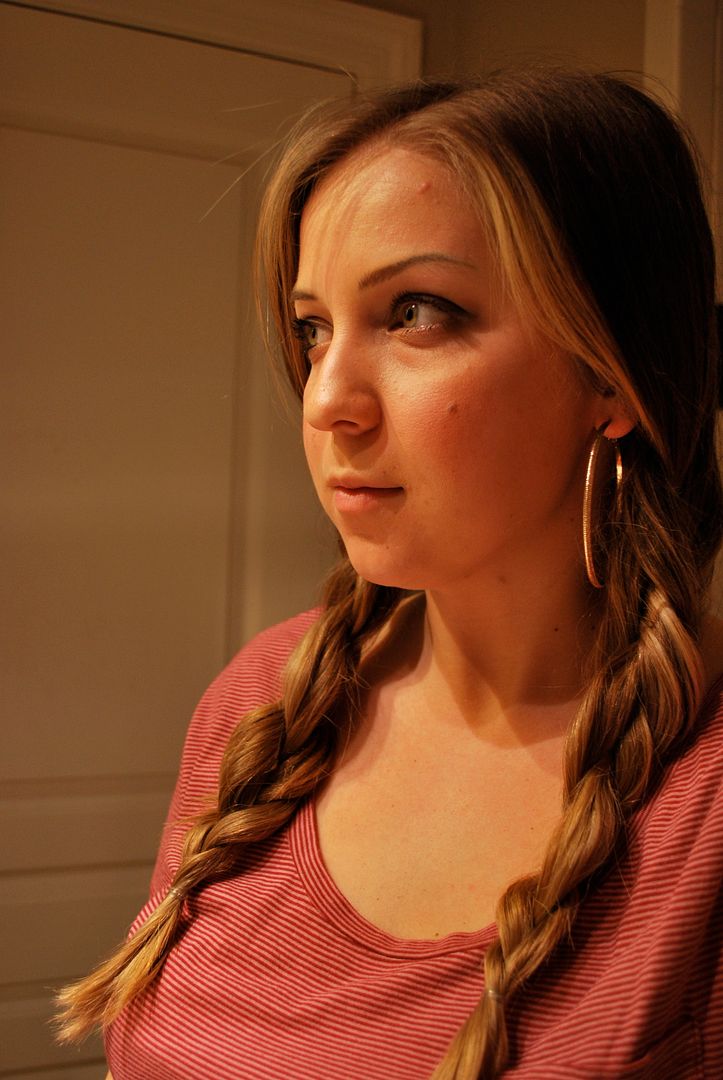
This is what the braids looked like after being "straightened." I repeated the twisting and straightening step one more time on each braid just to be sure.


Photobucket 
When your hair has completely cooled, pull out your hair ties and run your fingers through the braids to release them.

Photobucket 
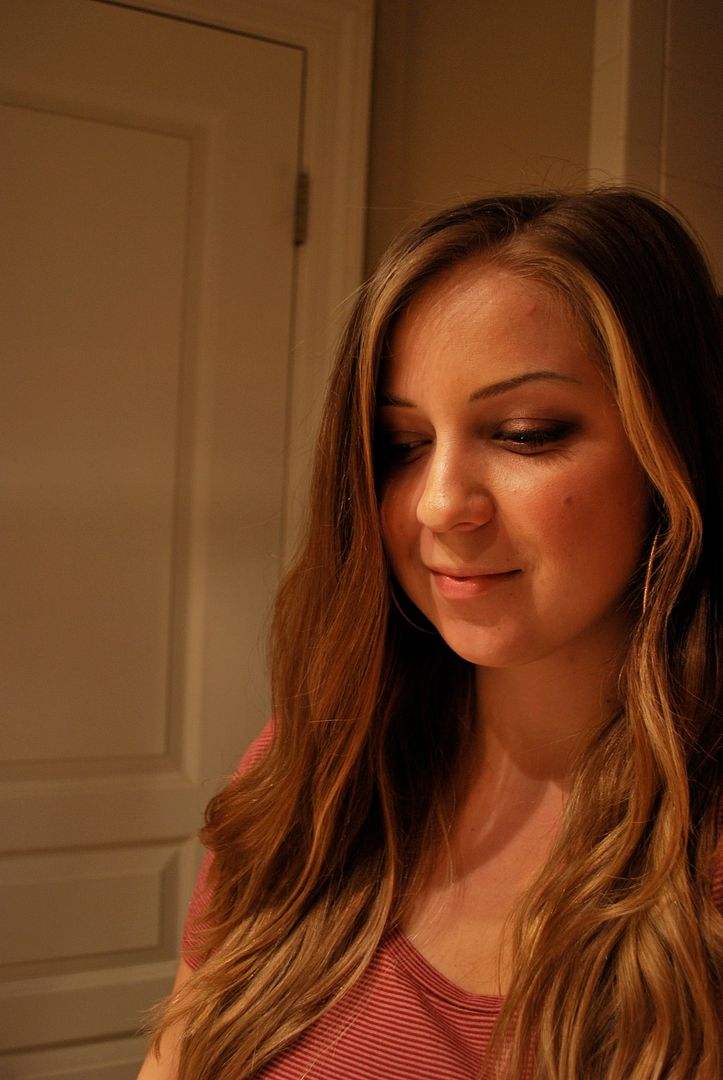
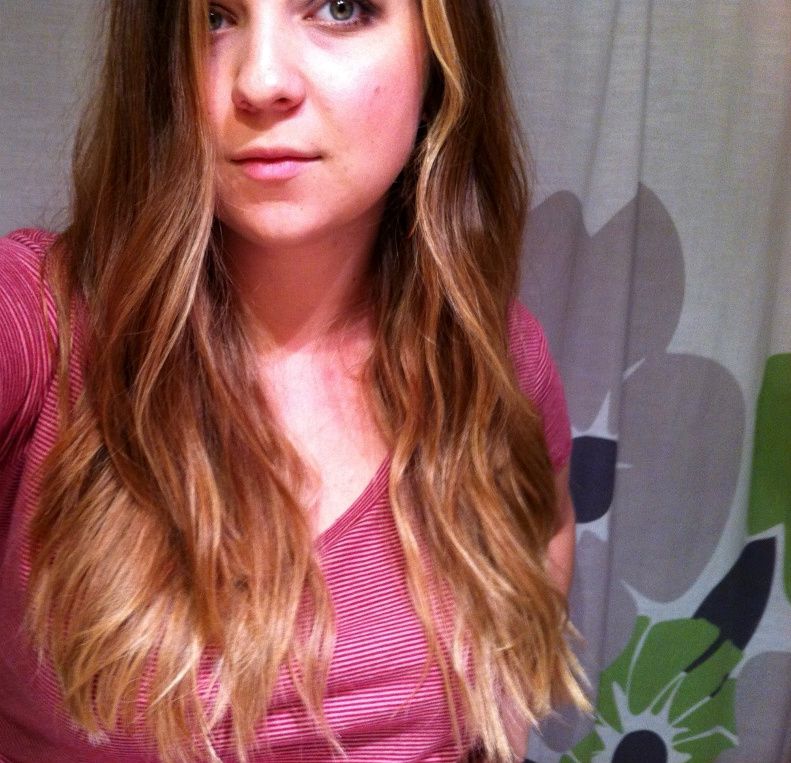
This is a front view of my hair.

PROS
-Beachy waves look without adding texture products to your hair
-Fast and easy

CONS
-Inconsistent

I think this method worked okay. I usually will french braid all of my hair when it is still damp and sleep on it and I get some pretty fun waves. For some reason I thought this tutorial would produce some of those same waves but it is much different. However, this is a great way to add some texture and body to your hair really quickly without much effort.

If you've tried this and it worked, send us a picture!
heywanderer@gmail.com

xo, Savannah

**This post contains affiliate links

does PINTEREST KNOW EVERYTHING?

We all love Pinterest and probably spend a little more time on it than we'd like to admit. Every time I'm on Pinterest, I see something else I want to try or make and usually, I do. So we figured, WHY NOT show you all of Pinterest endeavors and pick out the really awesome things from the not-so-amazing things. So from time to time that's exactly what we are going to do! So here we go...first up we have the "alcohol makes your broken makeup troubles fade away" trick. Sounds AMAZING. Casey and I both had a few things that we have been holding on to because... well, it's hard to just throw away your makeup because you dropped it. One time!
Photobucket

So here is the makeup we wanted to fix. Two of these aren't broken but they are hard to use so if this worked, we were going to break those and make them more usable.
Photobucket
Messed up makeup.
Photobucket
Add alcohol.
Photobucket
Mash the makeup and alcohol together with your finger. It will get very very messy and you will probably lose a little bit of your makeup. You may need to add some more alcohol if the mixture is too dry. (If it looks like this picture, you will probably need to add more.)
Photobucket
This is what it looked like when it finally mixed completely together. The texture was like a light mousse.
Photobucket
As you can see this gets really messy.
Photobucket
All cleaned up.
Photobucket
This is what they all looked like when we got them all mixed together. Seems too good to be true!
Photobucket
When it all dried this is what they looked like.
Pros: The makeup is definitely usable again! Word.
Cons: The makeup randomly flakes off and when it dries, and it has little cracks all over.

So does Pinterest know everything? This is definitely a good quick fix if your broken makeup was almost brand new and you really can't bring yourself to replace it. This works much much better if your makeup was still full before it broke. If you only had a little bit left, you'd probably be better off just buying a new one. But this trick does wonders for people like us, who are on a strict budget!

What other Pinterest projects do you think we should try?


***UPDATE 2/29- So this has proven to not be such a great fix.  The pink blush has already cracked again & it has not been dropped.  We still think it's worth trying but you'll probably have to replace your broken make up after all.  Boo :(
xo, Savannah