DIY Removable Friendship Bracelets

Maybe this is obvious to some of you but, I figured I'd share it anyways. The problem with friendship bracelets is the fact that once you tie them on, they are never coming off unless scissors are involved. There are different ways you can tie the beginning and the end of your bracelets to make them more removable but that always gets complicated and more involved than you want when you sit down to tie knots for the rest of your life.
You may also like:
I've found that making a bracelet as you normally would and then adding these jewelry fixings later make for a quicker and easier removable friendship bracelet. It's simple... here's what you do.

Things you will need:
- Friendship Thread
- Scissors <-- These are some of favorites
- Tape
- Jump Rings
- Metal Crimps
- Lobster Claw
- 1.5 mm Chain
- Jewelry Pliers 

This kit has nearly everything you need

1. Drop super glue along both ends of the friendship bracelet. This would be up against the knot at the beginning and against the knot at the end.

2. After the glue has dried, cut the knots off. Make sure the cut is perpendicular to the bracelet.

3. Add a drop of super glue on the inside of a crimp. Add a drop on both sides.

4. Close the crimp on the end of the bracelet. Use some pliers or a jewelry tool that you have. Or your strong fingers, whichever. Repeat on both sides.

5. Add a jump ring to both crimps.

6. On one side only, add a piece of chain to the jump ring, followed by another jump ring, followed by the lobster claw.

And there you have it. It looks fancy, huh?

xo, Savannah

the diy: magnetic message board

 photo ab60ceb4-0768-4215-b0e3-ded3ba372a3c_zps729793f9.jpg
We love quotes and sayings and smart remarks. And we love for them to be displayed in our house! The thing is, there are too many great things to fit into one house. This board solves that problem. You can change the words every day to fit with your mood. Or, you can just keep it the same and use the rest of the magnets on your fridge. Whatever suits you. To make this board, you will need a magnetic dry erase board (any size will do), some magnetic letters (like for the refrigerator), some fabric, a staple gun and staples, spray paint- white primer and gold.
 photo DSC_0810_zpsf1eff96e.jpg
These are the letters we are using. They came from Walmart for $1 a pack so we got 4.
 photo 020b6deb-34f2-45a4-8186-ab2de05364eb_zpsa0ea5e63.jpg
Lay your magnets out, we put ours on a foam board so we didn't get paint everywhere.
 photo DSC_0817_zpse66a6acb.jpg
Spray all the magnets with white primer. Let it dry.
 photo DSC_0846_zps869f40b0.jpg
Now spray with gold, or whatever color you would like.
 photo DSC_0858_zpsf4904b9b.jpg
For the board, you will need a dry erase board that is magnetic. We got ours at Walmart for $2.
 photo DSC_0859_zps8f360766.jpg
Take everything off the board and cut a piece of fabric that is about an inch larger on each side. photo DSC_0861_zpsab40e214.jpg
Put the fabric face down and then place the dry erase board face down on the fabric.
 photo DSC_0864_zps3c858895.jpg
Pull the edges of the fabric around to the back of the board and staple the edges down. Make sure you pull the fabric pretty tight to keep a smooth front side.
 photo DSC_0867_zpsae32b5d9.jpg
It should look something like this.
jgce9E on Make A Gif, Animated Gifs
Now you are ready to put your magnets on the board, say anything! We are going to hang our board on the wall but you could put yours anywhere. Keep the magnets close by so you and your friends can change it up!
 photo DSC_0871_zps5f6da08b.jpg
 photo DSC_0873_zps04846860.jpg photo 821ed255-870a-45d0-81f7-3dc8804b6b33_zpscc37451b.jpg
xo, Savannah + Casey

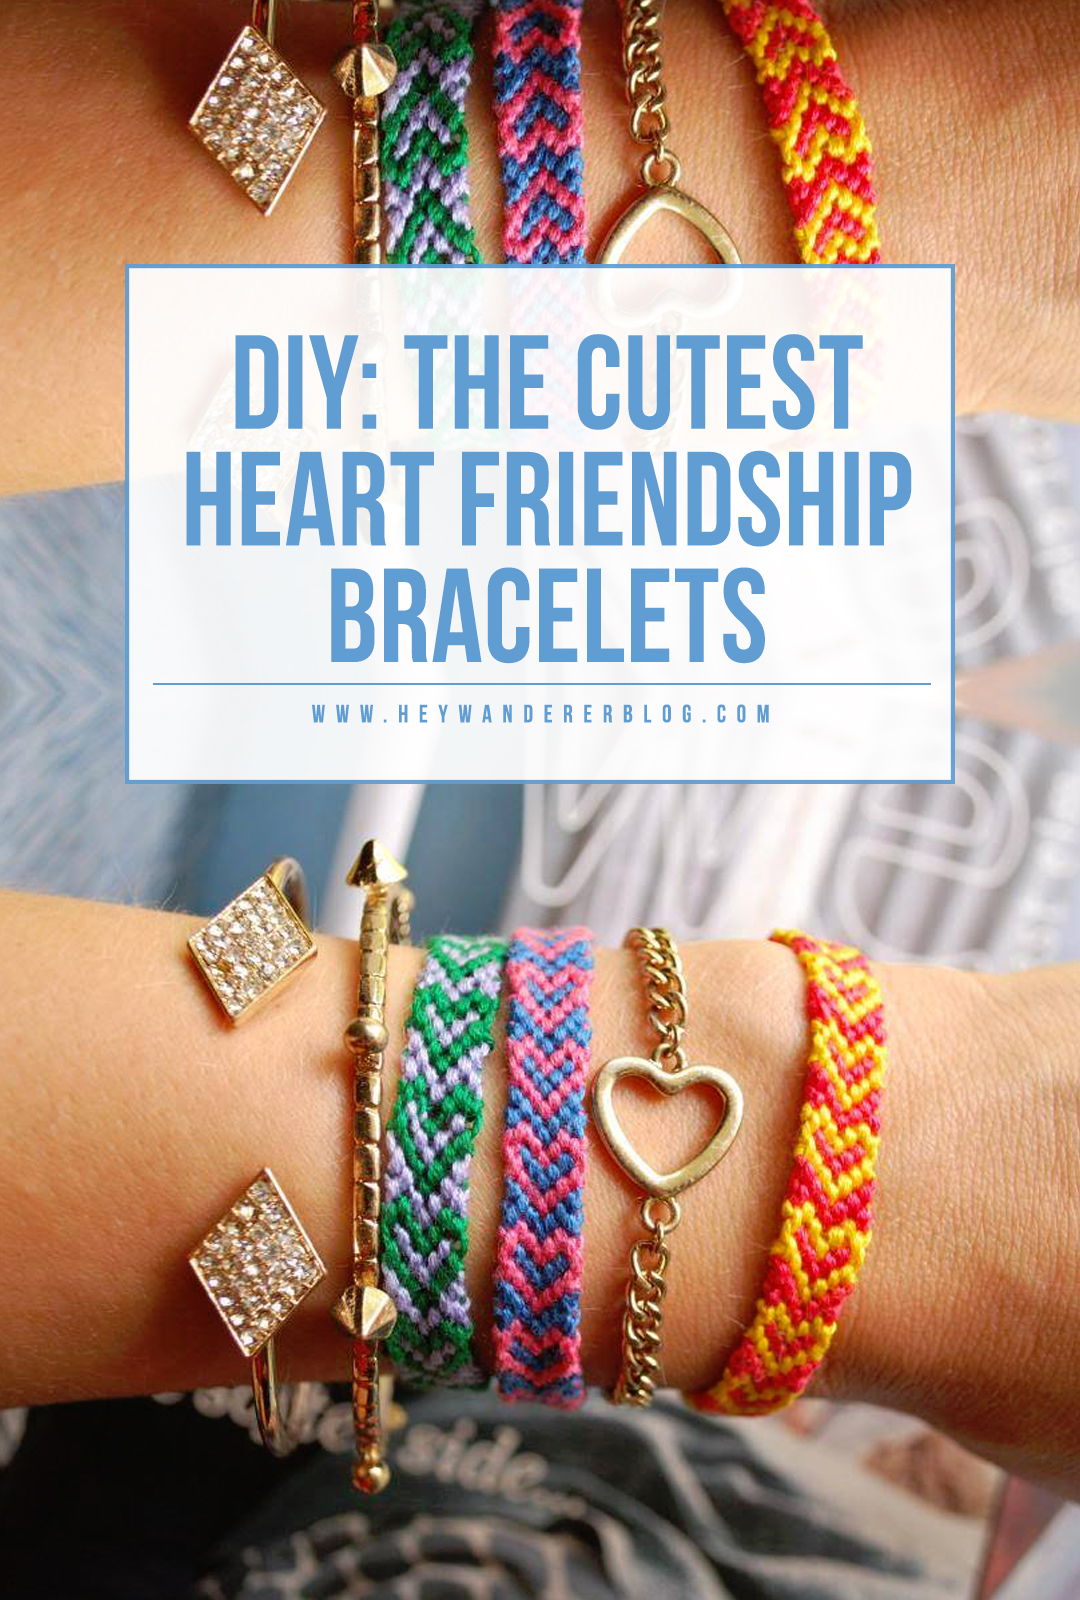
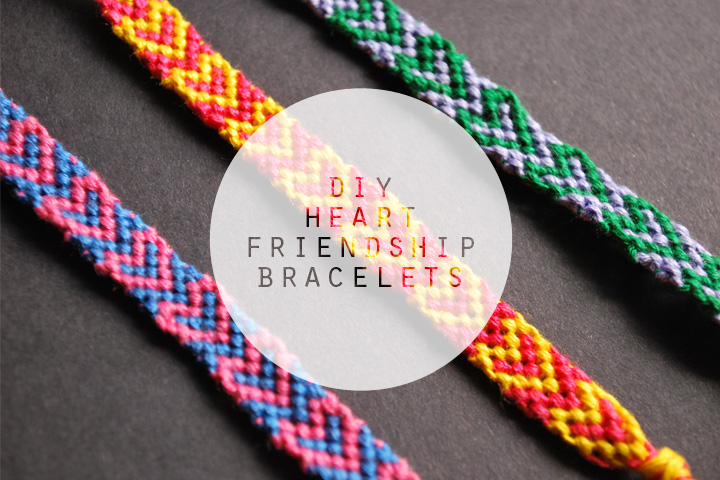
diy: heart friendship bracelets

So you know the drill, Get you some friendship thread and let's make a bracelet, or two, or three.
Things you will need:
- Scissors <-- These are some of favorites
- Tape

And if you are interested in making your bracelets removable as we did in this post, you will also need:


 photo DSC_0672_zps0df28afa.jpg photo DSC_0673_zps98bfa8c1.jpg
Cut 4 strands of each color. Each strand should be about 2 ft. long. Play it safe. Tie them all together and tuck them under a clipboard or tape it down.
 photo DSC_0674_zps2a691bc6.jpg photo DSC_0675_zps257d52fb.jpg
The first two rows you do will just be a traditional chevron. Start on the left and make a "4" with the outer string. Pull the end of the string through the space of the 4 and tie a knot. Twice. Always tie 2 knots on everything, always. Never just one. Repeat that knot on the string to the right and keep going until you reach the middle.
 photo DSC_0677_zpsc383ff5b.jpg photo DSC_0679_zps4c9d5098.jpg
After you reach the middle, start the same process on the right side. This time you will tie a backward knot. Make a backwards 4 shape or a "P" with the strand on the right and pull the end through the opening. Tie two of these knots on every strand, working toward the middle. When you reach the middle, tie another knot (group of two) over the string from the left side.
 photo DSC_0680_zps677ad853.jpg photo DSC_0681_zpsf31f7b55.jpg
Your chevron is complete. At first, this looks a little crazy but it will get better. Repeat the whole process again with the next color.
 photo DSC_0683_zps4e6b72cf.jpg photo DSC_0684_zps9f373487.jpg
Now, this part it the different part. With the second string from the left, tie a backward knot on the string furthest to the left.
 photo DSC_0685_zpsf2b204a4.jpg photo DSC_0687_zpsc7ef22c3.jpg
Repeat on the right side except you will tie a forward knot with the string that is second from the right onto the string furthest to the right. I found it easiest to leave the outside string out to the sides because you will not need them until you start the next row. With the string that is now second to the right, tie a forward knot on all strands towards the middle.
 photo DSC_0688_zps0b398528.jpg photo DSC_0689_zps1e07116c.jpg
Do the same on the right side with backward knots.
 photo DSC_0690_zpsccd3dc09.jpg photo DSC_0691_zps58ed5649.jpg
Continue knotting onto the last string from the left side. You basically just did a mini-chevron without the two strings on the edges.
 photo DSC_0692_zps50aa7f61.jpg photo DSC_0693_zps6edd0f21.jpg
Now, repeat that same exact row again. When you've finished that row, tie two rows of chevron and you have a heart!
 photo DSC_0694_zps13c2405b.jpg photo DSC_0792_zps32a92422.jpg
Now repeat all that over and over again until it's long enough. You tie two chevron rows, and then two of the other rows, then two chevron, then... you get it.
 photo DSC_0804_zps86b288a8.jpg
 photo DSC_0798_zps48590b5c.jpg
Yay! I think we only have a few more friendship bracelet posts for y'all. I promise we'll stop soon! :)

xo, Savannah + Casey
SaveSave